If you have been using Windows 11 for any amount of time, you have most likely noticed the regular updates and changes to the way Windows looks and operates. You may also even remember that Microsoft said that Windows 10 would be the last version of Windows but apparently that was not the case!
One complaint that many people have about Windows 11 is the lack of customization for things such as the taskbar and Start menu. Now that Microsoft is rolling out the 25H2 update, they have made another significant change in how Windows looks with a new updated Start menu layout. This is one of those love it or hate it things and if you are someone that hates it, we will be showing you how to remove the Windows 11 updated 25H2 Start menu and go back to the 24H2 classic Start menu.

One thing to know about reverting back to the classic 24H2 Start menu is that at some point, Microsoft might block this from happening if they remove the 24H2 feature flag from Windows itself. Regardless, it won’t hurt anything to try the process but if you want a bit of security, you can create a system restore point before trying the process.
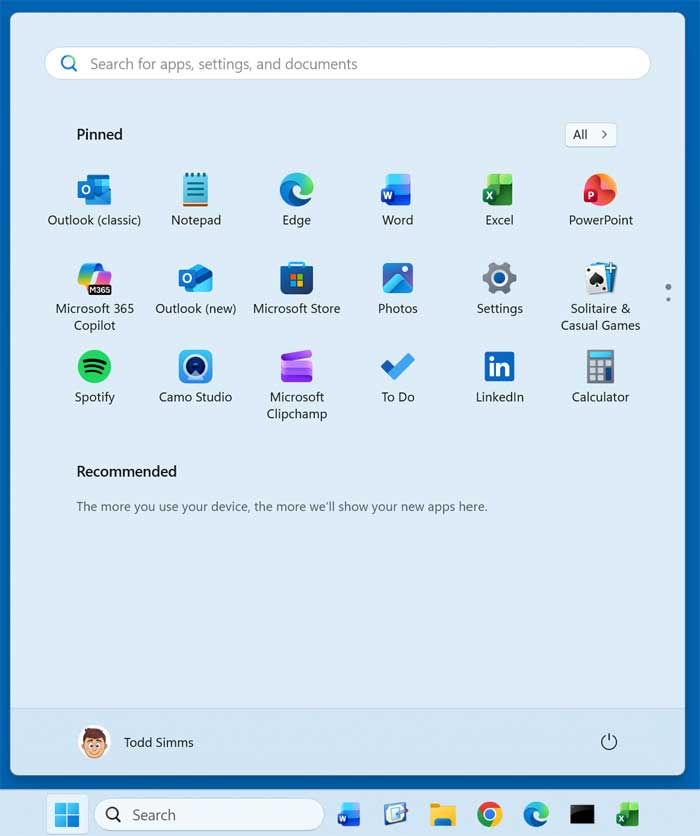
The image below shows the 25H2 updated start menu with the pinned apps on the top and then program groups at the bottom. You may also have a recommended section in the middle that can be removed if you do decide to keep the 25H2 Start menu.

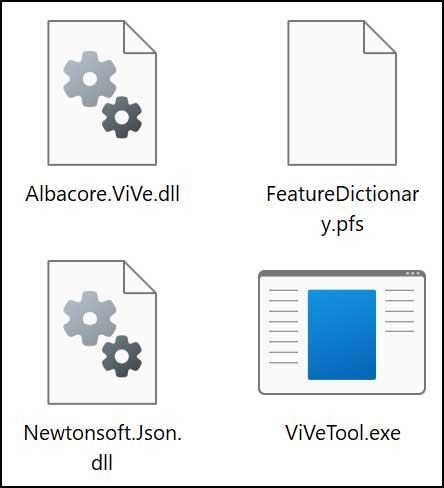
To remove the Windows 11 25H2 Start menu and go back to the 24H2 classic start menu, we will be using the free ViVe Tool to do so. The ViVeTool is a command-line utility for Windows that allows users to enable, disable, or configure hidden features and experimental settings in the operating system. It’s commonly used by power users and testers to access features that Microsoft is gradually rolling out or keeping under development, such as UI changes or new system functionalities, before they become publicly available.
You will first need to download the ViVe Tool and extract the zip file to a folder on your computer. You will notice that you have a file called ViVeTool.exe but you can’t double click this file and run the app as a GUI even though they do have a version with a graphical user interface.
To use the ViVe Tool, you will need to open up an administrative command prompt and navigate to the folder where you have the ViVe Tool files.
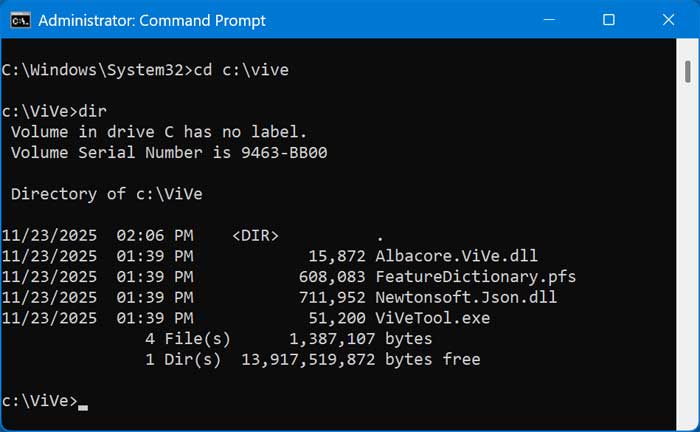
You will then need to run the following command once you are in the correct location. You can copy and paste the command below right into the command prompt box and press enter.
vivetool /disable /id:47205210

You should then get a message that says Successfully set feature configuration(s). You will then need to restart your computer for the changes to take effect.
After you log back in and click on the Start button, you should then see the 24H2 classic start menu like you had before.
If you want to enable the 25H2 updated Start menu once again, you can run the enable version of the same command using the ViVe Tool.
vivetool /enable /id:47205210
One thing to keep in mind when using the ViVe Tool is that sometimes if you want to revert back to a previous configuration, it might not work but this is fairly rare. This is also a good reason to create a restore point before trying this procedure.
For additional training resources, check out our online IT training courses.
Check out our extensive IT book series.