
Last Updated on May 10, 2026
Customizing Windows is one of the first things people do when they get a new computer or reinstall Windows.
And one of the more common things to do is to set a custom background photo for your desktop. And when doing so, you can use one of the built in Windows images or one of your own.
When doing so, you can easily use one of the built-in Windows images or upload a favorite photo of your own.
There is also an excellent option to set a background photo slideshow so that you can have it automatically cycle through multiple photos on a set interval.
This ensures that your background always changes and keeps your desktop looking fresh throughout the workday.
The problem with this native feature is that you can only choose one specific folder to have it pull these images from.
If you have organized your photos into various subfolders, the images hidden inside those secondary folders will simply not be used by the modern settings app.
In this article, we will be showing you exactly how to bypass this limitation and make the Windows background photos slideshow use images in subfolders.

The Modern Windows Settings Limitation
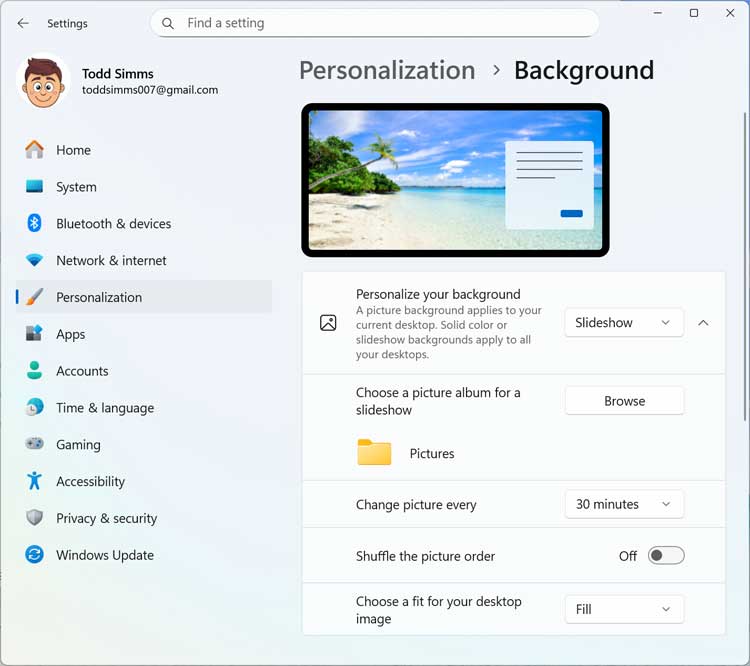
To configure the standard background photos slideshow, you can go to the Windows settings and then navigate to Personalization > Background.
Then, in the Personalize your background section, you can choose Slideshow from the dropdown menu.
Next, you can click on the Browse button to select the specific folder from your Pictures directory that has the images you want to use for the slideshow.
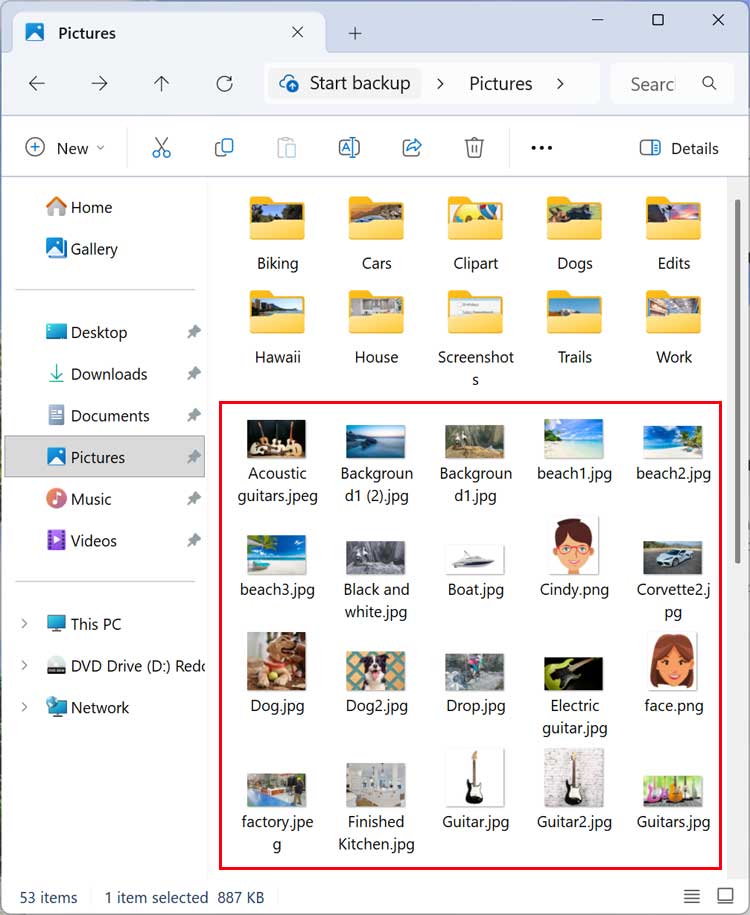
But like we mentioned earlier, the modern Windows 11 interface will only use the standalone images placed directly in that root folder.
It will completely ignore any images placed inside subfolders.
So in our case, it will only use the individual files that are shown with the red box around them in the image below, ignoring folders like “Biking” or “Cars.”
Enabling Libraries in File Explorer
To get around this restriction and allow subfolders to be used for the background photos slideshow, we will first need to enable the hidden Libraries feature.
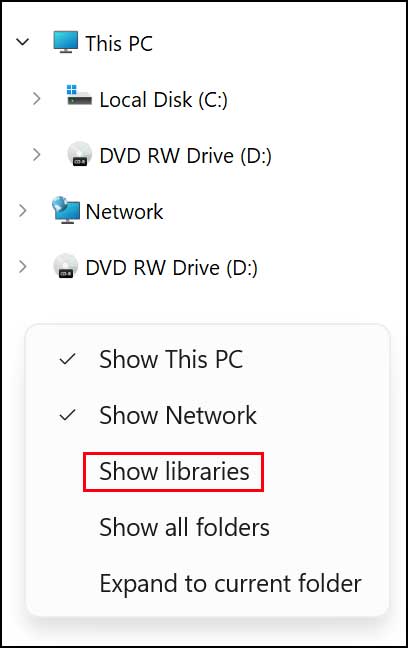
To do this, simply right-click on a blank area on the left side navigation pane of File Explorer.
From that context menu, choose the Show libraries option.
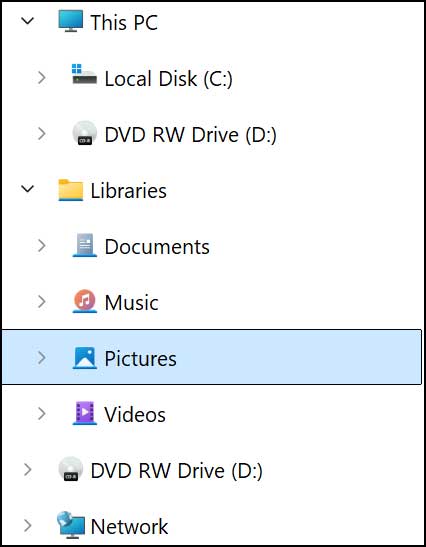
Once enabled, you will then see your classic Windows libraries appear on the left side, along with the dedicated Pictures library.
Using the Classic Desktop Background Tool
Next, we will need to open a Run dialog box by typing run directly into the Windows taskbar search box.
Then you can copy the exact text string below and paste it into the Run box.
shell:::{ED834ED6-4B5A-4bfe-8F11-A626DCB6A921} -Microsoft.Personalization\pageWallpaper
Once pasted, go ahead and click the OK button.
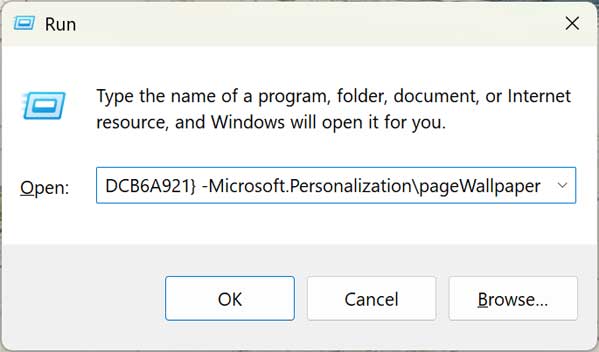
This command will then force open the classic desktop background configuration tool from older versions of Windows.
This legacy menu will actually allow you to choose which specific photos will be used for your background slideshow.
Because you are using the Libraries view, it will automatically select all the images within the subfolders contained in your main Pictures folder.
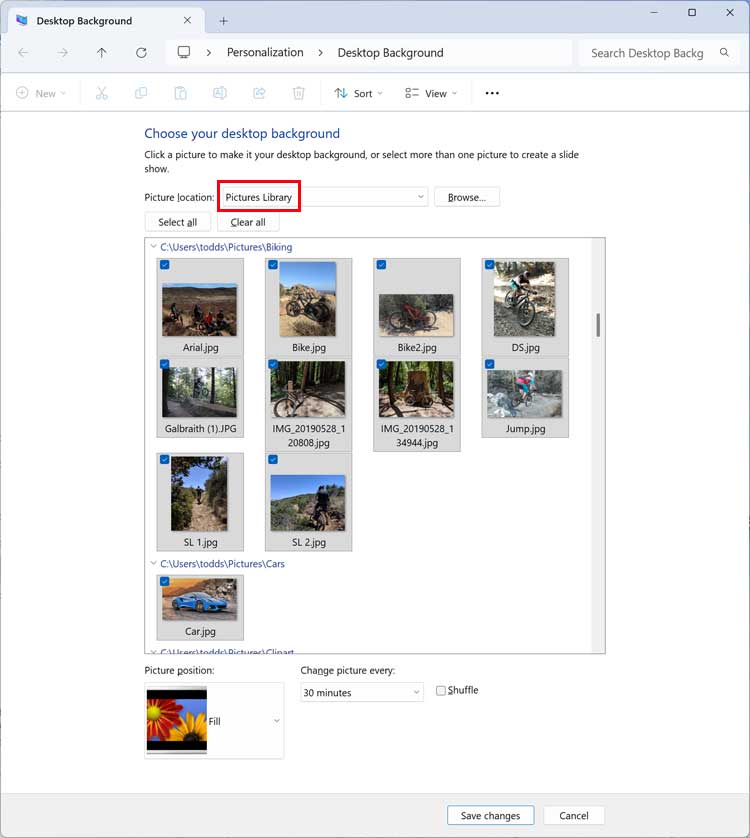
Now you can either use all the photos found in the subfolders or manually deselect any specific photos you do not want to use for your background photo slideshow.
If you find that you cannot remove your Windows desktop background photo history, then check out this article.
For additional training resources, check out our online IT training courses.
Check out our extensive IT book series.


