If you were previously running Windows 10 and have “upgraded” to Windows 11, you have most likely noticed many changes when it comes to how Windows looks and also how many of your favorite features are either missing or changed as well. Microsoft has updated many of the default Windows apps, including the popular Notepad text editor. Notepad now features tabs, formatting and even Copilot AI integration.
But there are still many people who prefer the simplicity of the version of Notepad that came with Windows 10 and do not need all the extra bells and whistles. In this article, we will be showing you how to install and run the classic Notepad app on Windows 11. And after you complete the process, you will be able to run both the new and classic Notepad apps as needed.

The first step in the process involves downloading the classic Notepad software so you can then install it on your computer. You can download the Notepad app from this website here.
The app will come in a zip file which you will need to unzip before installing it. The easiest way to do so is to right click on the notepad.zip file and choose Extract All.
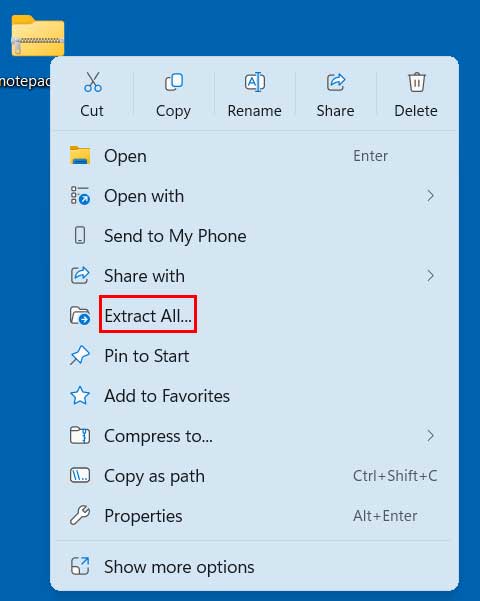
This will extract the contents of the file to the same location where you have saved the notepad.zip file. There will only be one file within the zip file, and it will be called notepad-1.0-setup.exe.
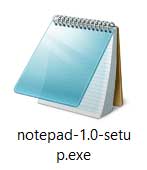
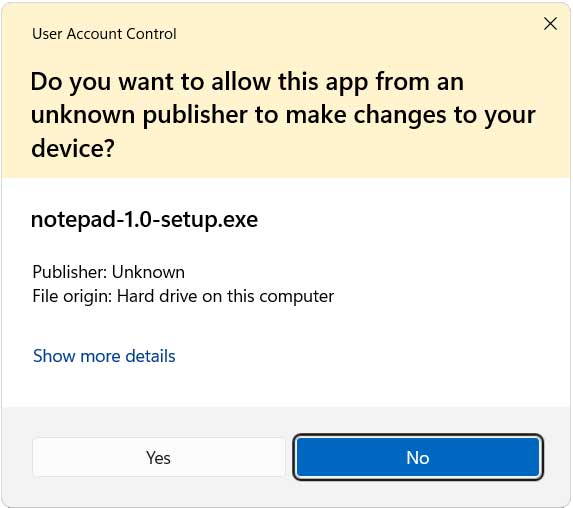
To install the classic Notepad app, you can simply double click on the notepad-1.0-setup.exe file to start the installation. You will need to have admin rights on the computer to install the app and will need to say yes to the User Account Control prompt that appears after double clicking the file.
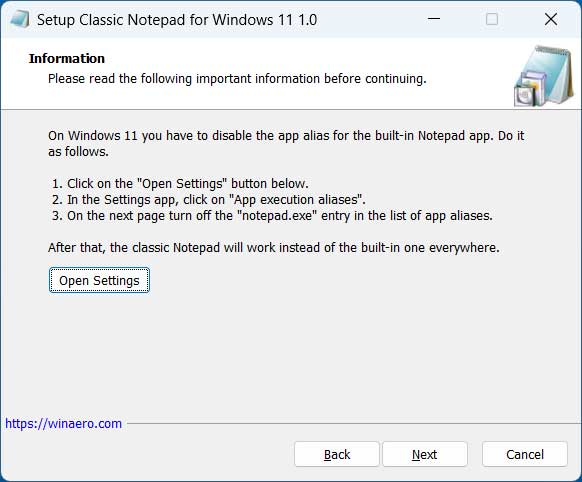
Then you can go through the steps in the installation wizard. You will then get to a part of the installation where you will need to disable the app alias for the default built in Notepad app. To do so, simply click the Open Settings button to be taken to the appropriate section of the Windows settings app.
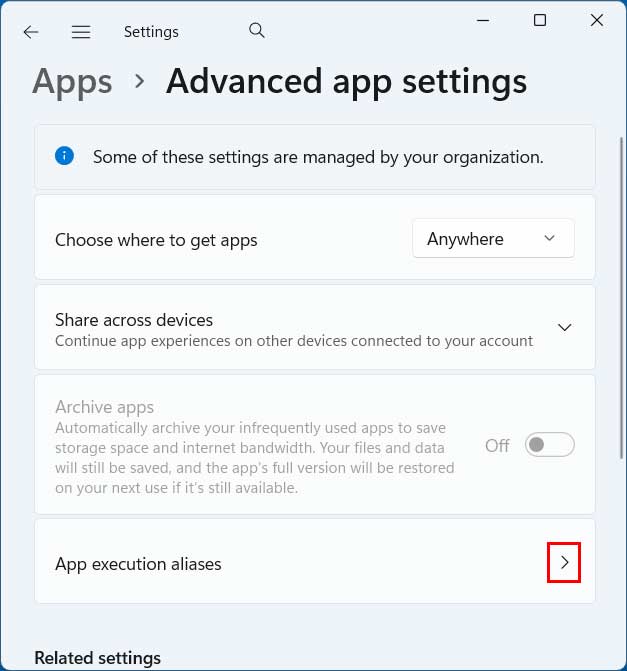
From here, you will need to click on App execution aliases to disable the app alias for the default built in Notepad app.
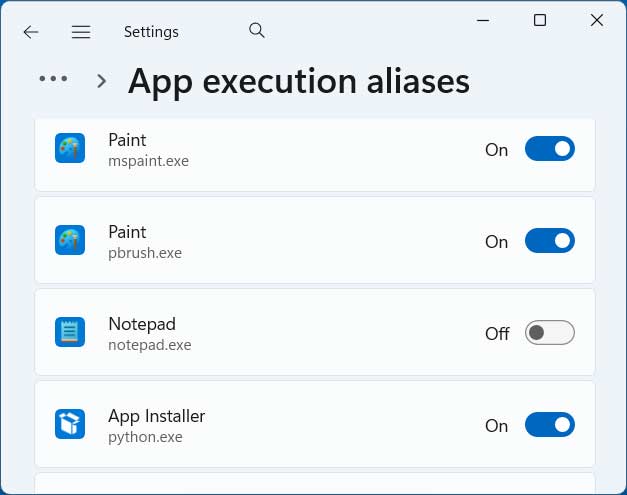
To do so, simply turn off the setting for Notepad as shown in the image below.
Then you can go back to the classic Notepad app installation wizard and finish the installation. You can even have it make a desktop shortcut for the classic Notepad app if you like.
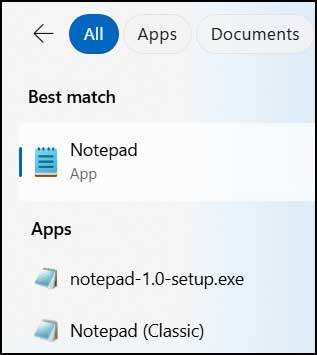
Once the installation is complete, you can then use the classic Notepad app for your text editing needs. You can also use the new Notepad app if needed. If you do a search for Notepad from the taskbar search box, you should see the option for both the new and current Notepad apps.
If you want to use the classic Notepad app without installing a third party version, you can try the method explained here.
If you are a Windhawk user, there is a mod you can use to do this as well.
For additional training resources, check out our online IT training courses.
Check out our extensive IT book series.