
Last Updated on May 11, 2026
If you have been using Windows 11 for any amount of time, you have most likely noticed the regular updates and changes to the way Windows looks and operates. You may also even remember that Microsoft said that Windows 10 would be the last version of Windows but apparently that was not the case!
One complaint that many people have about Windows 11 is the lack of customization for things such as the taskbar and Start menu. Now that Microsoft is rolling out the 25H2 update, they have made another significant change in how Windows looks with a new updated Start menu layout.
This is one of those love it or hate it things and if you are someone that hates it, we will be showing you how to remove the Windows 11 updated 25H2 Start menu and go back to the 24H2 classic Start menu.

One thing to know about reverting back to the classic 24H2 Start menu is that at some point, Microsoft might block this from happening if they remove the 24H2 feature flag from Windows itself. Regardless, it won’t hurt anything to try the process but if you want a bit of security, you can create a system restore point before trying the process.
The image below shows the 25H2 updated start menu featuring the pinned apps grouped heavily on the top and then program groups relegated to the bottom. You may also notice a recommended section floating in the middle of the screen that can actually be removed if you do decide to eventually keep the 25H2 Start menu layout.

1. Create a System Restore Point
One crucial thing to know about reverting back to the classic 24H2 Start menu is that you are actively modifying core operating system features. At some point in the future, Microsoft might permanently block this from happening if they decide to remove the 24H2 feature flag from Windows entirely. Regardless, it won’t hurt anything to try the process today, but if you want a bit of extra security, you should absolutely create a Windows system restore point before proceeding with this tutorial.
2. Understand the ViVeTool Utility
To successfully remove the Windows 11 25H2 Start menu and go back to the 24H2 classic layout, we will be using a popular free application called the ViVeTool. The ViVeTool is a powerful, third-party command-line utility for Windows that allows users to enable, disable, or configure hidden features and experimental settings directly in the operating system. It is commonly used by power users and beta testers to access features that Microsoft is gradually rolling out or keeping strictly under development before they become publicly available.
3. Download and Extract the Files
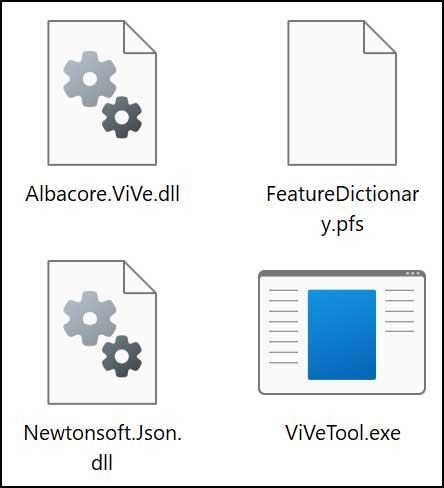
You will first need to download the ViVeTool software from its official repository and save the compressed zip file to a designated folder on your computer. After downloading it, you must fully extract the contents of the zip file so the command-line utility can execute properly. You will clearly notice that you have an executable file called ViVeTool.exe, but you cannot just double-click this file and run the app as a standard GUI, even though the developers do offer a separate version with a graphical user interface.
4. Open an Administrative Command Prompt
Because this specialized utility interacts directly with hidden operating system flags, standard user permissions are simply not going to be enough to make the changes stick. To use the ViVeTool correctly, you will need to open up an administrative Command Prompt window on your desktop. Simply search for “Command Prompt” in your Windows search bar, right-click the top result, and securely select “Run as administrator” to grant it the necessary system-level access.
5. Navigate to the ViVeTool Folder
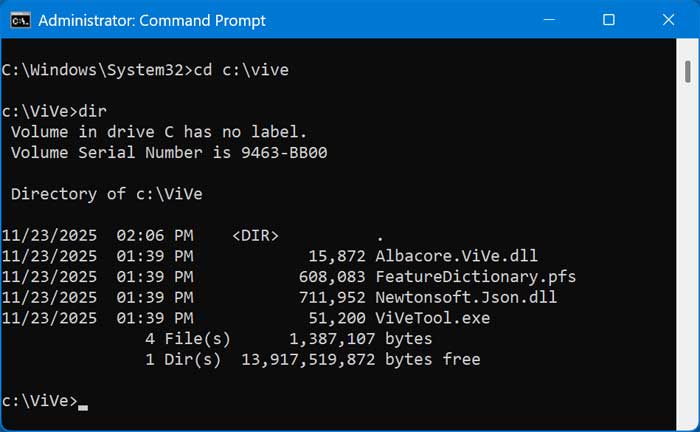
Once your black command line window is open, you cannot just type the execution command immediately from the default system path. You must use the cd (change directory) command to physically navigate to the specific folder where you just extracted the ViVeTool files. For example, if you extracted it to a custom folder on your main C: drive, you would type cd c:\vive and hit Enter to point the terminal directly at the executable file.
6. Run the Disable Command
You will then need to run the specific modification command once you have successfully navigated to the correct directory location. You can easily copy and paste the command vivetool /disable /id:47205210 right into the command prompt box and press the Enter key on your keyboard. This unique string of numbers tells the utility to specifically target and completely disable the brand new 25H2 Start menu layout flag in your system registry.

7. Verify the Configuration Success
Immediately after pressing the Enter key, the ViVeTool utility will process the backend request and attempt to modify the internal Windows feature flag. You should look closely at the terminal window to ensure you get a text confirmation message that clearly says “Successfully set feature configuration(s)”. If you receive a red error message instead, you may need to double-check that you definitely opened the Command Prompt as a full administrator in step four.
8. Restart Your Computer
Although the internal configuration flag has been successfully updated by the tool, the Windows graphical interface will not magically reflect these layout changes immediately. You will need to completely restart your computer for the new layout modifications to properly take effect and overwrite the active desktop session. Simply close any open applications, save your work, and initiate a standard system reboot from your current Start menu.
9. Verify the Classic Start Menu
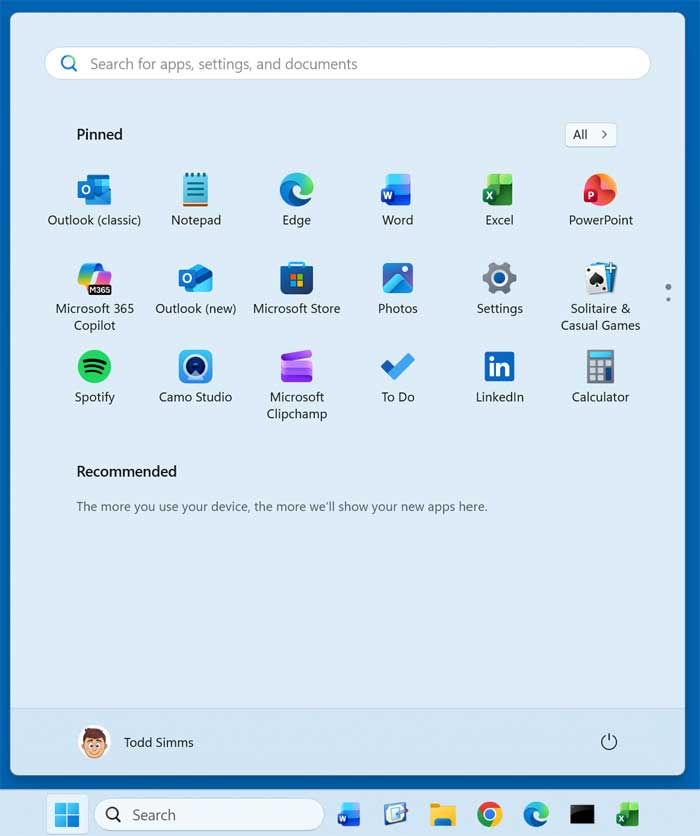
After your machine finishes its reboot cycle, you can log back into your primary user profile and test the visual results. Simply click on the Windows Start button on your bottom taskbar, and you should immediately see the familiar 24H2 classic start menu layout exactly like you had before the forced update. All of your previously pinned apps and traditional folder groupings will be perfectly restored to their original alignment.
10. How to Restore the 25H2 Start Menu
If you ever change your mind in the future and actually want to enable the modern 25H2 updated Start menu once again, the reversal process is incredibly easy. You can simply open the command prompt and run the exact same procedure, but use the “enable” version of the command instead: vivetool /enable /id:47205210. One vital thing to keep in mind when using the ViVeTool is that sometimes reverting back to a previous configuration might occasionally fail, which is exactly why creating that initial restore point is always a highly recommended best practice.
For additional training resources, check out our online IT training courses.
Check out our extensive IT book series.


