
Last Updated on August 4, 2026
Installing your own operating system is a very common practice these days, especially if you are the type who likes to build their own computer. Other reasons for installing your own OS are if you want to try something new such as switching from Windows to Linux or even dual booting Windows and Linux or even to recover from a virus infection or other system crash.
If you are already running Ubuntu Linux or some variant of Ubuntu, you can easily create a Linux USB flash drive installer in Linux with Startup Disk Creator without needing a third party tool such as Ventoy or UNetbootin.
Startup Disk Creator is a powerful Linux tool specifically designed to create bootable USB flash drives. It is primarily built to install Ubuntu based distributions of Linux. It will easily create flash drives for official Ubuntu builds, Kubuntu, Xubuntu, Lubuntu, and MATE.
It will generally also work with other Ubuntu based distributions such as Mint, Pop!_OS and elementary OS. It might work for some Debian based versions such as Debian and MX Linux but that is not guaranteed. Versions it will absolutely not work with include distros such as Fedora, Arch, Manjaro and openSUSE. It will definitely not work for Windows installations.
Check and Install Startup Disk Creator
1. Check Your Current System Status
Before you attempt to install Startup Disk Creator you can run a simple command to see if it is already installed. Open your terminal window. Type the command which usb-creator-gtk and press Enter. This command will tell you exactly where the program is located on your system if it is present. If the command does not show any results and just brings you back to a blank prompt, then you know the software is missing.
2. Update Your Package Database
Installing Startup Disk Creator is a very simple process. It only requires you to run a couple of quick commands in the terminal. The first one we will run is sudo apt update to start things off. This specific command refreshes your system package index. This index is the local database that lists all available software and their current versions. You will need to enter your admin password when running this command.
3. Run the Installation Command
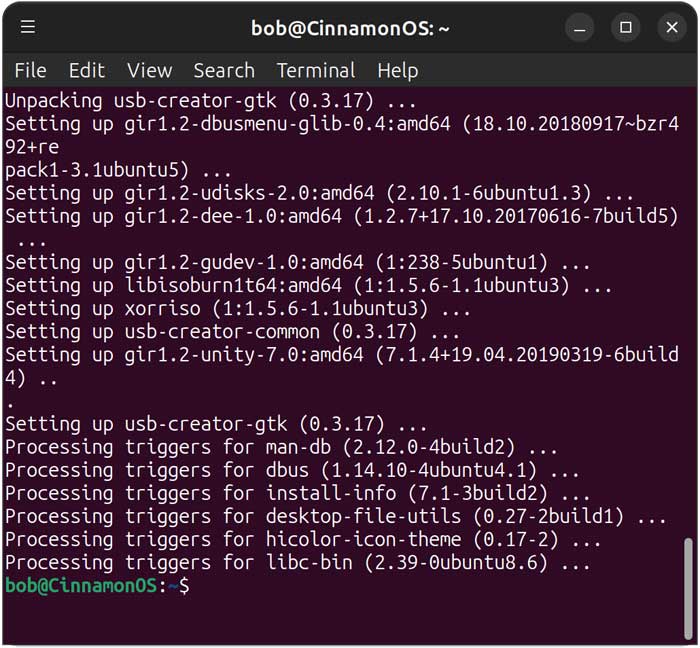
Next we will run the sudo apt install usb-creator-gtk command to install Startup Disk Creator itself. The terminal will process the request and ask if you want to continue. You will need to type Y and hit Enter to authorize the download. Watch the screen as the system unpacks the necessary files.
Create Your Bootable Linux USB Drive
1. Launch the Startup Disk Creator App
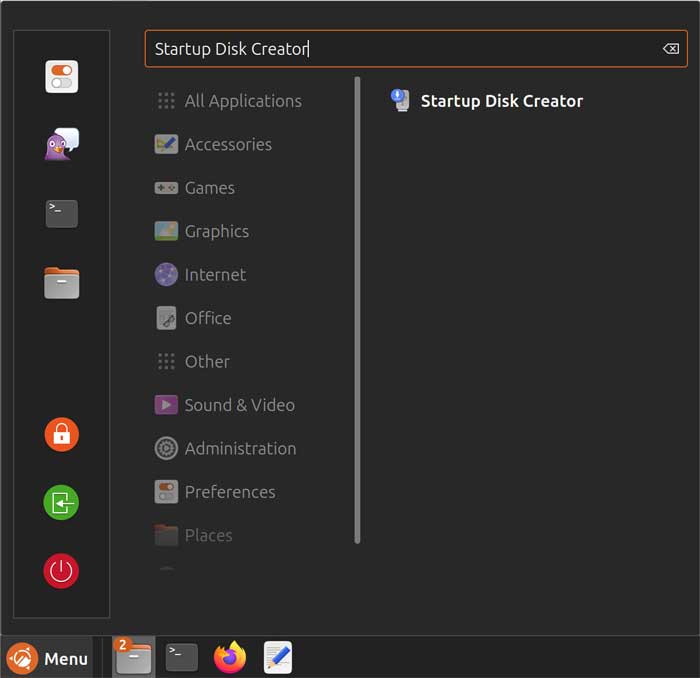
After the Startup Disk Creator software finishes installing you can run it directly from the command prompt. Just type usb-creator-gtk and press Enter to launch the graphical interface. You can also easily find it with your other installed apps by searching your system menu.
2. Locate Your Linux ISO File
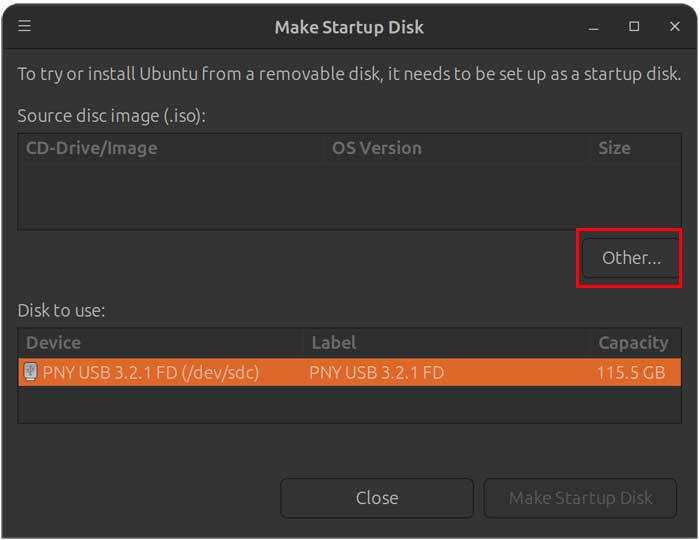
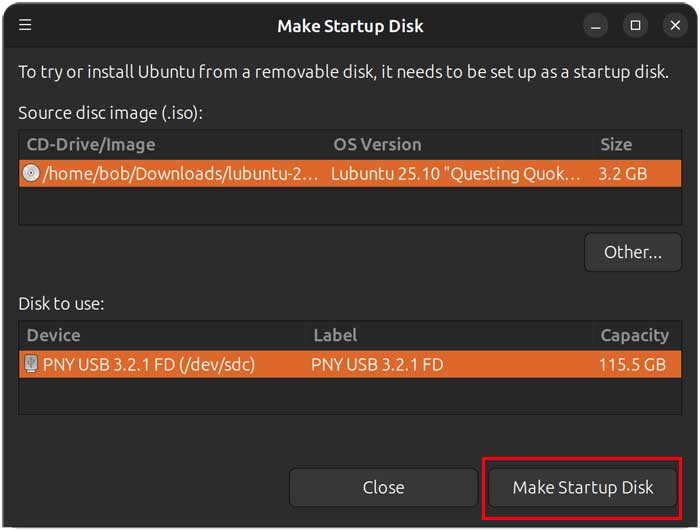
To use Startup Disk Creator you must browse to the exact location of your downloaded Linux IISO file on your hard drive. Do this by clicking the Other button on the interface. There is a good chance that the app automatically finds it for you and populates this top section. Make absolutely sure it is the correct ISO image you want to use if you have multiple copies saved on your drive.
3. Select Your Target Flash Drive
Once you have selected the correct Linux ISO file you need to look at the bottom section of the window. Make sure that you have your specific flash drive selected in the Disk to use section. If you have more than one flash drive connected right now, be sure to choose the correct one. The selected flash drive will be completely wiped during this process.
4. Confirm the Disk Writing Process
Now you can click the Make Startup Disk button to begin the actual writing process. You will then see a popup message saying “Are you sure you want to write the disk image to the device? All existing data will be lost.” You will then need to click the Yes button to continue. You will once again need to enter your administrative password to grant the final permission.
5. Wait for the USB Creation to Finish
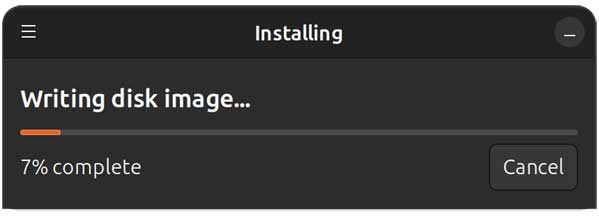
Now the physical disk writing process will begin. It will take several minutes to finish copying the files. The exact time depends heavily on the speed of your USB connection and the total size of the ISO image you are writing. A fast USB 3.0 drive will complete this task much faster than an older drive.
6. Verify Your New Bootable Drive
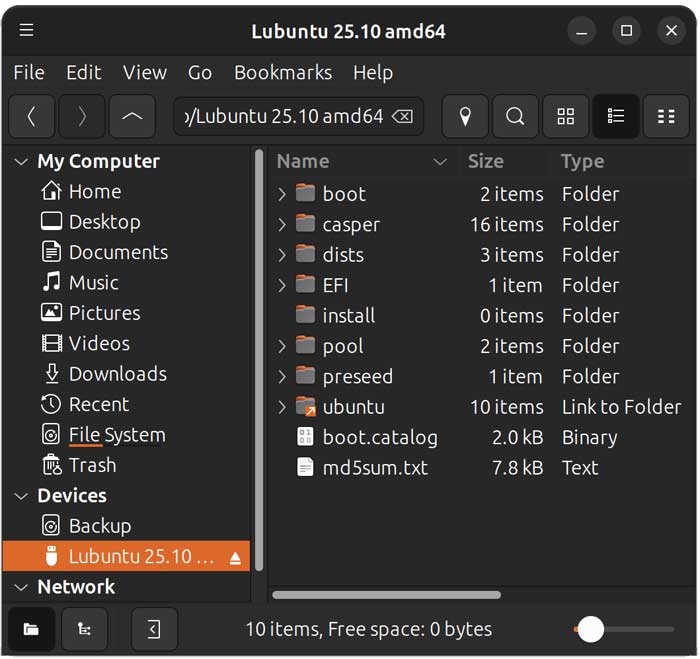
Once the writing process is 100% complete you can open your file manager to look at your flash drive. You will clearly see the extracted Linux installation files sitting on the drive. Then you can reboot and configure your computer BIOS to boot directly from the USB drive. You are now ready to install Linux exactly as needed.
For additional training resources, check out our online IT training courses.
Check out our extensive IT book series.






