
Last Updated on May 20, 2026
For those of you who still have their music CD collection, you might be looking to convert your music to another format that you can keep on your computer or load onto your smartphone. Some common audio formats include MP3, WAV and FLAC files.
Windows Media Player used to be the go-to app to rip music CDs to audio files but with the latest version, it will not download any metadata such as album art, artist names or track names. Sure, you can still use the legacy Windows Media Player, but who knows how long that will be available on Windows 11. Fortunately, there is another program you can use to transfer your music collection to your computer. In this article, we will be showing you how to install, configure and rip music CDs with Exact Audio Copy (EAC).

Installing and Configuring EAC
1. Download and Install Exact Audio Copy
The first step is to download and install Exact Audio Copy. The software is free to use for non-commercial use and can be downloaded here.
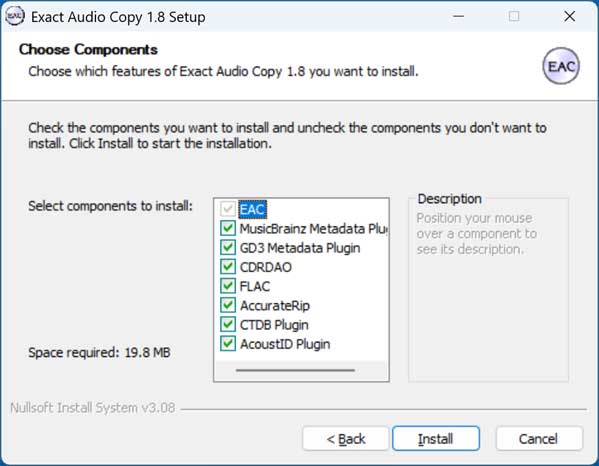
Installing EAC is fairly straightforward, but there are a few steps that you need to be aware of when performing the installation. For the choose components step, you will most likely want to choose all the options to make sure you have everything you need available when running the program.
2. Handle the GD3 Metadata Plugin Prompt
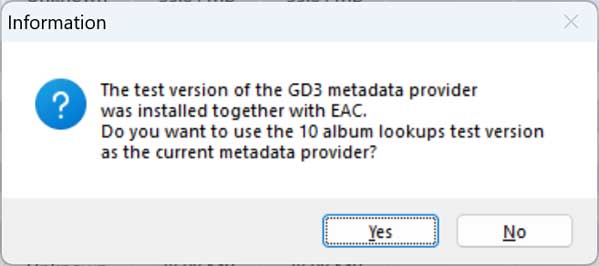
If you choose the GD3 Metadata Plugin, you will get a message saying that it is a test version that will give you 10 album lookups. You can click Yes to this if you want to try it out, but you will need to create an account to do so and it is not free to use after the first 10 album lookups. But if you like their service and will be ripping a lot of CDs, you may want to consider it.
3. Select Your Extraction Preferences
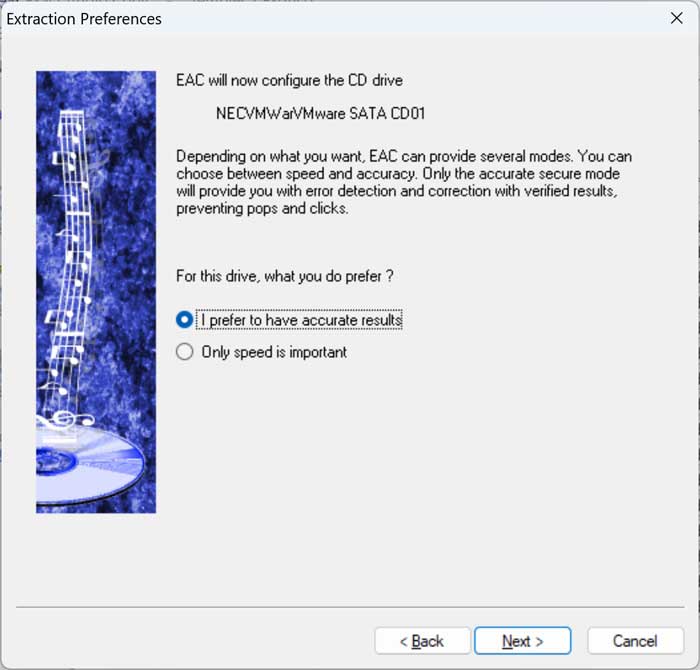
The setup wizard will then ask how you want the program to handle audio extraction. You will most likely want to choose the I prefer to have accurate results option. Selecting accuracy over speed ensures EAC focuses on error detection and correction, giving you a flawless digital copy of your physical disc.
4. Let EAC Test Your CD/DVD Drive
EAC will automatically run a performance test on your computer’s optical CD/DVD drive. This hardware detection step usually takes several minutes to complete. It is highly recommended not to do anything too processor-intensive on your computer while this test runs. Just let the program work and go take a quick break.

5. Choose Your Encoder Format
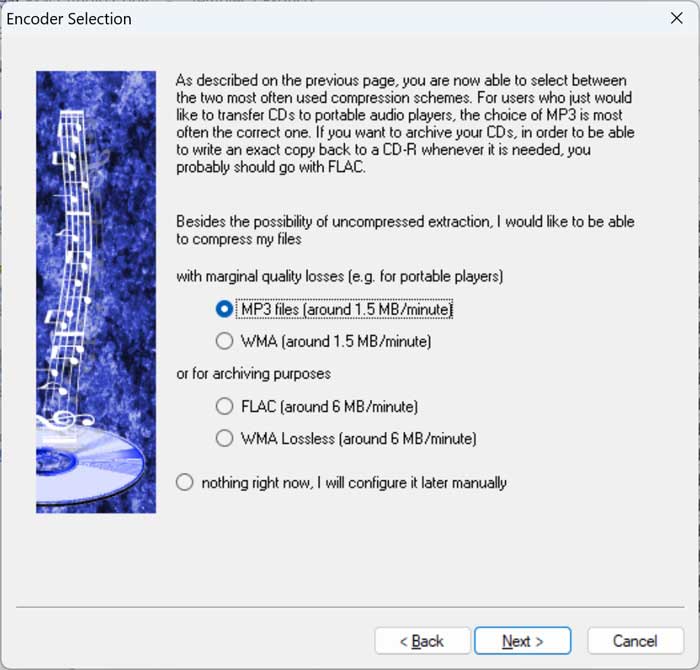
For the encoder selection setup, you can choose between MP3 and WMA formats, which have marginal quality losses. The other option offers FLAC and WMA lossless formats meant for strict archiving purposes. If you plan on actively playing your music on your phone or computer rather than just backing it up to a hard drive, you should definitely choose the first option.
6. Cancel the Automatic LAME Encoder Search
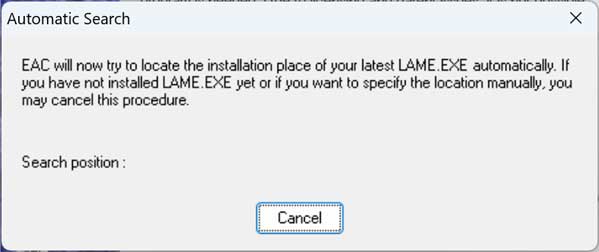
If you plan to rip your music CDs directly into MP3 files, EAC requires an external LAME MP3 encoder. A LAME MP3 encoder is simply a software tool that converts raw audio data into the compressed MP3 format using optimized, open-source algorithms. Exact Audio Copy does not come with this file included out of the box. The software will automatically start searching your hard drive for a file named LAME.exe. If you do not already have this encoder installed, just click on the Cancel button.
7. Download and Store the LAME MP3 Encoder
You can download a free LAME MP3 encoder from the Rare Wares website as well as other locations.
Once you have the encoder files downloaded, place them in a folder on your computer where you will not be moving them from. Try not to use your desktop or download folder since you may delete them while cleaning up your computer for example.
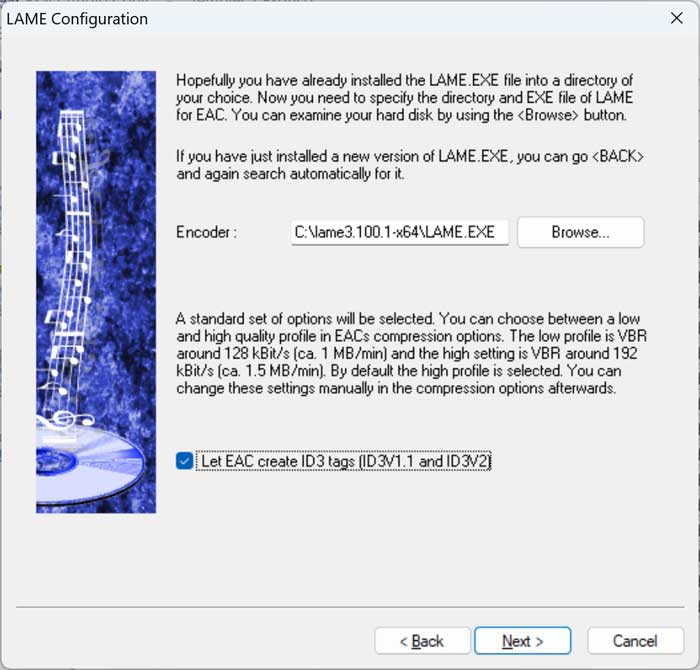
8. Configure the LAME.EXE File Path
Now you can click the Browse button and find the location of the LAME.EXE file on your computer and then click Next.
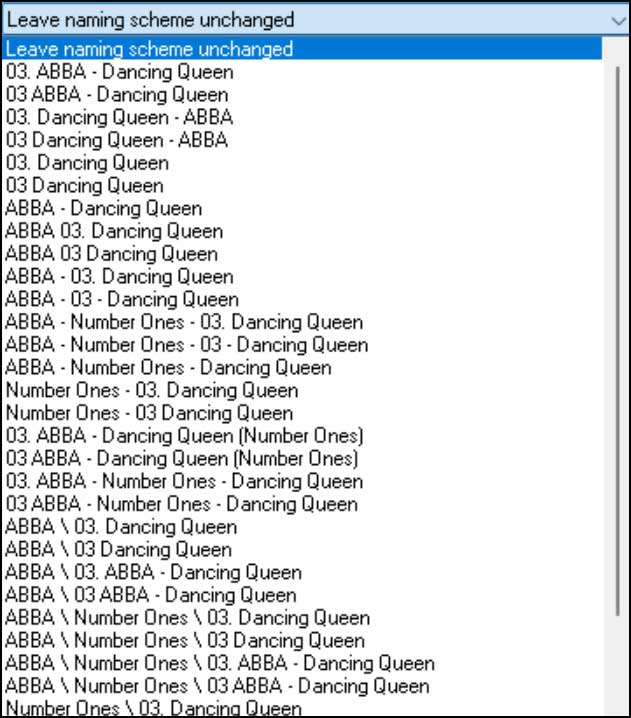
9. Set Your Preferred Naming Convention
Next, the setup wizard gives you the opportunity to alter how your ripped audio files are named. You can change the naming convention entirely if you do not want to use the default artist-track setting. Pick the format that best fits how you organize your digital music library.
Ripping your Music CD with EAC
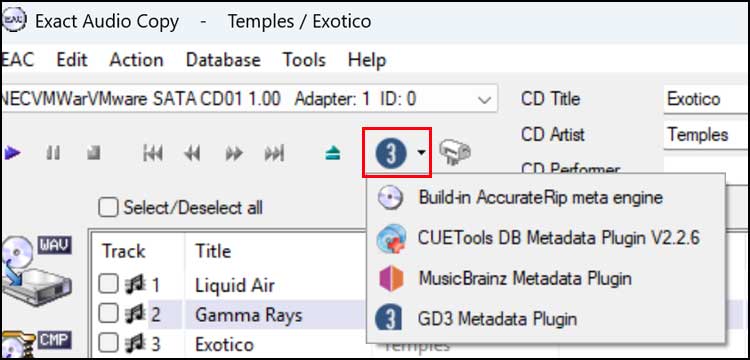
1. Select a Metadata Engine
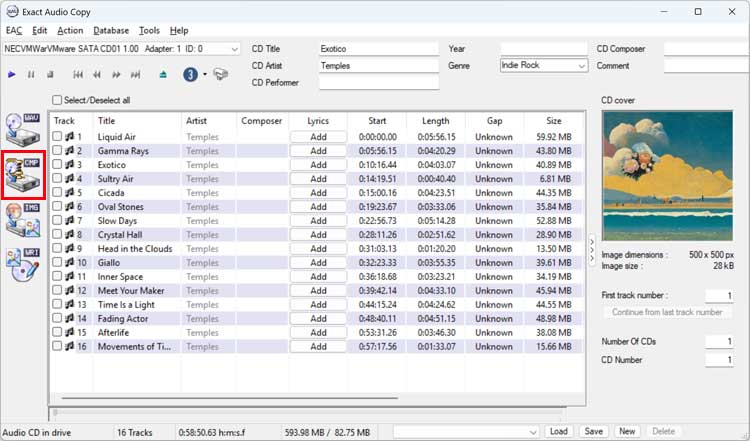
Once the initial setup is complete, you will finally be able to start using the EAC program. Look at the top of the main interface to find the drop-down menu for choosing a metadata engine. This plugin dictates where the software pulls album art, track names, and artist info from the internet. You can try them all out to see which specific database gives you the best results for your particular CDs. Remember that the GD3 Metadata Plugin is the paid one that cuts you off after 10 uses.
2. Configure External Compression Settings
Once you have your metadata loaded and ready for your music, you need to verify your compression settings. Go to the top EAC menu and select the Compression options setting. Click over to the External Compression tab if you are actively planning to rip MP3 files.
3. Verify the Encoder Parameters
From here, make sure the Use external program for compression checkbox is ticked. Look at the parameter passing scheme drop-down and choose LAME MP3 Encoder. Then, check the box labeled Program, including path, used for compression. Make absolutely sure it points to the correct location of the LAME.EXE file you downloaded earlier. You can also adjust your bit rate and other audio settings on this screen to increase the sound quality or reduce the final file size.

4. Initiate the CD Ripping Process
Once you have all these external options locked in, return to the main screen. You can then click on the CMP button on the left sidebar to start the actual ripping process. The CMP button is specifically used for generating compressed MP3s. There is also a dedicated WAV button right above it if you want uncompressed audio.
5. Choose Your Output Destination
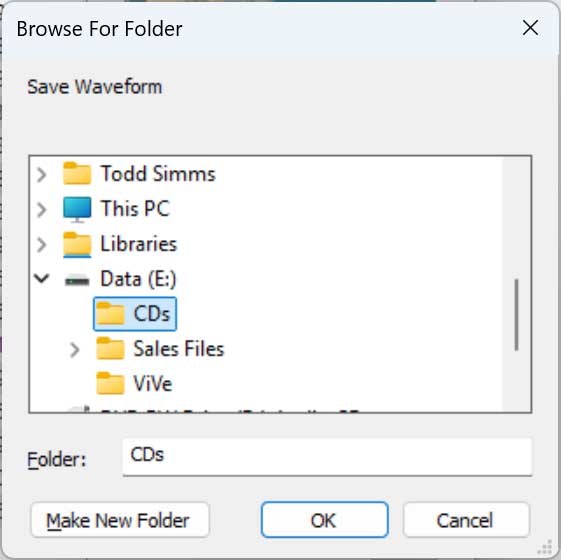
A folder dialog box will immediately pop up on your screen. You will then need to choose a specific location on your hard drive where the final ripped music files will be placed. Select your music library or create a brand new folder for the album, then click OK.
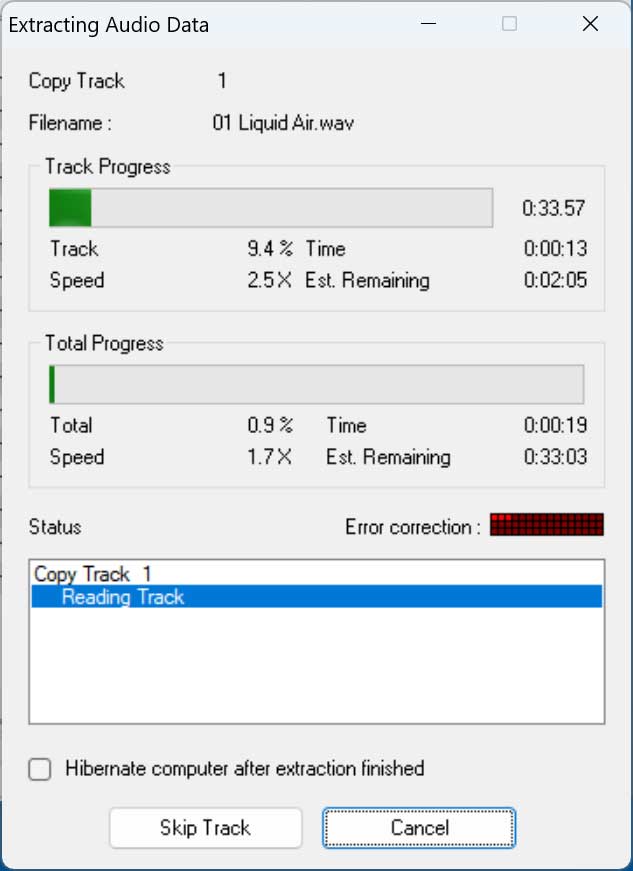
6. Monitor the Extraction Process
When ripping directly to MP3 format, you will notice that EAC actually creates large WAV files first. Do not panic if you see these populating in your folder. The software extracts the raw audio and then uses your LAME encoder to convert those temporary WAV files into MP3 files afterward.
7. Verify Your Ripped Audio Files
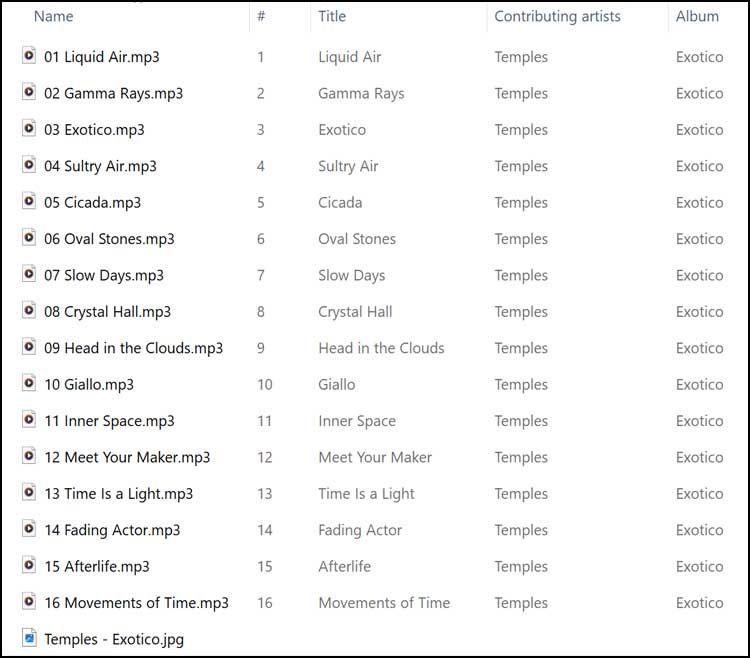
Once the extraction and conversion process is completely finished, open up your destination folder in Windows File Explorer. You should be able to see your newly ripped MP3 files sitting right there. The folder will also include all their downloaded metadata and a separate image file for the album art.
For additional training resources, check out our online IT training courses.
Check out our extensive IT book series.


