Last Updated on May 18, 2026
Printing in Windows is nothing new and many people have their own printer at home or at the office. And many people have more than one printer connected to their computer.
Adding a printer to Windows is pretty straightforward and removing one usually is as well. But sometimes Windows doesn’t act like it should and doesn’t properly remove a printer when you do so using the conventional methods.

1. Attempt Standard Printer Removal
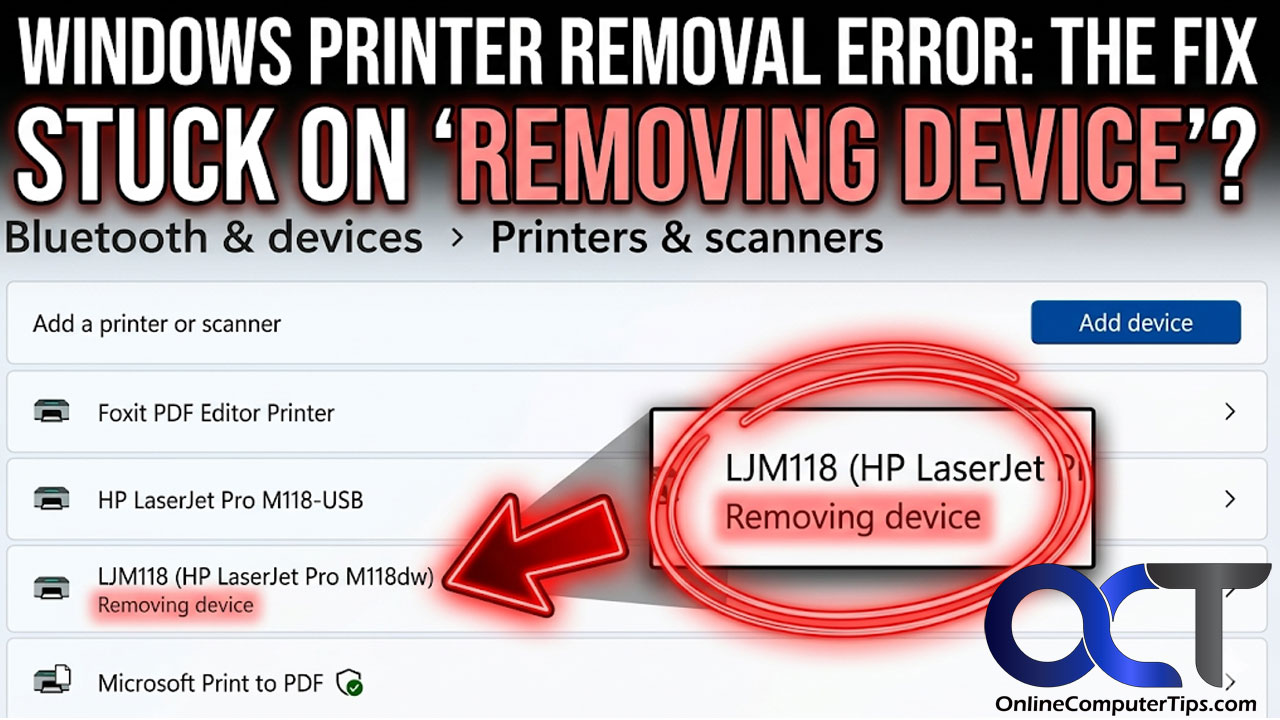
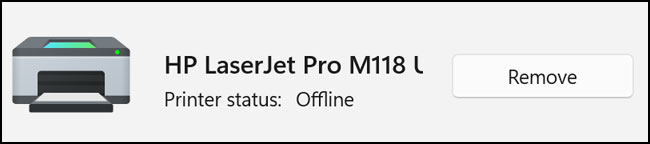
To remove a printer in Windows, you would open the Windows Settings app and navigate to Bluetooth & devices > Printer and scanners. Then you would simply click on the printer you want to remove and then click the Remove button. You may find that after clicking the Remove button the printer stays in your list. Underneath the printer’s name it says Removing device and never gets completely removed.
2. Reboot Your Computer
There are a few things you can do to try and remove the printer from your computer. Many times, just doing a simple reboot of your PC will fix the problem, if you are lucky. A fresh restart clears out basic memory conflicts and forces the operating system to drop dead hardware connections. Try this basic troubleshooting step before digging into background system services.
3. Understand Windows Print Services
One thing you can try before restarting your computer is to stop the Windows Print Spooler service. Windows services are background programs that run automatically behind the scenes to keep the operating system and apps working. They handle ongoing tasks like networking, updates, or printing without needing any user interaction. This process runs silently even when no one is logged in.
4. Stop the Print Spooler Service
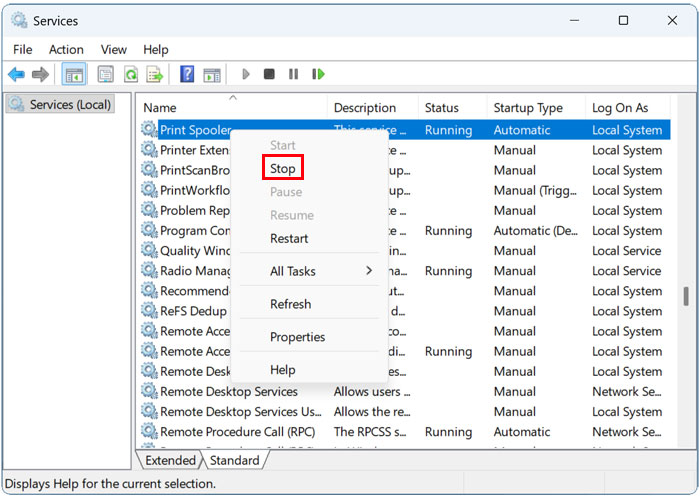
To open the Services tool, you can type services in the taskbar search box and then click on the Services shortcut. Then scroll down to Print Spooler in the alphabetical list, right click it and choose Stop. This action forces Windows to sever all active communication with your connected printing hardware.
5. Restart the Spooler Service
Then you can try to either right click it again and choose Start or just reboot your computer. When Windows starts up again, it will restart the Print Spooler service automatically. This quick cycle often dislodges the stuck device from your settings menu. Check your hardware list to see if the phantom printer finally disappeared.
6. Locate the Windows Spool Folder
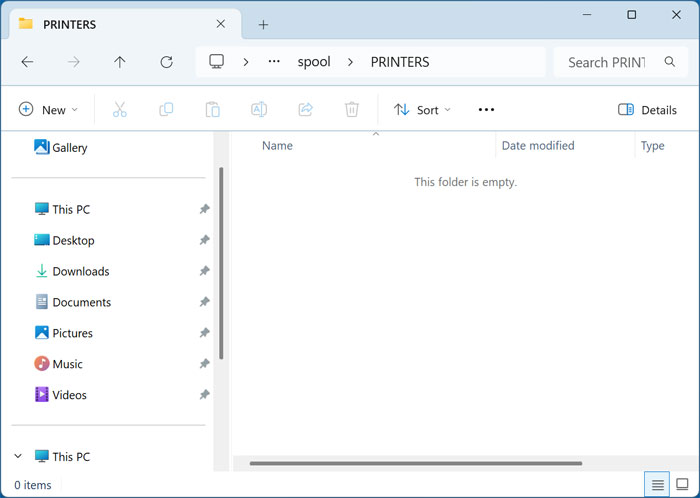
If that doesn’t work, you stop the Print Spooler again and open File Explorer. Navigate directly to the C:\Windows\System32\spool\PRINTERS folder and delete any files within this directory. This folder contains temporary print queue files created by the Windows print spooler.
7. Bypass the Folder Permission Error
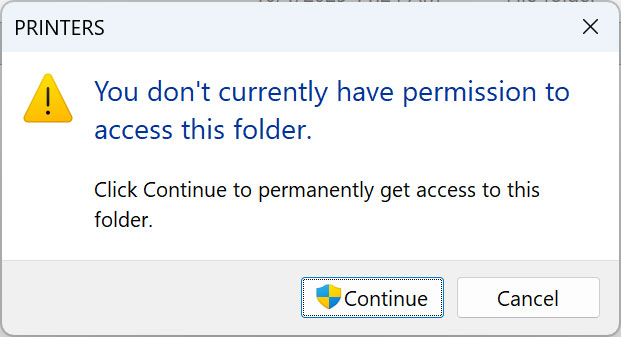
You will most likely receive a message saying You don’t currently have permission to access this folder when you try and open it. Do not let this security warning stop you. But if you are a local administrator on the computer, you can simply click the Continue button to gain access.
8. Clear Out the Spooler Directory
There is a good chance you will not see any files in this folder unless you happened to have some print jobs stuck at the same time. But if you do see any files, you can delete them and then start the Print Spooler service again. Highlight everything inside the folder and press your delete key to permanently trash the corrupted queue.
9. Launch an Elevated Command Prompt
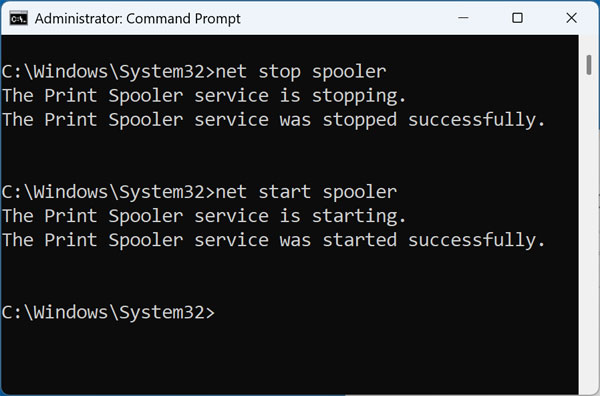
The next method you can try involves using the net stop command as admin to force the print spooler to stop. To do so, you can type cmd in the taskbar search box and find the Windows Command Prompt. You can then right click on it and choose Run as administrator.
10. Execute the Net Commands
Next, type in net stop spooler to stop the print service. Press enter to execute the command. Then type net start spooler to restart the Print Spooler service. The console will print a success message confirming the service is running normally again.
11. Remove the Printer from Windows Settings
Then you can go back to the Windows Printers & scanners settings and click on the Remove button once again. Check and see if your printer is now removed from Windows. The ghost hardware should finally vanish from your active device list completely.
For additional training resources, check out our online IT training courses.
Check out our extensive IT book series.