
Last Updated on June 3, 2026
As you probably know, Google’s Gmail service is one of the most popular email services in use today with over 2.5 billion active users worldwide. Once you have a Google account, you have access to Gmail plus a wide variety of other free Google apps such as Docs, Drive, and Photos.
To access your Gmail account, you normally use the Gmail website which provides a webmail interface for you to use to send and receive emails. You can also configure various email clients such as Microsoft Outlook to be used with your Gmail account. But that does not offer the same look and feel as the website does. In this article we will be showing you Meru which is the free Gmail desktop application that looks just like the Gmail website.

Downloading and Installing the Meru App
1. Download the Setup File
To start using Meru, you will first need to download it from their website. Depending on what web browser you are using, you may get a warning asking if you really want to download the setup file. This happens when downloading files that are new or unsinged or are executable type files such as .exe, .msi and .bat for example.
2. Bypass the Browser Block
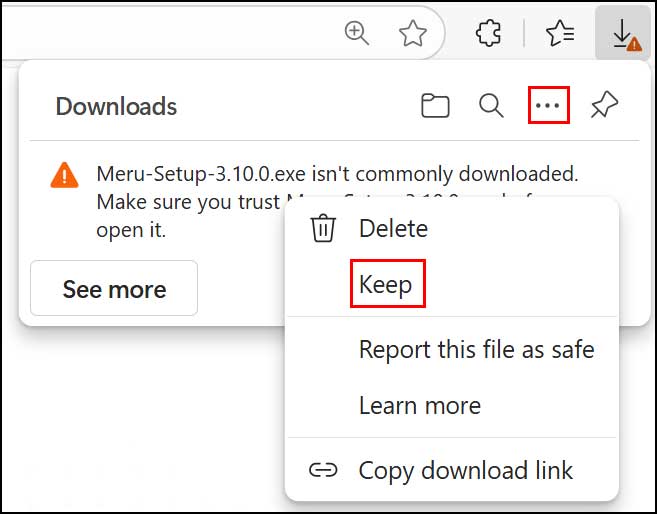
If you are using Microsoft Edge to download Meru, the browser will likely flag the file as suspicious. You can click on the three dots at the upper right corner of the downloads panel. Choose Keep to allow the download through to your computer.
3. Override Windows SmartScreen
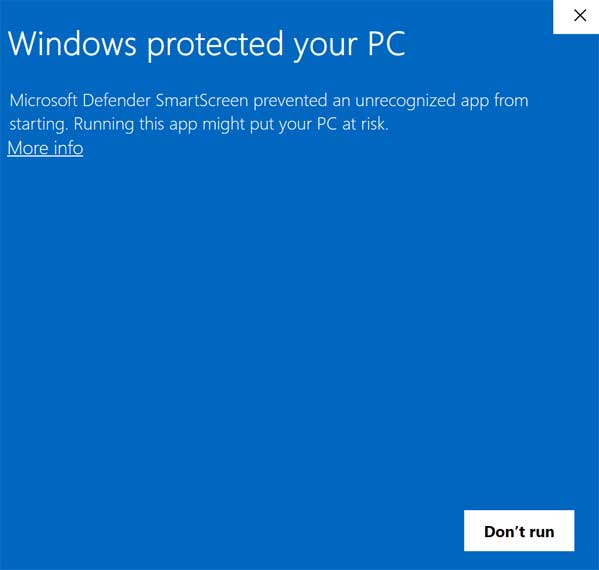
When you double click the Meru executable installation file, you may get a message from Microsoft Defender SmartScreen saying Windows protected your PC. This can happen with newer apps or those that do not have expensive security certificates associated with them. To get around this simply click on More info and then click the Run Anyway button. Then you will be able to install the Meru Gmail desktop application on your computer.
Configuring the Gmail Desktop Interface
1. Sign Into Your Account
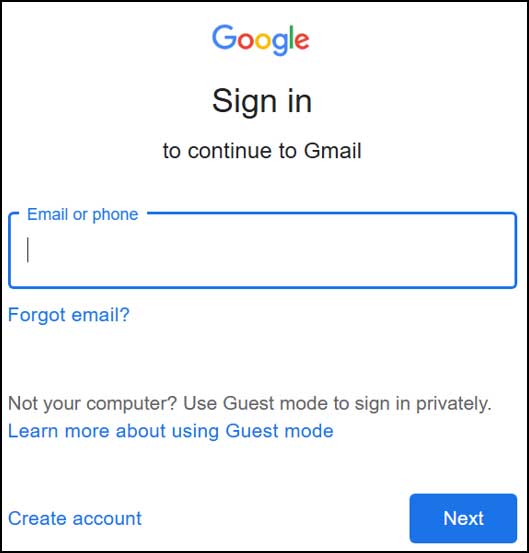
Once you install Meru and run it for the very first time, the application requires authorization. You will be asked to log in with the exact Gmail account you want to use with the app. Enter your credentials and approve any two factor authentication prompts. It is completely safe.
2. Explore the Native Layout
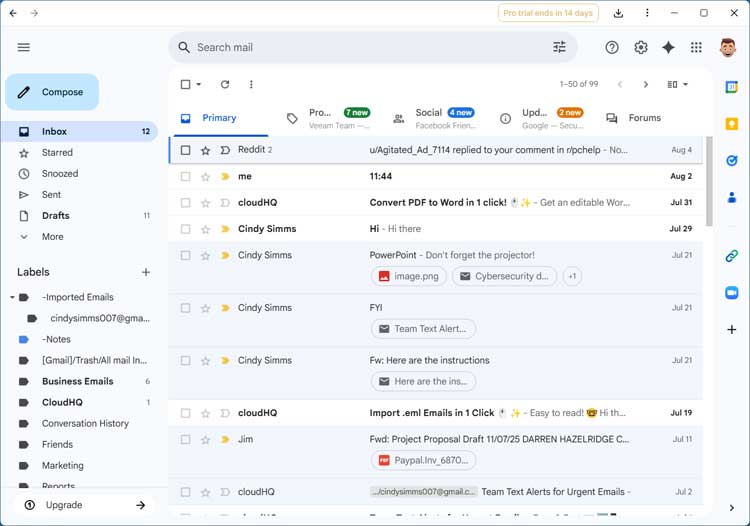
Then the Meru app will open and your email along with your folders and labels will be ready to use. As you can see in the image below, the Meru app looks absolutely identical to the standard Gmail website. The only difference is that it is a standalone app that you can have a shortcut for and even pin to the taskbar or start menu if desired. It even has the standard Gmail categories such as Promotions, Social and Updates built right in.
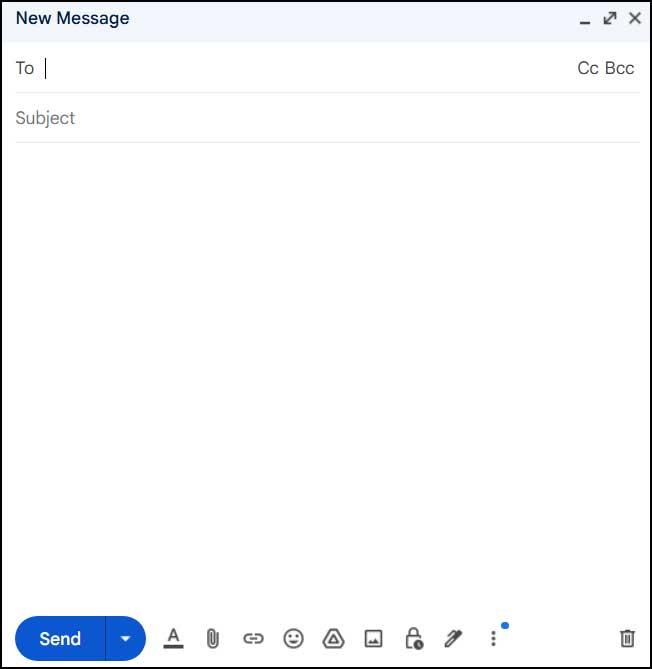
3. Compose a New Message
Writing a new email works exactly like the browser version. When you compose a new email, you will have all the same formatting options as you do with the web interface. You can attach files, insert links, and change font colors instantly.
Exploring Advanced Meru Features
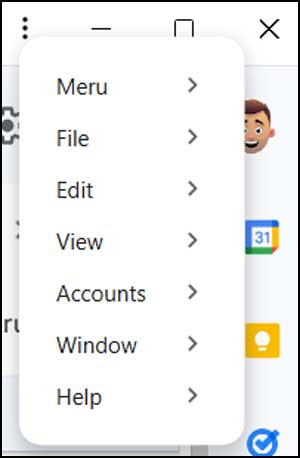
1. Access the Application Settings
At the upper right corner of the Meru application, you can click on the three vertical dots. This specific action opens the application menu options as seen in the image below. You can adjust your account preferences directly from this panel.
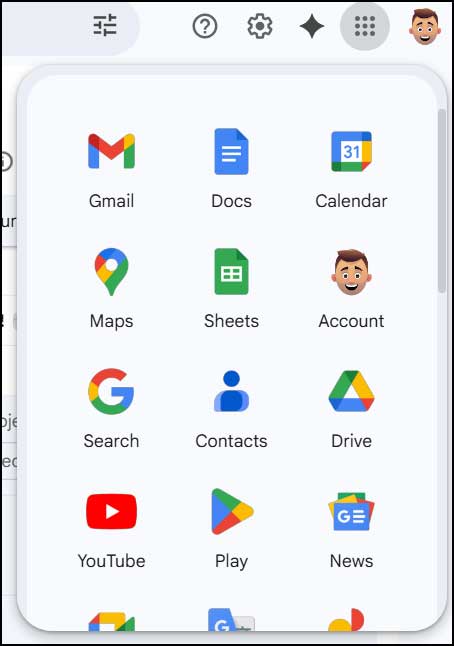
2. Use the Google Waffle Menu
You also have the familiar Google Waffle icon sitting right next to the settings gear. This is exactly where you can launch other connected Google apps. The free version routes these clicks straight to your default web browser.
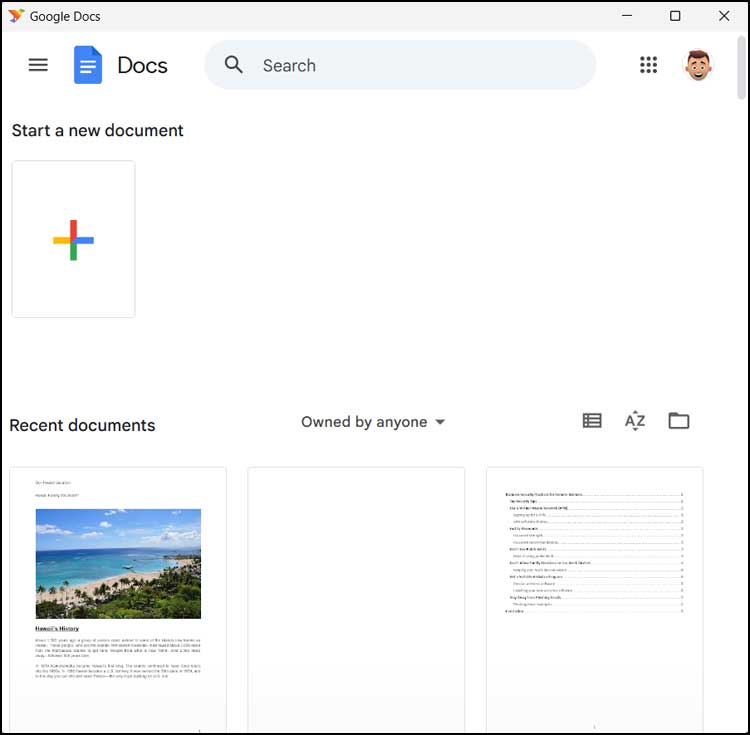
3. Unlock the Pro Workspaces
If you are using the Pro version of the app, the software handles external links differently. It will open various Google apps in its own dedicated application window rather than your web browser. This keeps your entire workflow completely isolated from your daily internet browsing. It boosts productivity heavily.
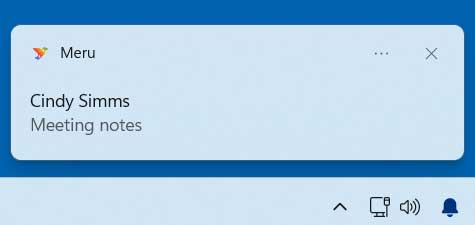
4. Enable Desktop Notifications
One great feature of Meru is the ability to be shown native Windows notifications for new messages. This alerts you to incoming mail without needing to keep the app visible on your screen. This highly requested feature comes included automatically with the free version.
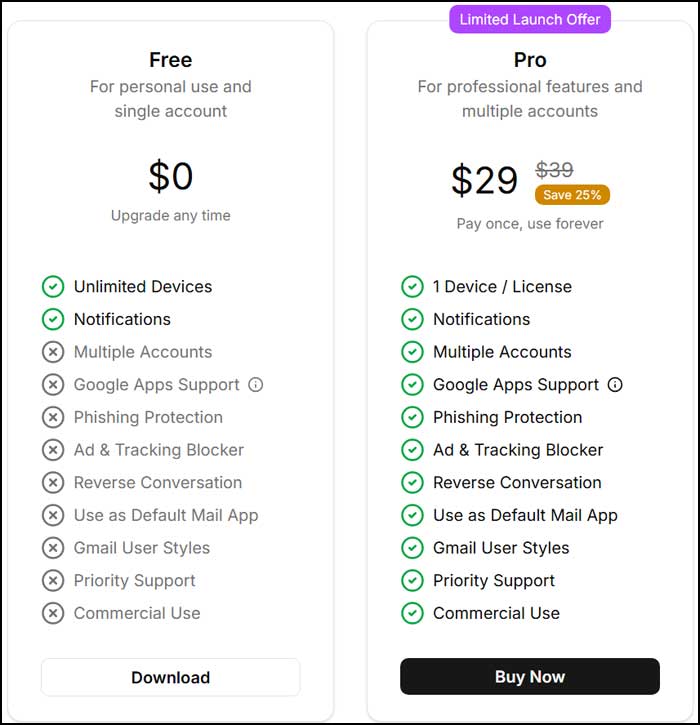
5. Review the Licensing Tiers
When you install Meru, you will automatically get a free 14 day trial of the professional version. Then if you want to stick with the pro version, you can buy a permanent license. The image below shows the exact feature difference between the free and professional versions.
For additional training resources, check out our online IT training courses.
Check out our extensive IT book series.


