
Last Updated on May 11, 2026
If you were previously running Windows 10 and have “upgraded” to Windows 11, you have most likely noticed many changes when it comes to how Windows looks and also how many of your favorite features are either missing or changed as well. Microsoft has updated many of the default Windows apps, including the popular Notepad text editor. Notepad now features tabs, formatting and even Copilot AI integration.
But there are still many people who prefer the simplicity of the version of Notepad that came with Windows 10 and do not need all the extra bells and whistles. In this article, we will be showing you how to install and run the classic Notepad app on Windows 11. And after you complete the process, you will be able to run both the new and classic Notepad apps as needed.

1. Download the Classic Notepad Software
The very first step in the restoration process involves downloading the custom classic Notepad software so you can then cleanly install it on your computer. You can easily download this specific Notepad app package directly from the website linked right here. Make sure you save the file to a familiar location on your hard drive, such as your standard Downloads folder or right on your desktop for easy access.
2. Extract the Downloaded Zip File
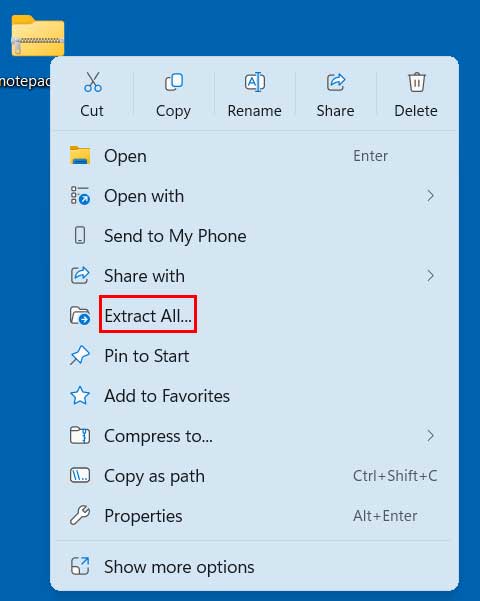
The application will come securely packaged in a standard zip file which you will need to completely unzip before installing it on your system. The absolute easiest way to do so is to simply right-click on the downloaded notepad.zip file with your mouse. From the context menu that pops up, just choose the “Extract All” option to safely unpack the contents.
3. Locate the Executable Setup File
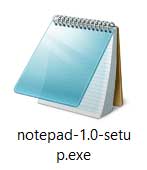
Clicking the extract button will automatically unpack the contents of the compressed file to the exact same location where you currently have saved the original notepad.zip file. Once the newly created extraction folder opens up on your screen, there will only be one single file located within it. You will clearly see that the installation package is named notepad-1.0-setup.exe.
4. Launch the Installation Wizard
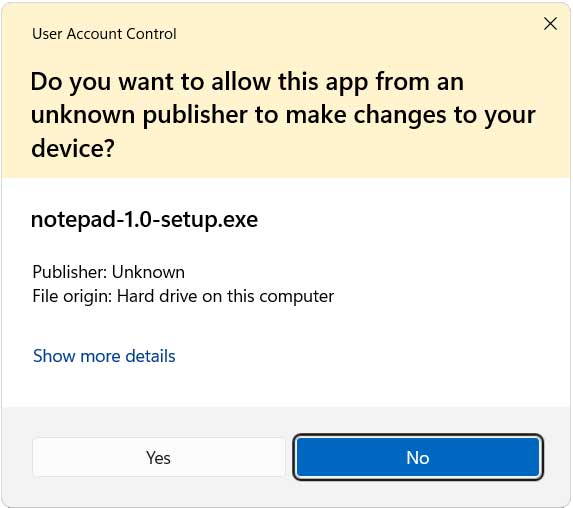
To formally install the classic Notepad app onto your operating system, you can simply double-click on the notepad-1.0-setup.exe file to start the automated installation. Please note that you will need to have local admin rights on the computer to successfully install the app system-wide. You will also need to explicitly say yes to the User Account Control (UAC) security prompt that instantly appears on your screen after double-clicking the setup file.
5. Navigate the Installer and Open Settings
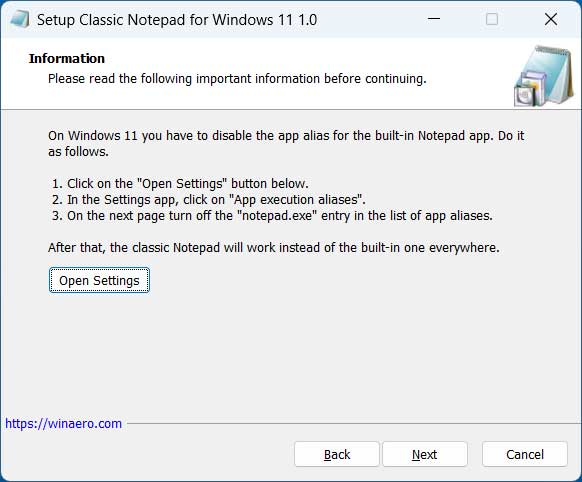
After clearing the security prompt, you can seamlessly go through the standard steps provided in the software installation wizard. You will eventually get to a specific part of the installation where you will be prompted to disable the app alias for the default, built-in Notepad app. To easily do so without hunting through menus yourself, simply click the “Open Settings” button inside the wizard to be taken to the appropriate section of the Windows settings app.
6. Find the App Execution Aliases Menu
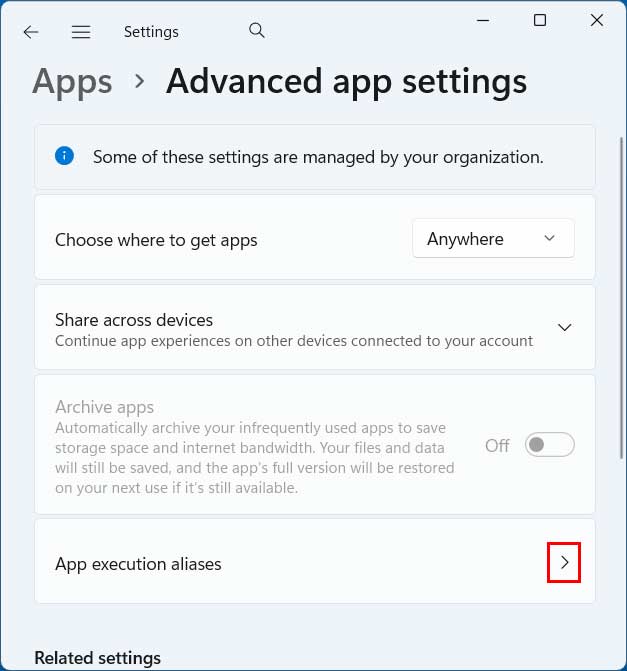
Clicking that button will automatically open up the Advanced app settings window natively inside Windows 11. From here, you will need to look near the bottom of the list and click directly on “App execution aliases” to access the hidden command routing menu. This specific menu controls which background executables are actively tied to common system commands, allowing you to effectively disable the app alias for the default built-in Notepad app.
7. Turn Off the Default Notepad Alias
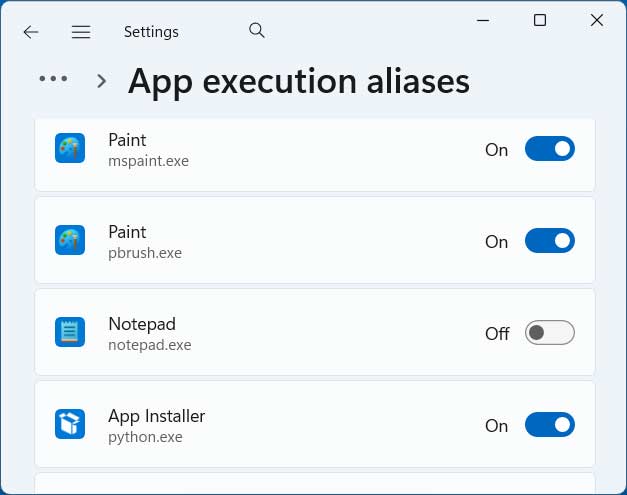
Once you are inside the execution aliases list, scroll down until you locate the entries specifically labeled for Notepad. To sever the system’s connection to the newer version, simply turn off the toggle setting for Notepad as clearly shown in the reference image below. Flipping this switch from On to Off guarantees that the classic application will intercept your text files instead of the modern Windows 11 version.
8. Finish the Classic Notepad Installation
Now that the internal system alias is safely disabled, you can go right back to the classic Notepad app installation wizard window that is still running in the background. You can simply click Next to finish the installation process and finalize the software setup on your machine. During this final step, you can even have the wizard make a convenient desktop shortcut for the classic Notepad app if you like having it instantly accessible.
9. Run Both New and Classic Notepad Apps
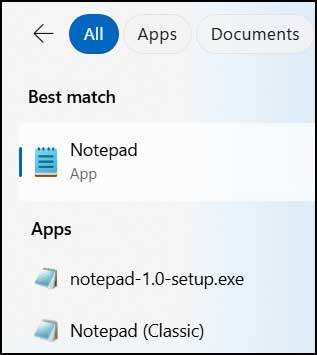
Once the entire installation is complete, you can then freely use the classic Notepad app for all of your daily text editing needs. Because we only changed the alias and didn’t delete the modern app, you can also seamlessly use the new Notepad app whenever it is needed. If you do a quick search for “Notepad” from the main taskbar search box, you should easily see the option to launch both the new and current classic Notepad apps side-by-side.
If you want to use the classic Notepad app without installing a third party version, you can try the method explained here.
If you are a Windhawk user, there is a mod you can use to do this as well.
For additional training resources, check out our online IT training courses.
Check out our extensive IT book series.


