Last Updated on May 15, 2026
If you happen not to be the fastest typist or maybe you do not like to even type at all, you can use your microphone to speak into your computer and have Windows dictate your voice into text. This way you can get your work done faster since most people can speak faster than they can type.
Of course, to do this, you will need some type of microphone or headset mic connected to your computer. There are many types of microphones you can use such as USB, Bluetooth, wireless and so on. As long as Windows can see your microphone or headset, it should work just fine.
If you are on an older operating system like Windows 10, there is a slightly different guide to setup voice dictation. The steps below specifically cover the modern Windows 11 interface shown in the screenshots, as voice typing is heavily integrated directly into this newer operating system.

Configuring your Microphone and the Windows Dictation Feature
1. Verify Your Microphone Detection
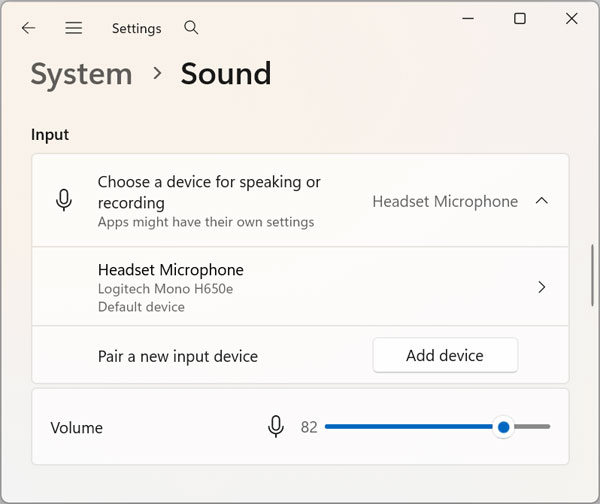
The first thing you want to do is go to the Windows settings app under System > Sound and make sure your microphone is detected. If you have your microphone on when you go to these settings, you should see the sound level move up and down as you speak. This will tell you that your microphone is ready to go.
2. Adjust Microphone Quality and Volume
If you were to click the > next to your microphone’s name, you would see additional settings for sound quality and input volume. You can even perform a microphone test from here to make sure things are working.

3. Enable Online Speech Recognition
The next step involves going to the Privacy & security > Speech setting and enabling Online speech recognition.
Online speech recognition is a feature in Windows that listens to your voice and sends it to Microsoft’s cloud services, where it’s processed and turned into text or commands with higher accuracy than your device alone could provide. It is used for voice typing and dictation, and lets you speak naturally while your words are quickly interpreted and written out.
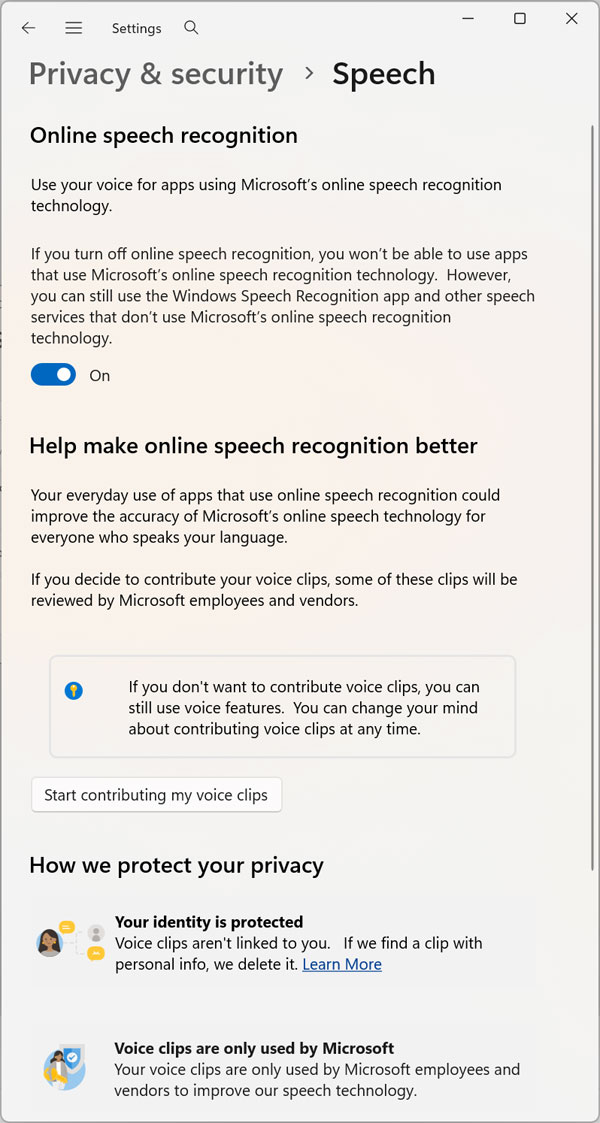
As for the Help make online speech recognition better options, you are better off just ignoring them.
Using the Windows Dictation Feature
4. Activate the Voice Typing Shortcut
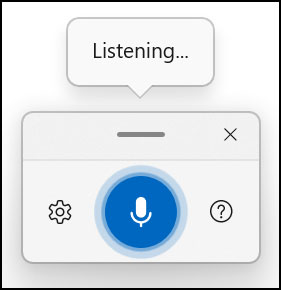
Once you have your microphone and Online speech recognition enabled, you can simply press the Windows key + H on your keyboard to enable speech to text. When you do this, you will see a box at the bottom of your screen with a microphone that lights up blue when its listening to your voice.
5. Utilize Automatic Punctuation Commands
The Windows online speech recognition feature will automatically add punctuation for you as you speak but you can also add your own by saying things like period, comma or question mark at the end of your sentences. This works the same way as it does when you use the voice to text feature on your smartphone.
6. Configure the Voice Typing Options
If you were to click on the settings gear icon while the speech recognition feature is on the screen, you will be able to change a few options such as toggling automatic punctuation and filter profanity off or on. You can even choose a different microphone from here.
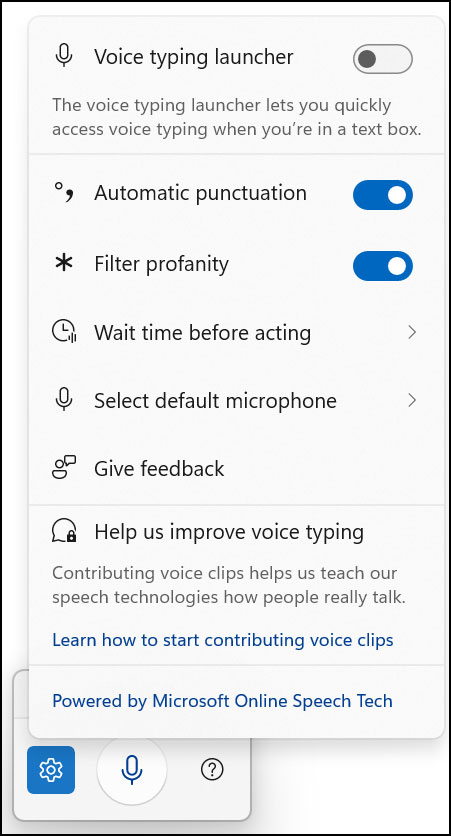
7. Enable the Voice Typing Launcher
If you were to turn on the Voice typing launcher option, you would then have a smaller microphone icon at the bottom of your screen that stays there even when you are not typing. You can then click the microphone icon to start and stop the voice typing feature. Plus, you can still use the Windows key + H keyboard shortcut if you like.

8. Turn Off the Persistent Launcher
Sometimes that floating icon gets in the way of your other desktop applications. To disable the Voice typing launcher, simply click on the ellipsis (…) located right next to the microphone icon. This opens a tiny context menu where you can flip the toggle switch to turn it completely off. The overlay will vanish instantly.

As you can see, configuring and using the Windows online speech recognition tool is fairly easy to do as long as you have a working microphone or headset mic that Windows recognizes.
For additional training resources, check out our online IT training courses.
Check out our extensive IT book series.