
Last Updated on July 4, 2026
Since almost everyone has a smartphone these days, it makes sense that many people would want to connect their phone to their computer to do things such as view and compose text messages, make phone calls and view the pictures on their device. If you are a Microsoft Windows user, you can connect your Android or iPhone to your computer to do so.
In this article, we will be showing you how to access your smartphone from Windows using Phone Link. This built-in tool eliminates the need to constantly pick up your mobile device while working. You can handle everything directly from your desktop monitor.

Setting Up the Windows Phone Link Connection
1. Enable Phone Link in Windows Settings
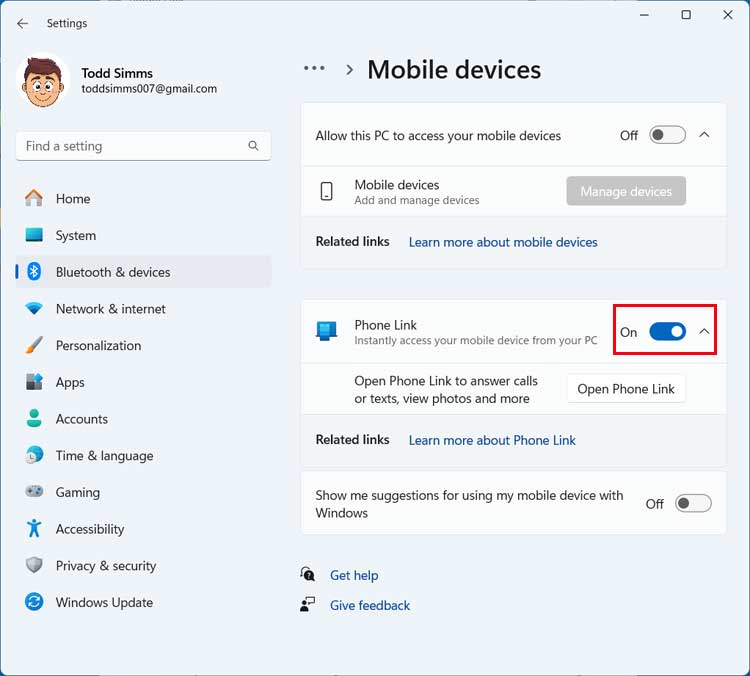
The first step in the process to access your smartphone from Windows is to enable Phone Link in the Windows settings. This can be found under Bluetooth & Devices > Mobile devices. Turn the toggle switch on to activate the feature on your computer.
2. Choose Your Smartphone Operating System
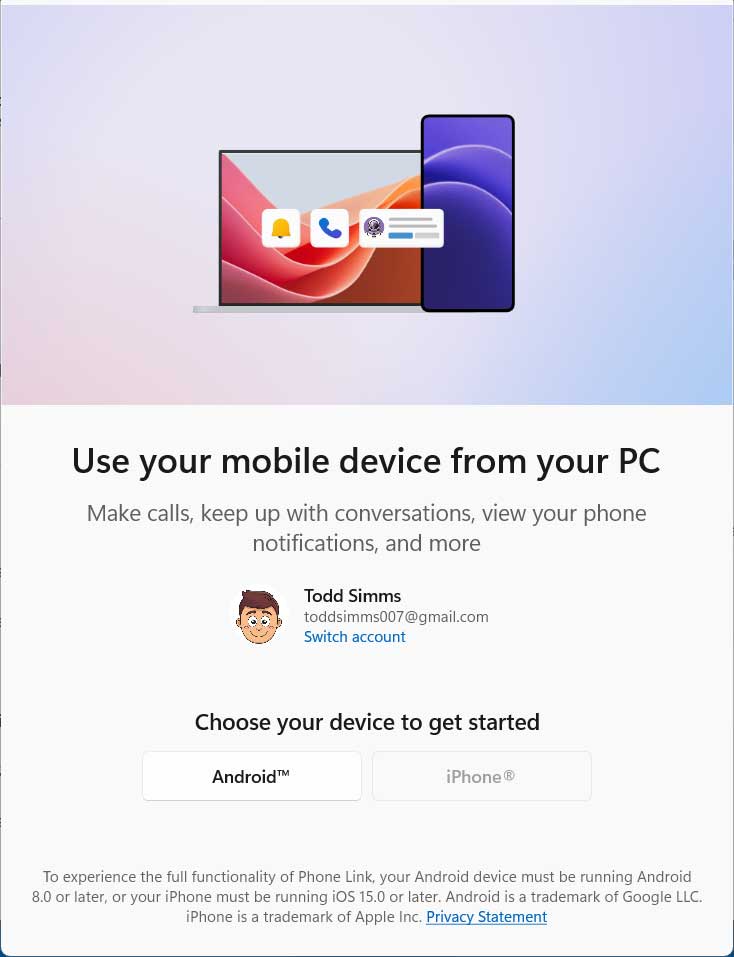
You will then need to choose the type of smartphone you are going to connect with via Phone Link. For our example, we will be using a Google Pixel Android smartphone. The process may vary a little if you are going to connect an iPhone.
3. Scan the Generated QR Code
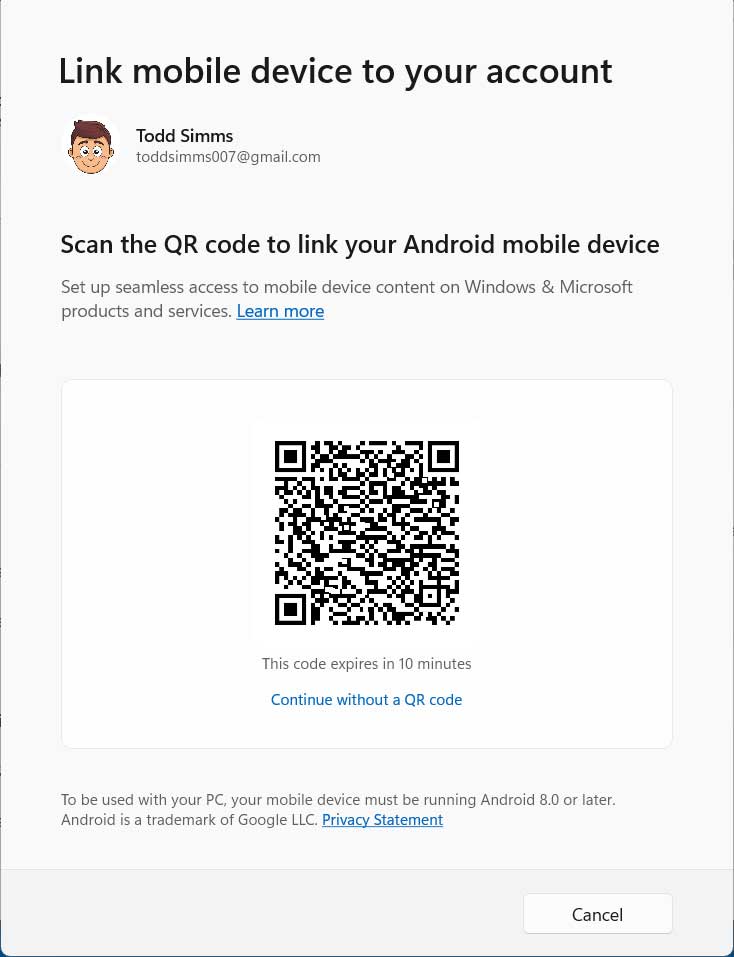
Then you will be shown a QR code on your computer screen. You will need to scan this code using the camera on your phone. It should provide a specific link that you can tap on to connect your phone to your PC.
4. Wait for the Connection Confirmation
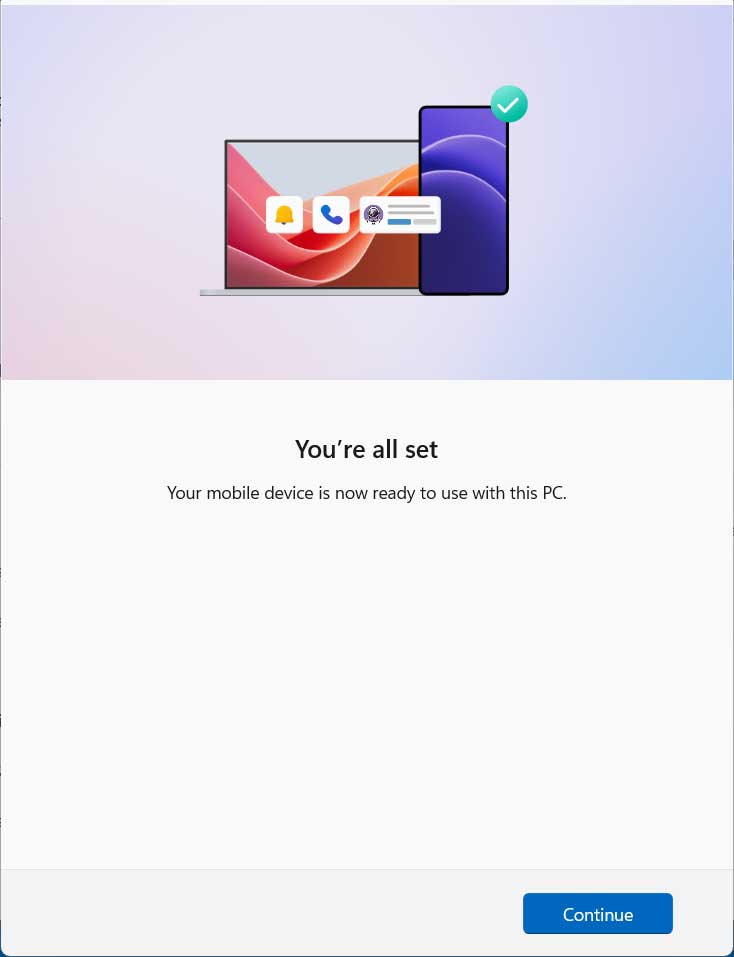
You should then see a message confirming that your phone is ready to use with your computer. This means the initial handshake between the two devices worked. Keep your phone screen unlocked just in case you need to approve more prompts.
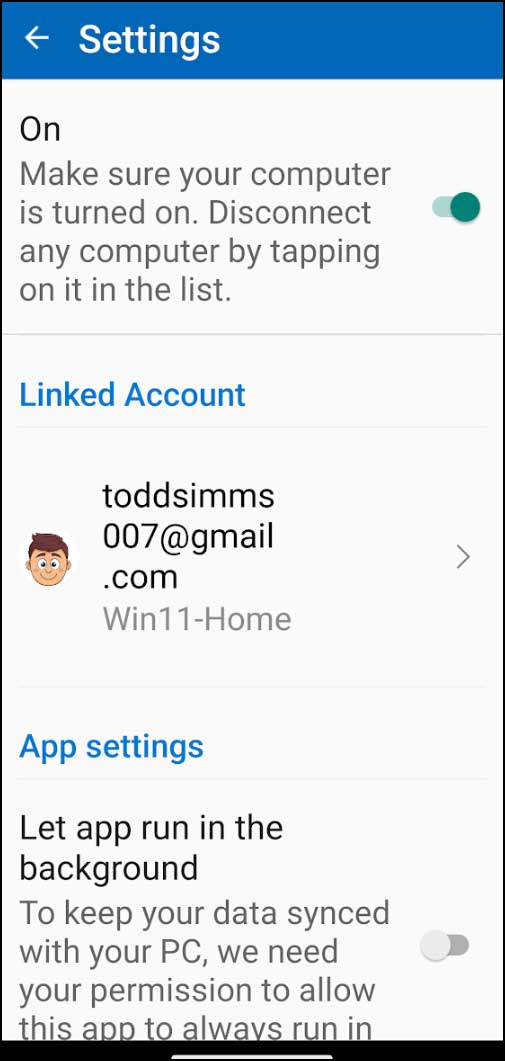
5. Enable the Link to Windows App Settings
You may also see a screen on your phone for the Link to Windows setting that may need to be enabled. Make sure you grant the necessary permissions for the app to run in the background. This keeps your data synced properly while you work.
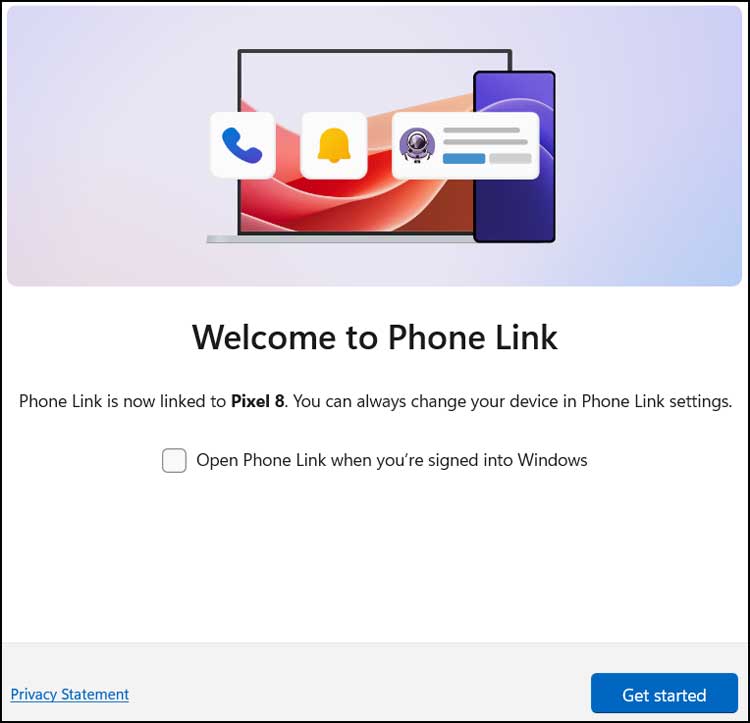
6. Finalize the PC Connection
Once your phone is successfully connected to your computer, you should see a message on your PC telling you that your phone is now linked. You can then click on the Get started button to launch the application. You are now ready to start using the Phone Link app.
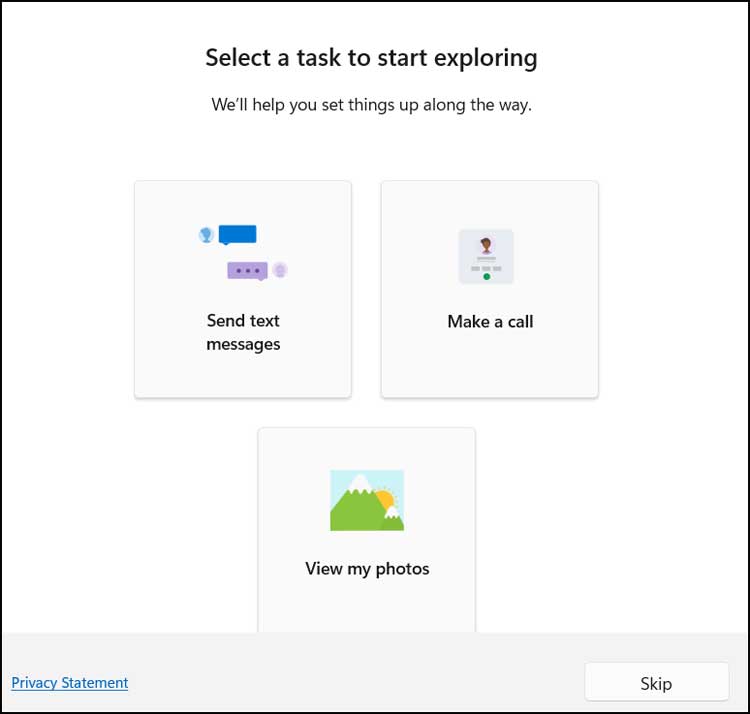
7. Skip the Feature Selection Screen
On the next screen you can either choose a specific feature to use right away. You can also just click on the Skip button. This action bypasses the setup wizard and takes you straight to the main Phone Link interface.
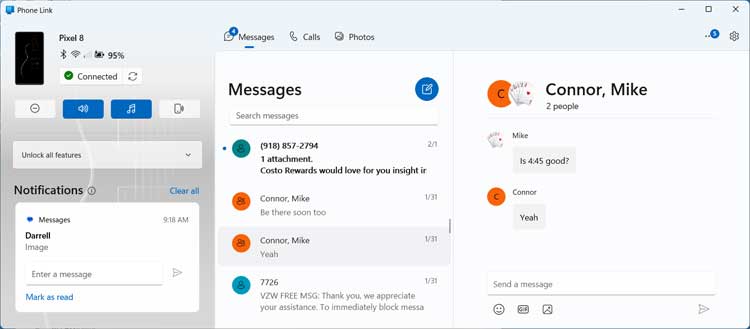
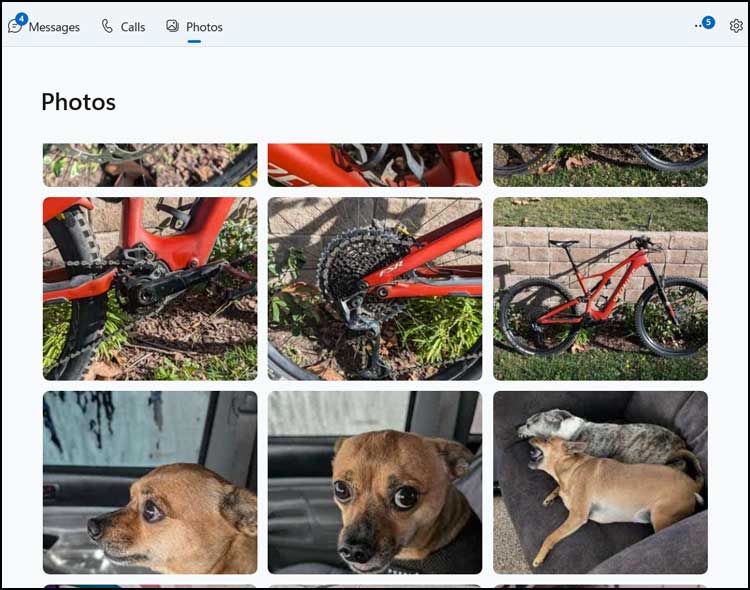
8. Navigate the Main Interface
Once you are in the main Phone Link section, you will see your active notifications located on the left side. You also get options to view text messages, make phone calls and view photos on the top of the screen. Clicking any of these tabs switches your current dashboard view.
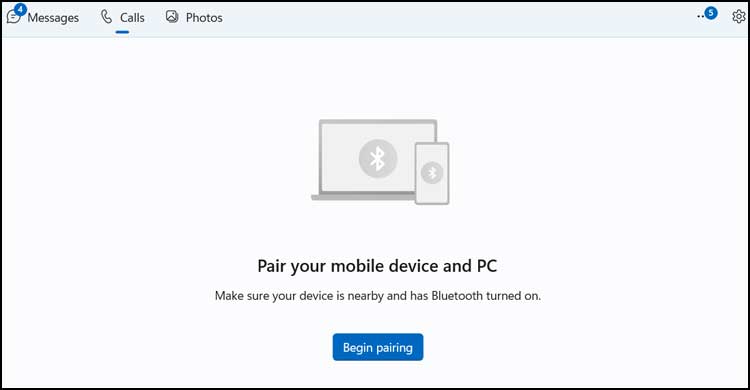
9. Initiate Bluetooth Pairing for Calls
The first time you go to the Calls section, you may need to pair your phone to your computer using Bluetooth so make sure that Bluetooth is enabled on both your smartphone and computer. Click the Begin pairing button to start this process.
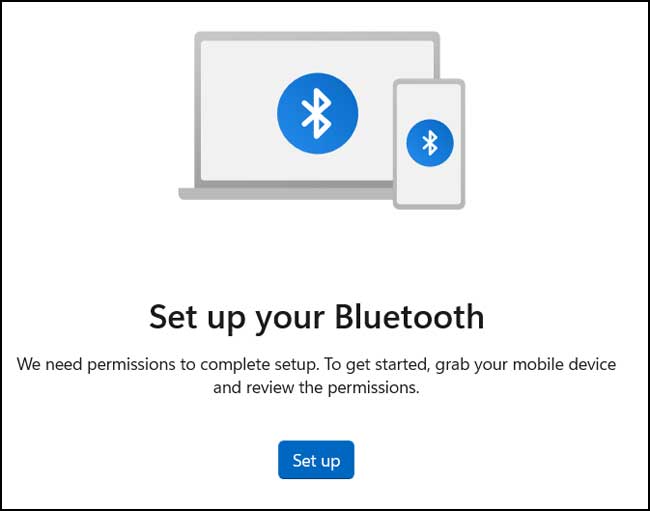
10. Approve the Bluetooth Connection
Once you click on the Begin pairing button, look directly at your phone screen. You will most likely need to look for any messages telling you to approve the connection request. Tap the prompt to allow the pairing to continue.
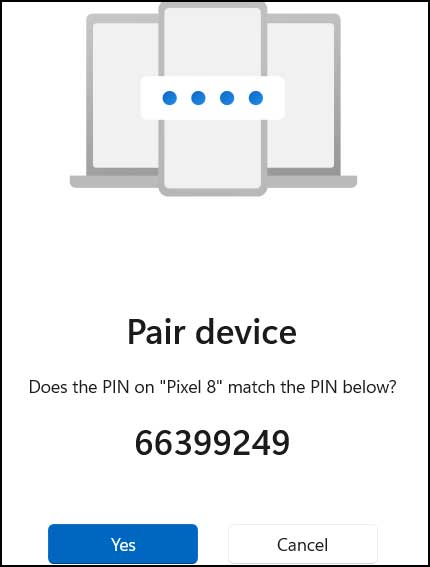
11. Verify the Bluetooth Pairing PIN
You should also get a Bluetooth pairing code on your computer screen. Compare this exact PIN with the one displayed on your phone. If everything matches up perfectly, you can click on the Yes button to continue.
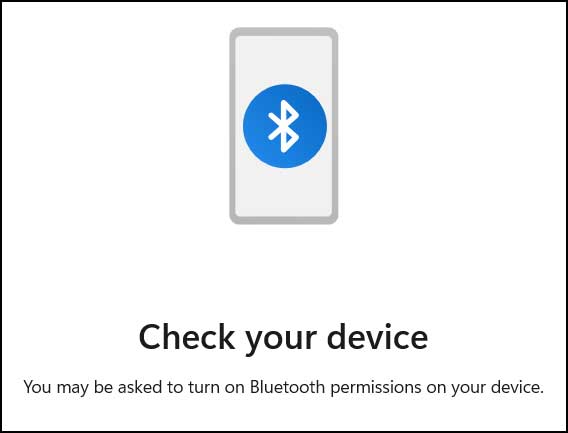
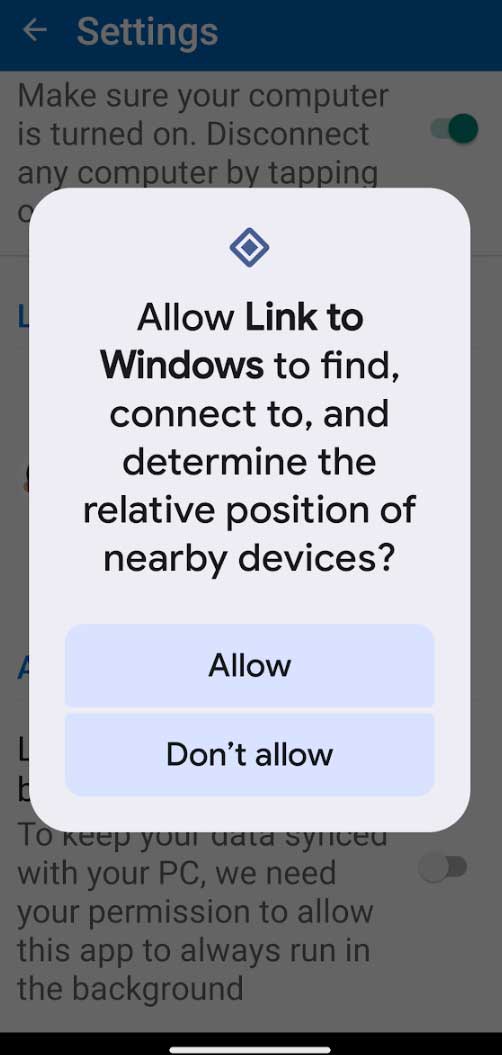
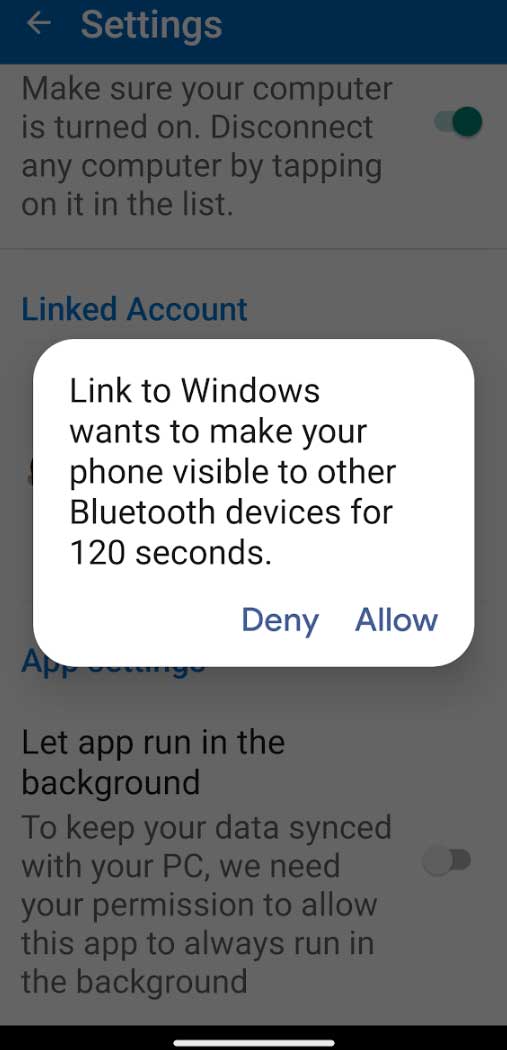
2. Allow Phone Visibility and Access
Your phone will likely ask for final permission to share data with your computer. The next two images below are examples of what you may see on your smartphone during this specific connection process. Tap allow on these prompts to ensure the calling feature works without issues.
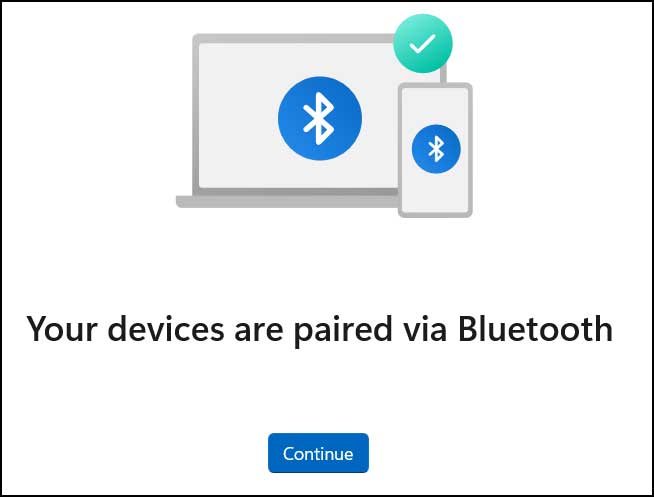
13. Confirm Successful Bluetooth Pairing
If the Bluetooth paring process is fully successful, your computer will notify you. You should see a message saying that your devices are paired via Bluetooth. Click the continue button to return to the application dashboard.
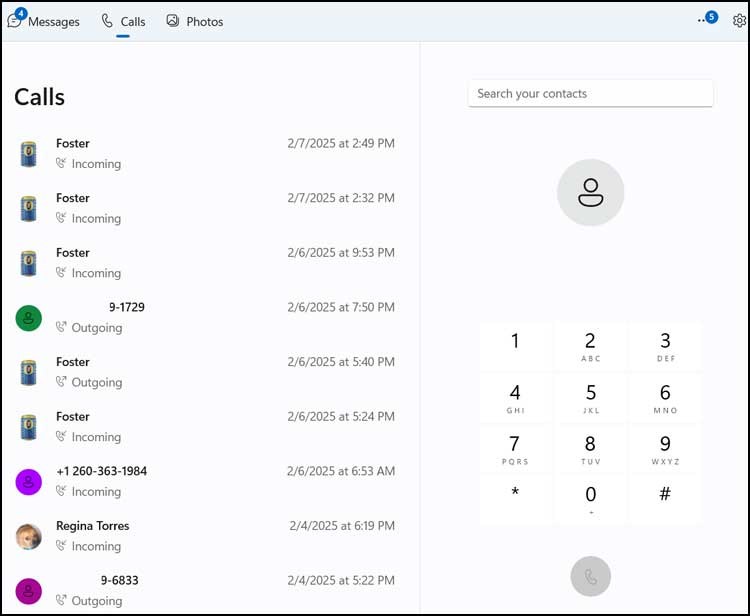
14. Access Your Call History and Dialer
Now when you go back to the Calls section, you should see your complete call history. You will also find a number pad you can use to make phone calls right from your computer. You will need to have some sort of headset microphone connected to your PC to be able to use this feature.
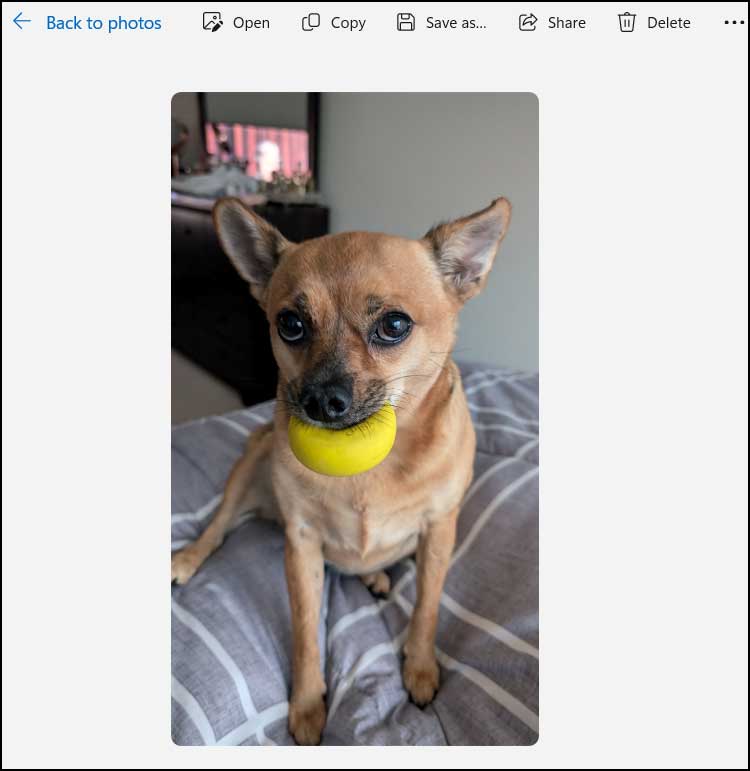
15. Manage Your Mobile Photos
You can use the Photos section to view pictures currently stored on your phone. Once you click on a specific picture to view it, a new menu bar appears at the top. You will have options for specific tasks such as copy, save, delete and share.
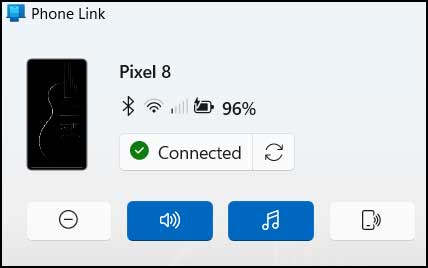
16. Control Phone Settings from the Sidebar
At the left side of the Phone Link interface, you have options to turn on do not disturb and change volume settings like mute and vibrate. You can also enable the music player directly from this panel. The last button can be used to have your phone play a loud sound to help you locate it in the room. You can also see the Bluetooth, wireless and battery status of your phone from here.
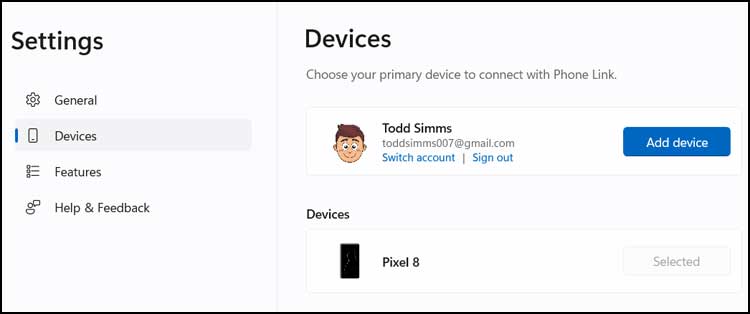
17. Access Advanced Application Settings
There are also some Phone Link specific settings available for advanced configuration. These can be easily accessed from the gear icon located at the upper right hand corner of the app. From here you can add new devices or tweak your notification preferences.
Overall, the Phone Link feature is a nice way to access your smartphone from Windows, but it can be a little tricky to set up if you are not tech savvy, but you should be able to get things up and running with a bit of patience.
For additional training resources, check out our online IT training courses.
Check out our extensive IT book series.


