Last Updated on August 1, 2026
Managing your hard drives in Microsoft Windows is a pretty straightforward process as long as you have some degree of technical skills. Most people will use the built in Disk Management tool to manage drives and volumes. And of course, if you prefer the command line, you can use the DiskPart command to manage your hard drives.
If you have a hard drive that has some extra unallocated free space and want to expand your current volume to use that free space, you can do so using Disk Management as long as the unallocated space is next to the current volume you want to extend (contiguous).

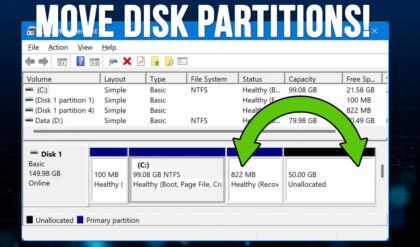
But if you have a partition between your drive and free space such as a recovery or system reserved partition, then you will notice that the Extend Volume option is greyed out.
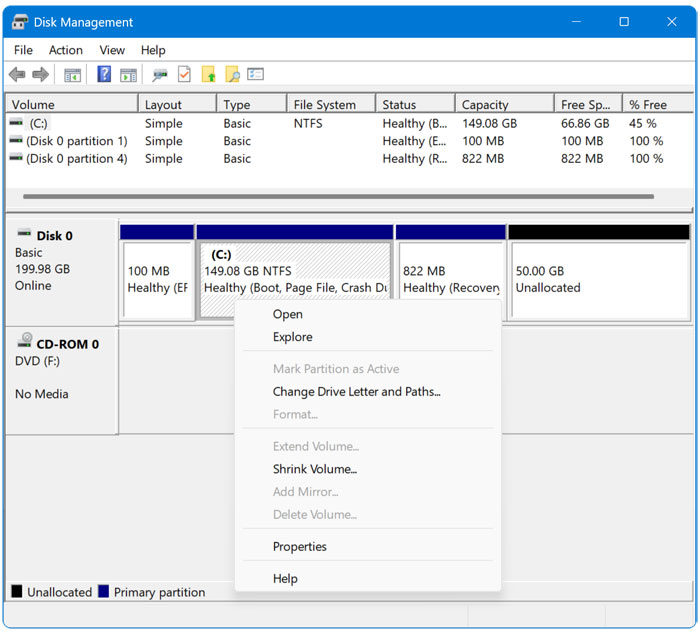
To get around this, you will need to use a third-party partition manager app to move the volume out of the way, so your unallocated space is next to the volume you want to extend. In this article, we will be showing you how to extend your hard drive in Windows when there is a partition in the way for free using MiniTool Partition Wizard. You can download MiniTool Partition Wizard Free from their website here. And always be sure to do a backup of your files before using any partition management software on your computer.
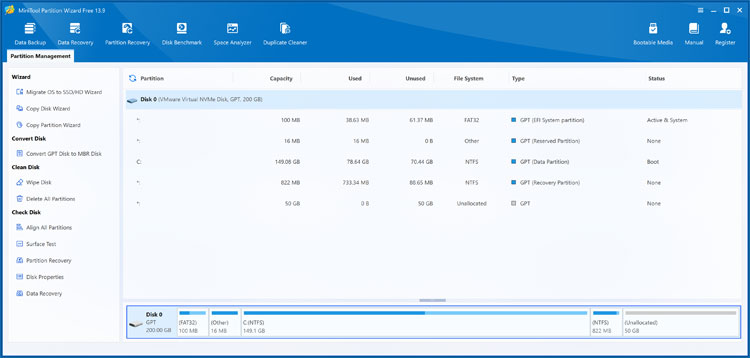
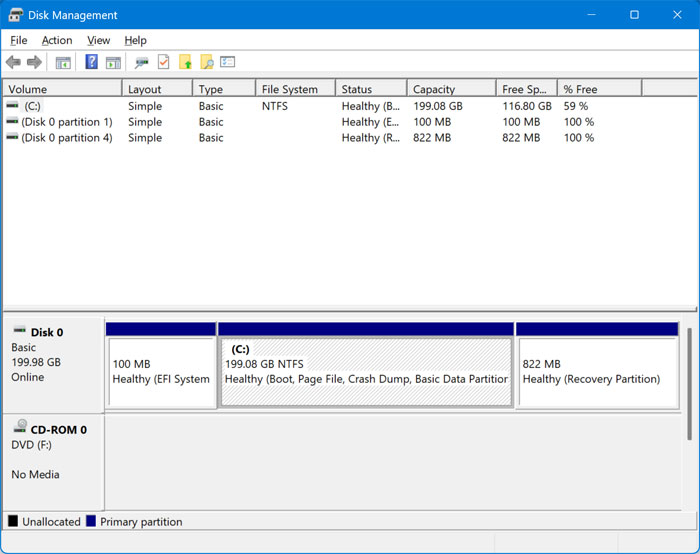
Once you have MiniTool Partition Wizard installed, you can open the program and will see a disk layout similar to what you see in Disk Management. There are two ways to move the partition and extend the drive using MiniTool.
Method 1 – Move the Partition and Then Extend the Drive
1. Identify the Blocking Partition
If you want to first move the partition that is preventing you from expanding the volume out of the way, you can do that before extending the volume. There are other tools such as NIUBI Partition Editor and IM-Magic that can do this exact same thing if you want to try those out.
2. Open the Move/Resize Menu
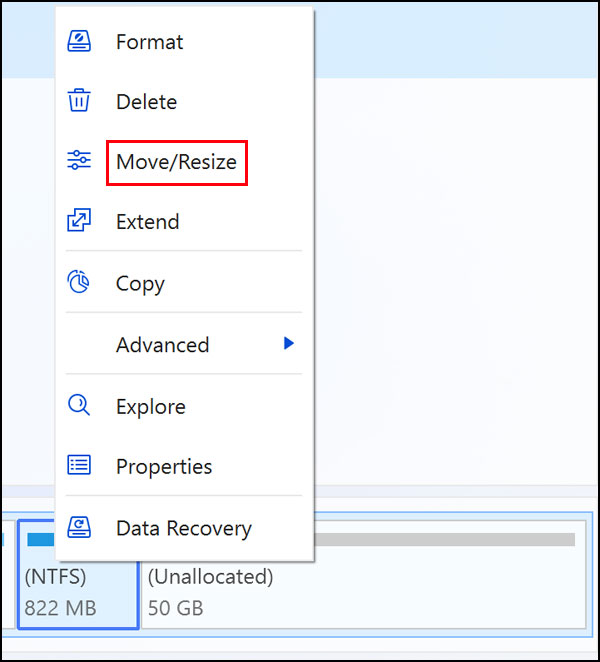
We need to move the 822MB partition over to the right of the unallocated space in order to extend our C drive. We will right click on this specific partition and choose Move/Resize from the context menu.
3. Drag the Partition Block
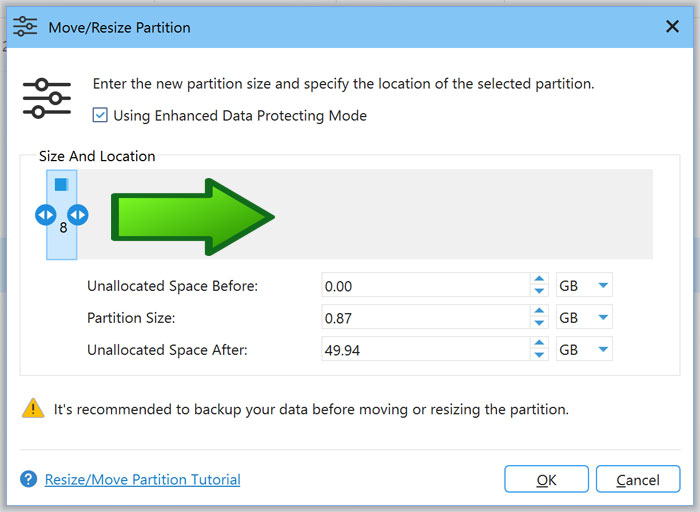
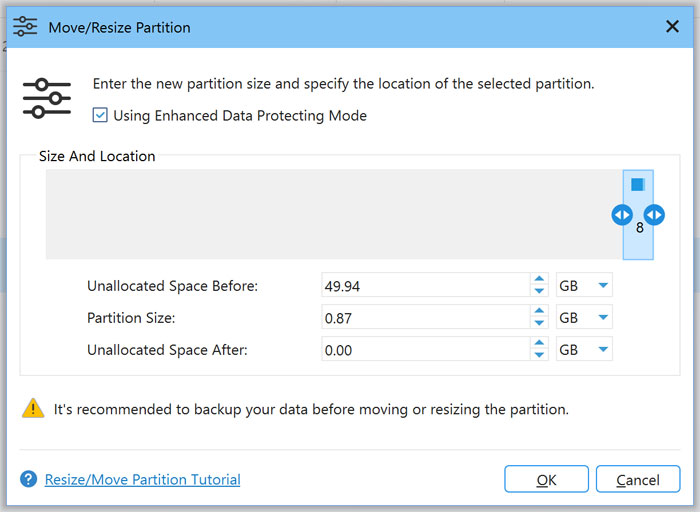
A new configuration window will appear. Then we will drag the green partition block from the left side of the box over to the right. Make sure you click and hold the center of the block to move the partition rather than dragging the edges to extend it by increasing its size.
4. Extend the Primary Volume
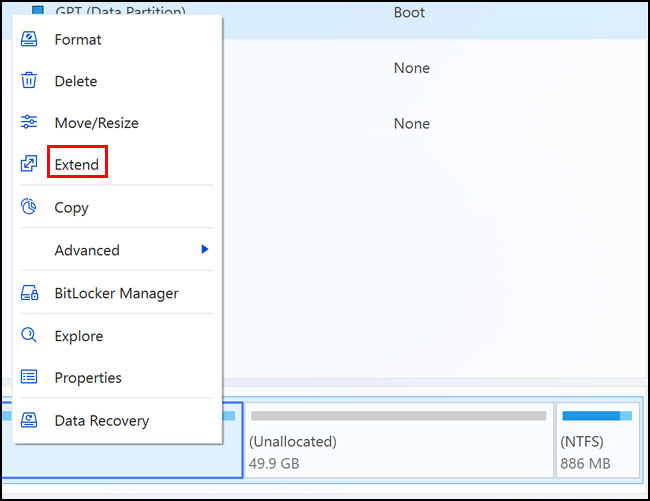
Now you can right click on the volume you want to extend and choose the Extend option to use the unallocated space for your drive. You can also go back to Disk Management and do it from there because the Extend Volume option will no longer be greyed out.
Method 2 – Extend the Drive Without Moving the Partition First
1. Launch the Automated Extend Tool
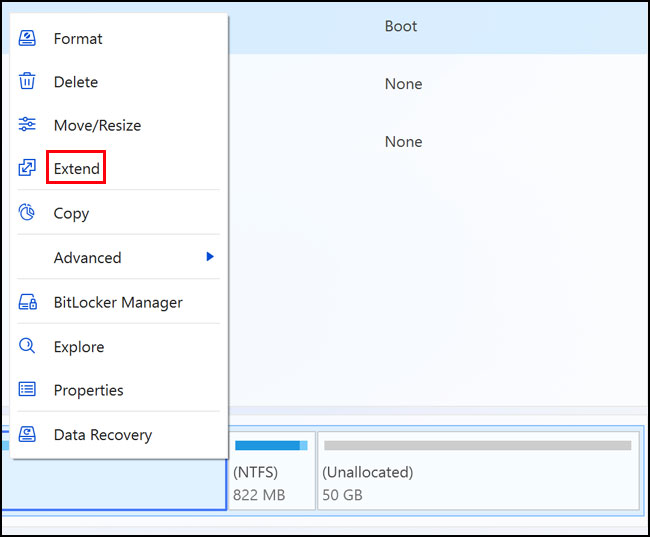
MiniTool Partition Wizard has a unique feature where it will move the partition and extend the volume all in one step. So, if you want to skip having to manually move the partition then you can simply right click on the volume you want to extend and click on the Extend option.
2. Allocate the Unallocated Space
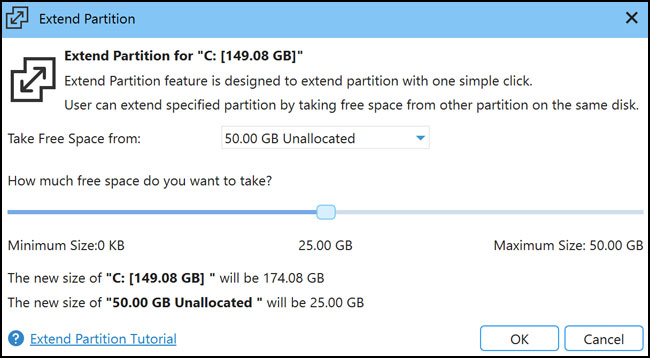
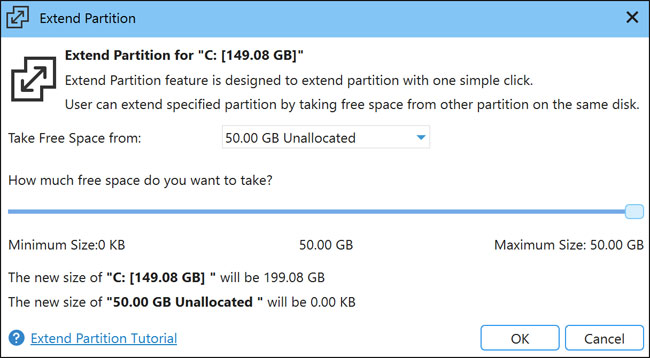
You will then be able to choose how much of the unallocated space you want to use for your existing drive. You can use the slider to determine exactly how much space to allocate. You can just move it all the way to the right to use all the free space available.
3. Apply the Pending Operations
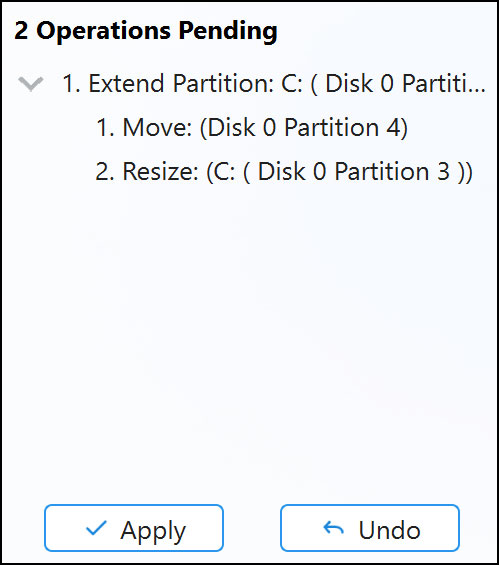
Once you have made your choice, you will need to click the Apply button on the bottom left menu to have the changes take effect. You can also click the Undo button to reverse the changes but only if you have not already clicked the Apply button. You will also need to manually apply the changes if you have used the first method where you move the partition manually.
4. Verify the New Drive Layout
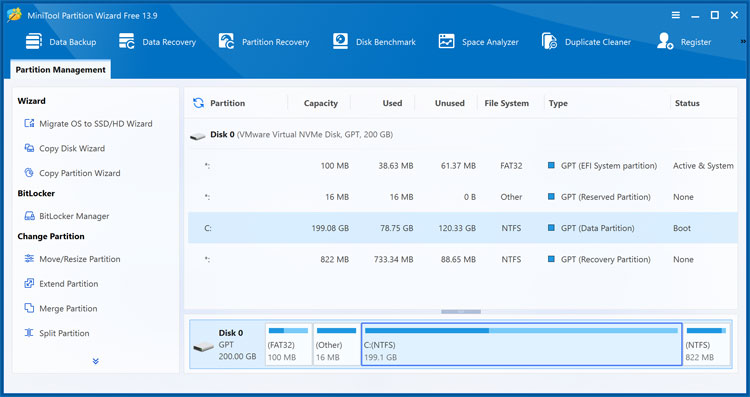
Now you can see that the C drive has been successfully extended. There is no longer any unallocated space sitting on the drive.
5. Check Windows Disk Management
You can also go back to the native Windows Disk Management tool and see the exact same results there. Your primary drive is now fully expanded and ready to use.
For additional training resources, check out our online IT training courses.
Check out our extensive IT book series.