Last Updated on August 30, 2026
Google Docs is one of the most popular word processing apps in use today. Even though it’s not as popular as Microsoft Word, there are still many people using it since it’s free and cloud based, meaning you do not need to install anything on your computer. Docs simply runs in your web browser making it easy to open and edit your documents from any device with an internet connection and web browser.
One thing that many people find frustrating about Google Docs is that they are unable to configure custom page sizes for their documents. Docs only comes with preconfigured page settings and you will need to choose one of them for your documents. Even though Docs includes most of the common page sizes such as 8.5×11, 8.5×14 and 11×17, this doesn’t help if you are needing to use a non-standard page size.

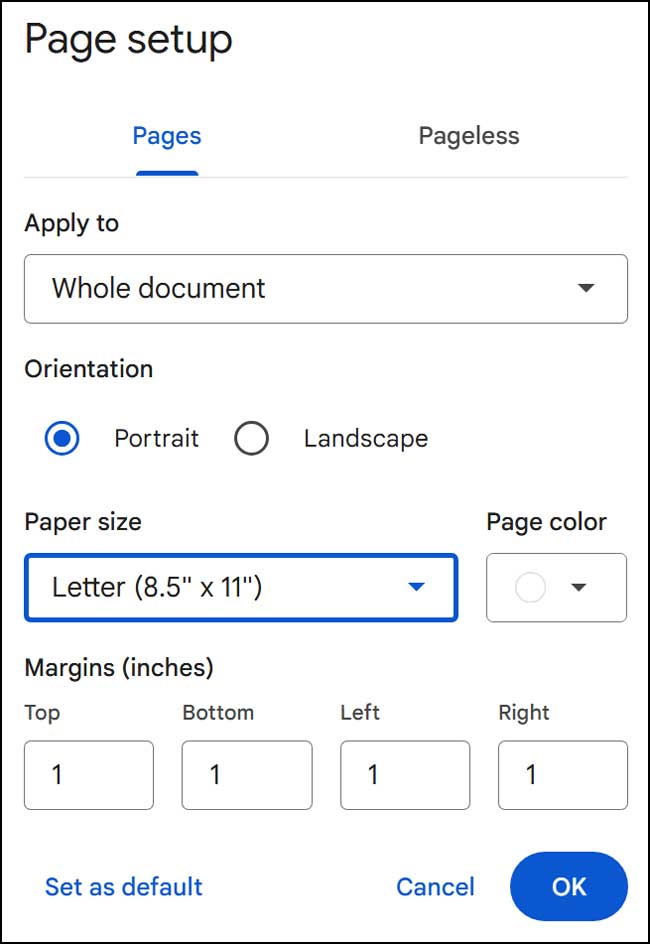
If you go to the File menu in Docs and then to Page setup, you will see the available page sizes from the paper size dropdown menu. These are the only sizes you use for your document. For people who publish their own books through services such as Amazon KDP, this will not suffice because there is a chance that they need a custom page size that is not in the default list.
Installing the Page Sizer Extension
1. Find the Page Sizer Add-on
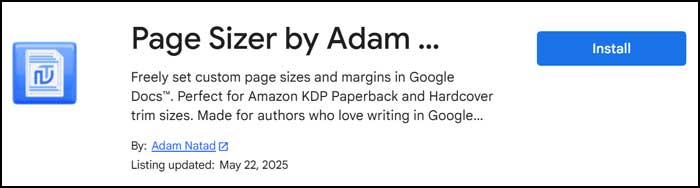
To get around this page size issue in Google Docs, we will use a third-party tool. We will be using a free Docs extension called Page Sizer by Adam Natad. You need to open the Google Workspace Marketplace in your browser. Search for the extension name directly in the marketplace search bar or click this link here.
2. Install the Extension
Once you locate the correct add-on page, look for the blue installation button. Click the Install button to add the extension to your Google Workspace account. A prompt will appear asking for your explicit permission to proceed with the installation.
3. Choose Your Google Account
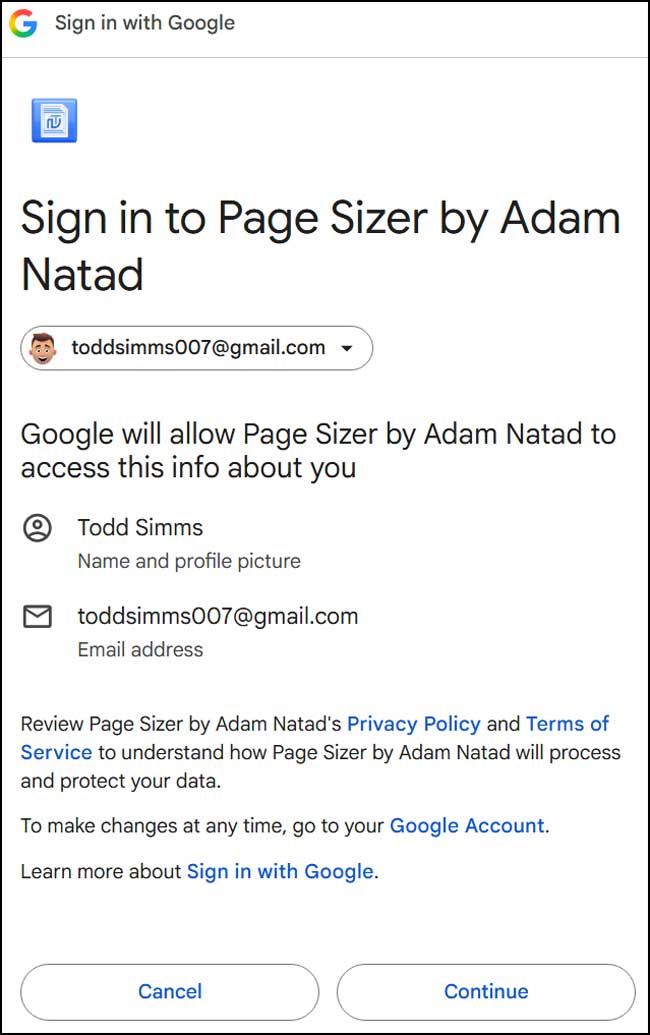
After you click on the Install button, a new secure login window will pop up. You will need to choose which Google or Gmail account you want to use with the extension. If you have more than one account active, ensure you select the exact profile associated with your target document.
4. Accept the Required Permissions
You will then need to accept the permissions required for the Page Sizer extension to continue. The first permission allows the app to view and manage documents where it is installed. This lets Page Sizer change the page size, margins, and background color in your active Google Doc. It only applies to docs where you explicitly open the add-on, not your entire Google Drive.
5. Allow Third-Party Prompts
The second permission allows the add-on to display and run third-party web content in prompts and sidebars inside Google applications. This lets the add-on show its own custom popup window inside Google Docs. This popup is exactly where you will type in your custom width, height, and margins. That is the actual Page Sizer dialog interface itself.
Configuring Your Custom Page Size
1. Launch the Page Sizer Tool
After Page Sizer is installed, you can go back to your active Google Docs tab. Refresh the web page if you already have a document open to ensure the plugin loads correctly. Go to the Extensions menu at the top of the screen. Hover over Page Sizer by Adam Natad and then click on Start.
2. Input Your Custom Dimensions
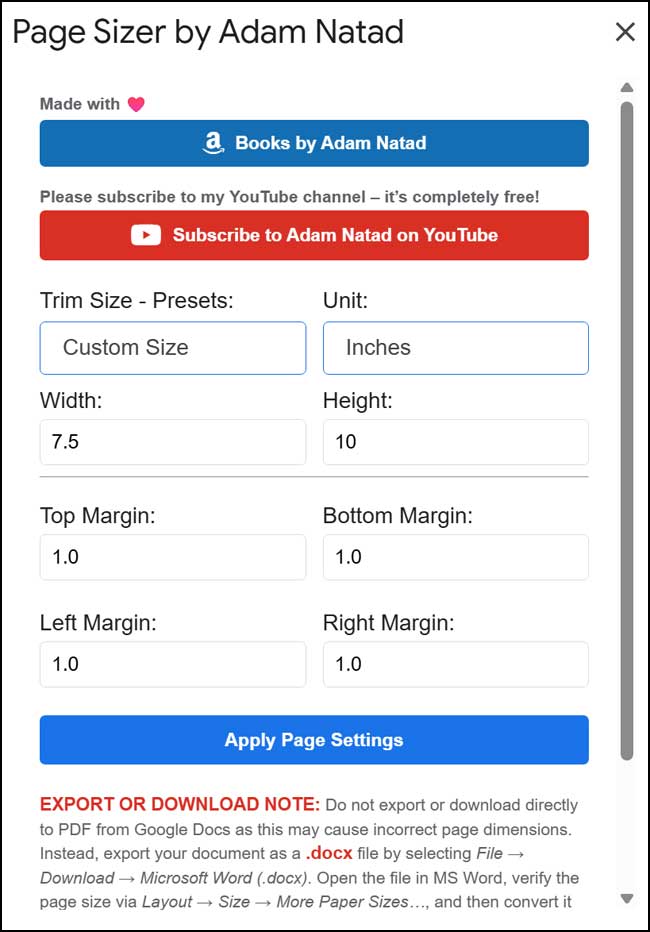
You will then see a different page setup box appear on the right side of your screen. You can type in custom width and height values for your specific document needs. You can easily toggle between inches or centimeters for your unit of measurement.
3. Adjust Margins and Apply Settings
You can also change the margin sizes directly from this same section. Set your top, bottom, left, and right margins to fit your strict publishing requirements. Once you have your settings configured, simply click on the Apply Page Settings button. Your custom page settings will apply to your document instantly.
Important Export and Formatting Warnings
1. Avoid Direct PDF Exports
One crucial thing to note at the bottom of the Page Sizer screen is the warning regarding exporting your documents. Do not export or download directly to PDF from Google Docs after using this tool. This native Google export process may cause completely incorrect page dimensions. The Google PDF engine often ignores the third-party size override.
2. Use Microsoft Word for Conversions
Instead, export your document as a standard .docx file first. Do this by selecting File > Download > Microsoft Word (.docx). Open the resulting file locally in MS Word on your computer. Verify the page size via Layout > Size > More Paper Sizes and then convert it to a PDF from within Word.
3. Fix Broken Default Page Setup Menus
Setting a custom page size that is not officially supported by Google Docs breaks the native configuration menu. The default File > Page Setup screen may become completely unusable. To restore access to this native menu, use the Page Sizer add-on again. Switch the setting back to a Google-supported paper size by selecting the “Google Default – Preset” option.
For additional training resources, check out our online IT training courses.
Check out our extensive IT book series.