Last Updated on September 14, 2026
Cloning your Windows system drive is a fairly common practice these days. Many people are now upgrading to faster and larger NVMe type SSD hard drives and rather than reinstalling Windows, many like to just transfer Windows to their new hard drive. Or if you have built yourself a new computer and want to copy Windows, your files and your apps over to a new drive, you can use this method to do that as well.
There are many free disk cloning apps you can use to transfer Windows to a new hard drive, but some apps seem to work better in certain situations. If you are looking to clone your Windows system drive to multiple disks, you may want to try out the free RedoRescue app to do so. RedoRescue is a tool that is designed to create system image backups for Windows and Linux but can also be used to clone your OS drive. It works by making a system image backup of the OS drive and then restoring it to your new drive which will then make it bootable.

Creating the RedoRescue Bootable Drive
1. Download the RedoRescue ISO
To use RedoRescue, you will first need to download the official ISO file. You can grab this directly from their official project website. Save the file to your desktop so it is easy to find later.
2. Flash the USB Drive
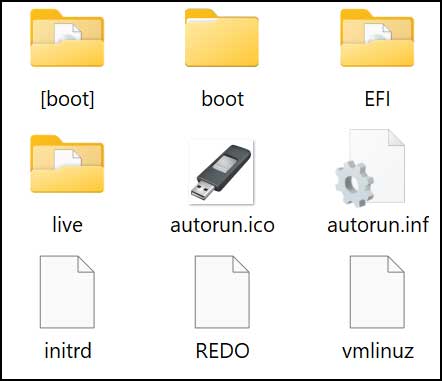
Create a bootable flash drive using your favorite utility. There are many bootable flash drive creation tools available such as Rufus and WinToUSB. Select the ISO file inside the Rufus interface and click start to write the data.
3. Understand the Three-Drive Requirement
For our situation, we have a 150GB Windows drive that we want to clone to a new 250GB hard drive. In order to do this with RedoRescue, we will need to back up our Windows drive to a different drive first. We then restore that saved image to the new drive we want to use to boot Windows. This process requires three hard drives to complete compared to two with other direct-cloning methods. It comes in incredibly handy if you want to have a permanent copy of your original Windows drive to restore to multiple computers later.
Backing Up the Windows Source Drive
1. Boot into RedoRescue
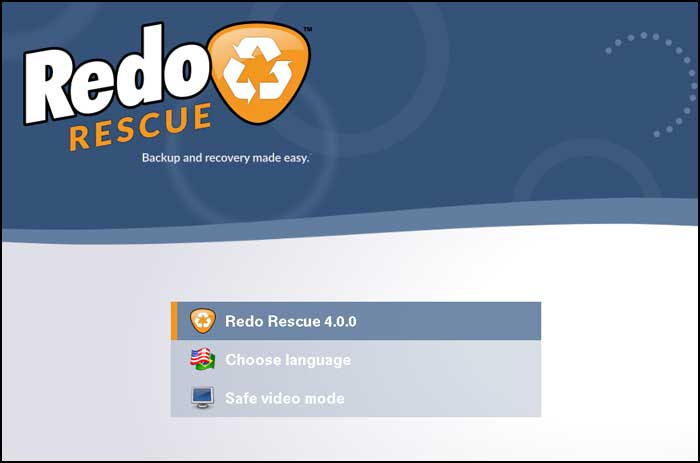
Insert your newly created USB drive and restart your computer. Access your motherboard boot menu and select the flash drive. Once you boot with your RedoRescue flash drive, press Enter on the first option to start the app.
2. Choose the Backup Option
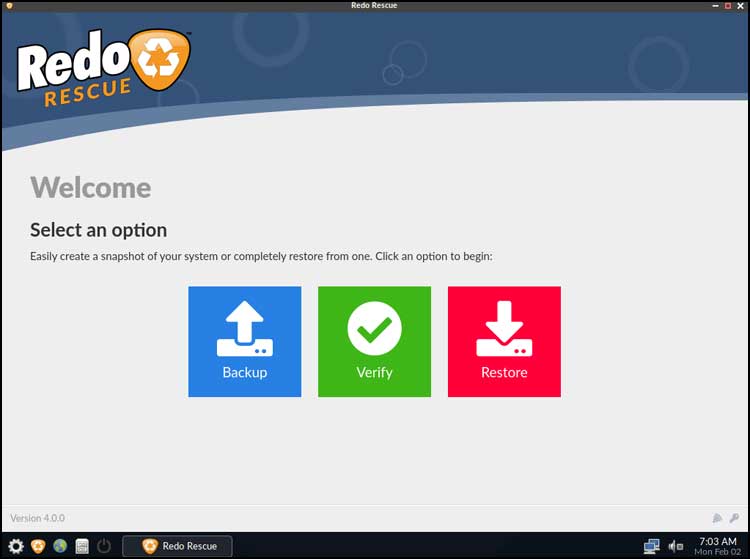
Next, we will choose the Backup option to back up the source drive to our intermediary backup drive. Our source drive is 150GB, our backup drive is 200GB, and our final destination drive is 250GB. You must make absolutely sure these drives have enough free space to hold your backup images.
3. Select the Source Drive
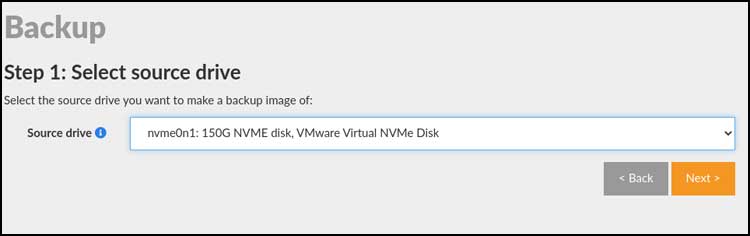
We will now choose the 150GB drive that has Windows currently installed on it. This acts as our primary source drive for the backup. Click on Next to proceed to the partition selection screen.
4. Verify the Partitions
We will then be shown all the individual partitions sitting on the source drive. You want to make absolutely sure that all of them are checked. Missing a hidden boot partition will cause your cloned drive to fail upon startup.
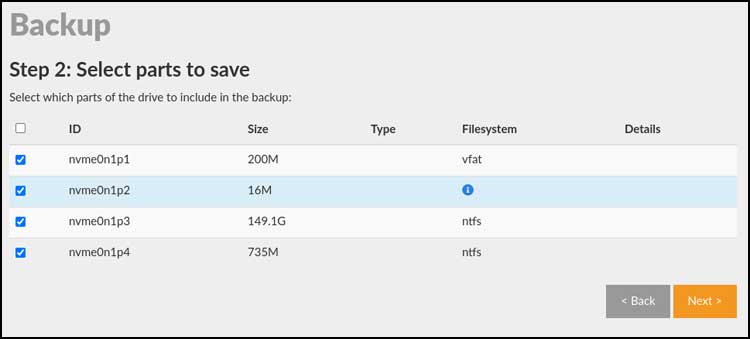
5. Select the Destination Drive
We will now choose the 200GB drive for the backup destination. This is not the disk we will be using to boot Windows eventually. It is just the temporary disk used to store the Windows drive backup image.
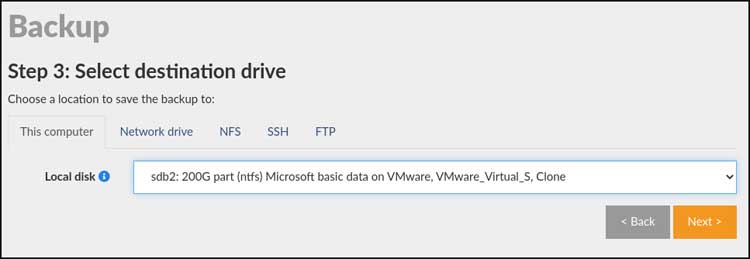
6. Choose the Destination Folder
For the next step, you can choose or create a specific folder to store your backup image. You can also just click on Next to have it kept safely in the root directory of the drive. Keeping it in the root makes it very easy to find during the restore phase.
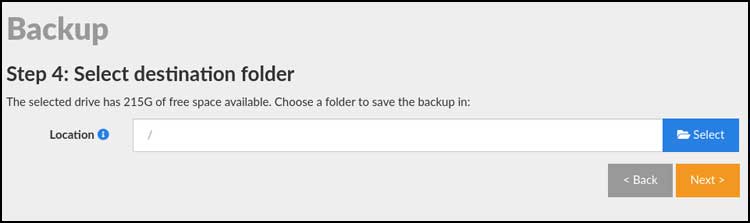
7. Name the Backup File
Then you can give the backup a recognizable name of your choice. We will call ours WindowsBackup for simplicity. Click Next to lock in the filename.
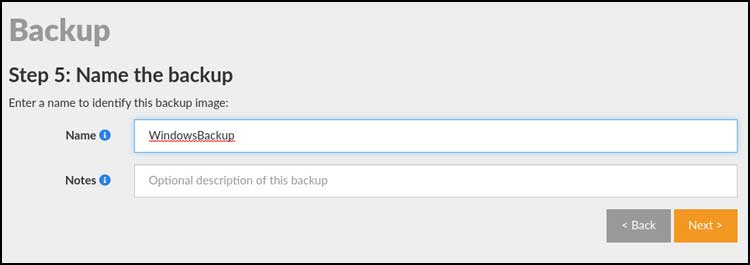
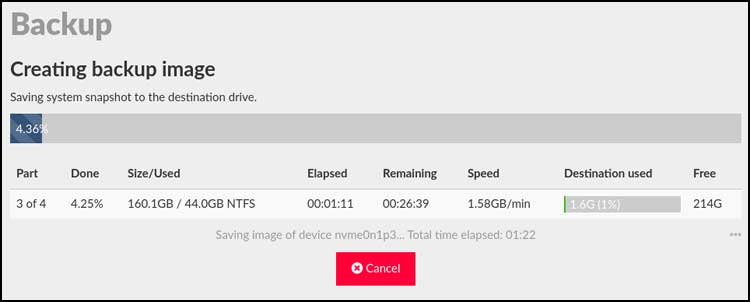
8. Wait for the Backup to Complete
The backup process will then take several minutes to complete depending on the speed of your drives. A blue progress bar tracks the data transfer in real time. Do not interrupt this process or you will corrupt the image file.
Restoring the Image to the New SSD
1. Start the Restore Process
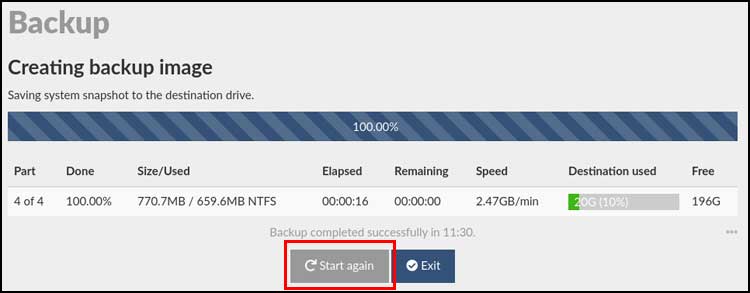
Once the backup job is completely finished, you can click the Start again button. We will now restore the backup to the new drive that will be used to boot the computer. This writes the data permanently to your new NVMe SSD.
2. Choose the Restore Option
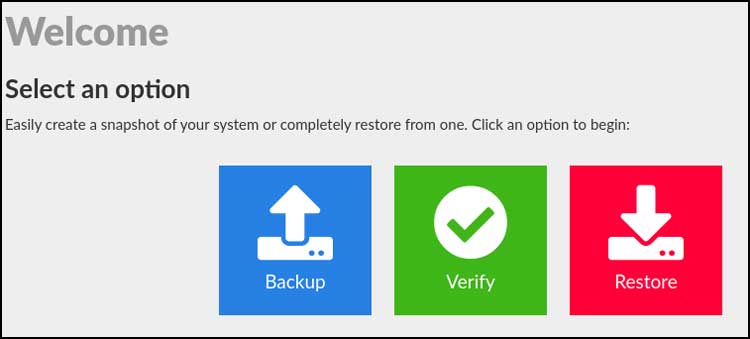
The main menu will appear on your screen once again. This time we will choose the Restore option instead of Backup. This reverses the data flow to unpack your saved image.
3. Select the Image Source
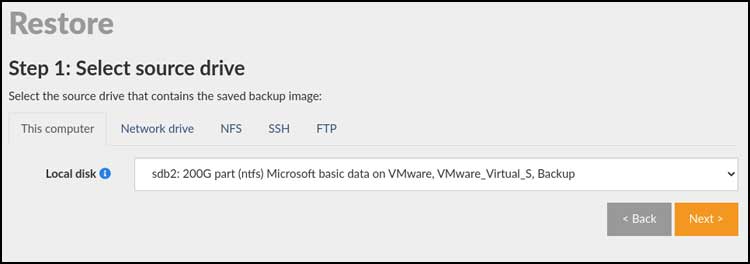
Now we will choose the 200GB drive that contains the backup image we just created. This acts as the source for our restoration process. Click Next to move forward.
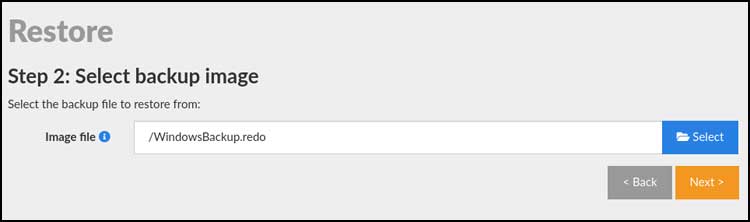
4. Locate the Backup File
Then we will click the Select button to browse the directory. Locate our specific WindowsBackup image file from the list. Click Next to confirm the exact file selection.
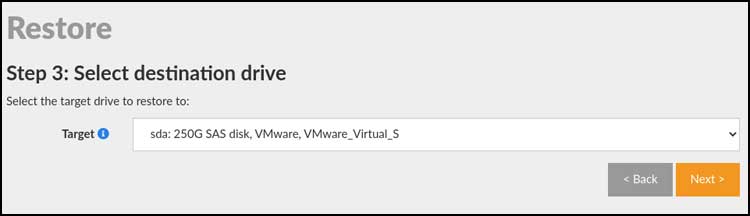
5. Select the Destination Drive
Now we will choose the brand new 250GB drive. This hardware will act as the final Windows clone. Make sure you select the correct blank drive here to avoid wiping out the wrong disk.
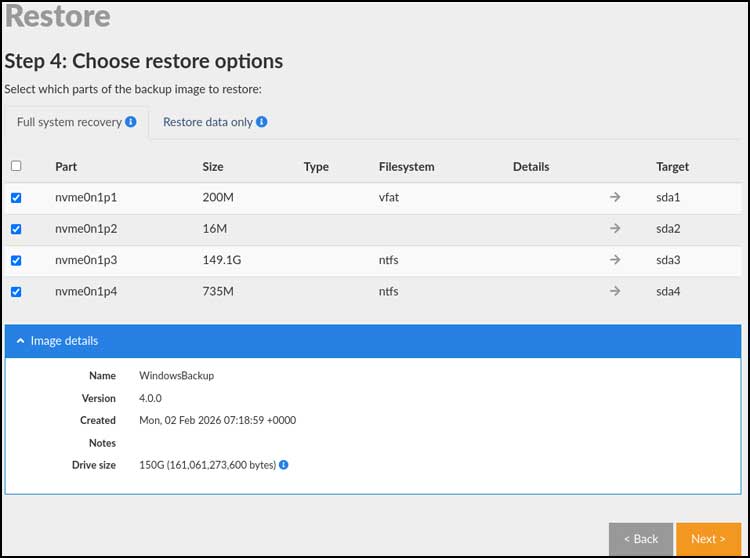
6. Select the Partitions to Restore
We will then be shown all partitions that will be restored to the new disk. You want to make sure they are all selected using the checkboxes. Click Next to proceed to the final warning screen.
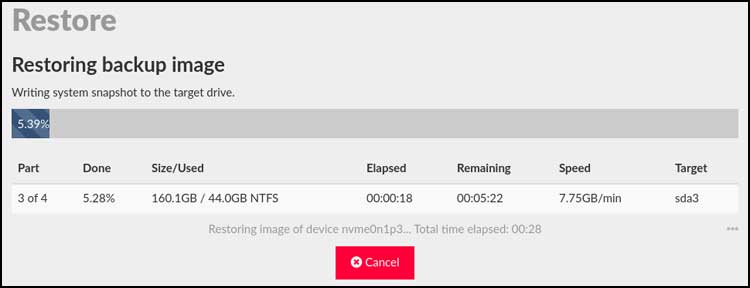
7. Confirm the Overwrite
You will then be warned that all the data on the destination drive will be completely overwritten. You will need to click on the Yes I’m sure button to continue. The restore job will take several minutes to complete as well.
Fixing Unallocated Space with NIUBI
1. Boot from the Cloned Drive
When the backup is complete, we can then click on the Exit button. Remove the old drive and boot up the machine with the newly cloned hard drive. We will then open the Windows Disk Management tool to view the results.
2. Identify the Unallocated Space
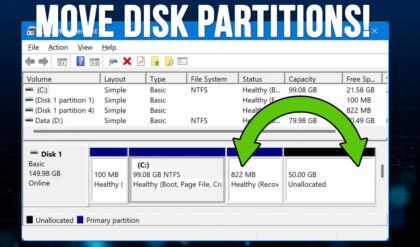
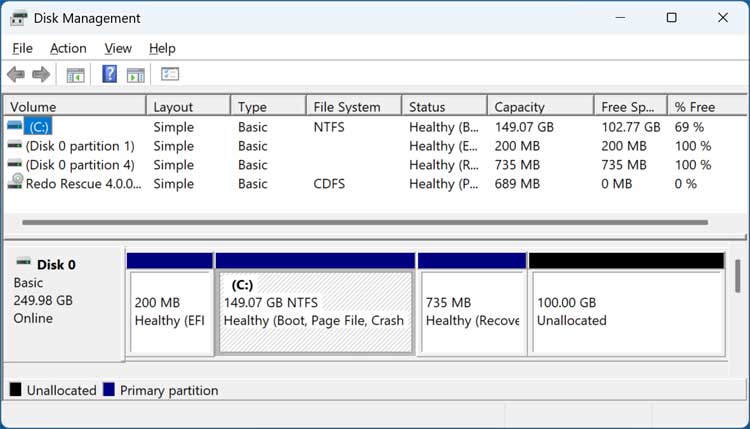
One issue you may run into when cloning to a larger drive is that RedoRescue will allocate only the space from the source drive to the destination drive. As you can see, our Windows partition is only 150GB and we have 100GB of unallocated space left over. We can use this space for another drive letter or extend the Windows C drive.
3. Spot the Blocking Partition
As you can see in the image below, there is a 735MB recovery drive right in the way of the C drive and the unallocated space. Windows Disk Management cannot jump over this partition. You cannot extend the C drive natively until this block is moved.
4. Launch NIUBI Partition Editor
To get around this limitation, we will be using the free NIUBI Partition Editor software. This tool allows us to move the recovery partition safely to the right of the unallocated space. We will be using the portable version of the app, but the installable version will work the exact same way.
5. Move the Recovery Partition
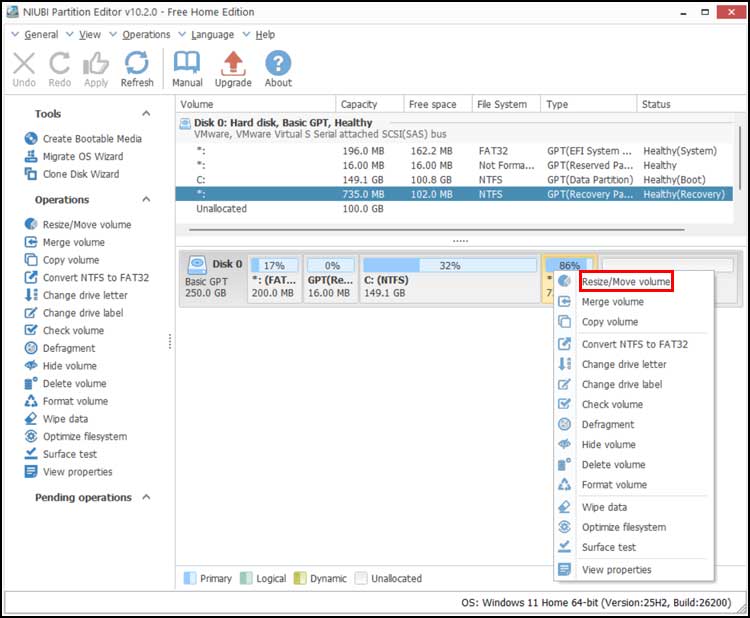
Once we open NIUBI, we can right-click on the 735MB partition. Choose the Resize/Move volume option from the context menu. This opens a visual map of your storage disk.
6. Drag the Partition
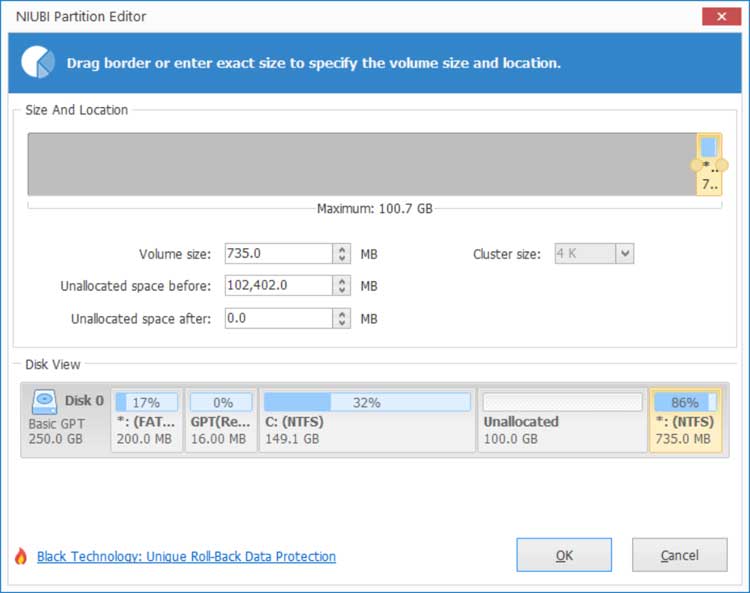
Grab the center of the partition block with your mouse cursor. Then we will drag this partition all the way to the right and click the OK button. This action shifts the unallocated space right next to your C drive.
7. Apply the Configuration Changes
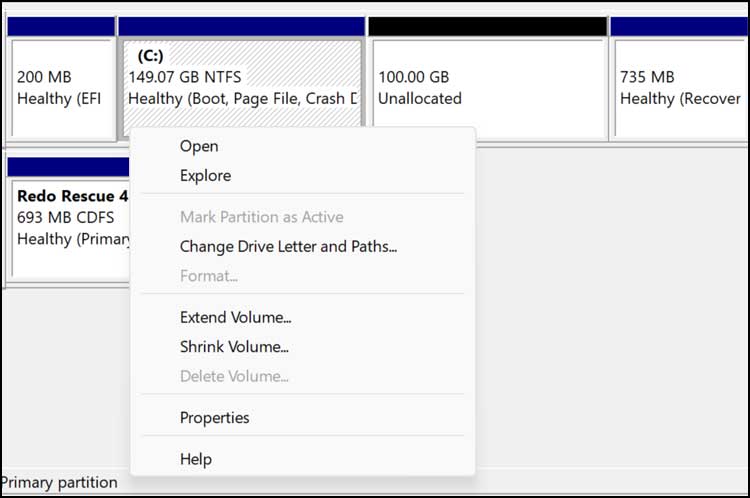
You will then need to click on the Apply button on the main screen to execute the physical move. The software will process the sector changes rapidly. You can then extend the volume from within NIUBI Partition Editor, or you can go back to Disk Management and do it there.
8. Verify the Extended Drive
Now you will have your new hard drive with the perfect copy of Windows on it ready to go. The C drive will encompass the entire available capacity of your new SSD. Your computer will run significantly faster on this upgraded hardware.
For additional training resources, check out our online IT training courses.
Check out our extensive IT book series.