Modern hard drives have come a long way in terms of storage capacity, speed and even price. You can get a hard drive that will have more space than you will ever need for an affordable price. Even faster drives such as SSD and NVMe (nonvolatile memory express) drives are at a price point where most people can afford to use them in their everyday computers.
If you are a Linux user and are running out of hard drive space, have a failing hard drive or want to upgrade to a larger drive without reinstalling everything or maybe even clone your drive to use on another computer, its fairly easy to do so. In this article, we will be showing you how to clone your OS hard drive in Linux to use with a different or the same computer.

To perform the cloning process, you will need to have your second disk (destination drive) installed in your computer so it can be accessed by the operating system. To see your connected drives, you can do a search for disks to open the disk tool. In our example, we will be cloning a 50GB drive to the 70GB drive even though the disk tool shows them as 54GB and 75GB.
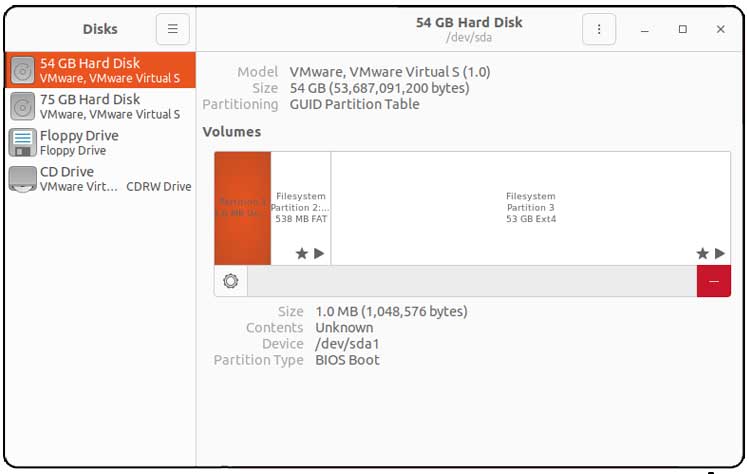
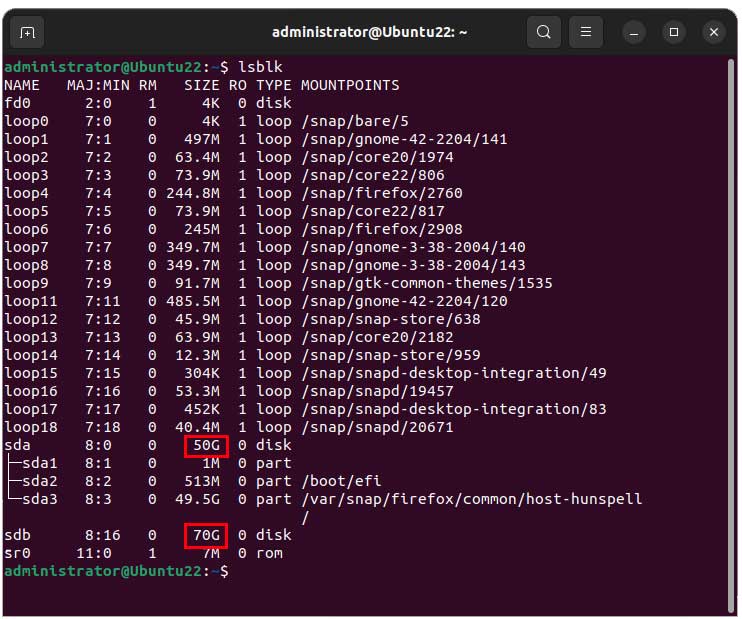
You can also run the lsblk command from the console to see similar information about your disks such as their device name (sda, sdb etc.) and size.
To clone the OS hard drive in Linux, we will be using a free program called Clonezilla which you can download here. You will then need to create a bootable CD or flash drive so you can boot your computer with the software.
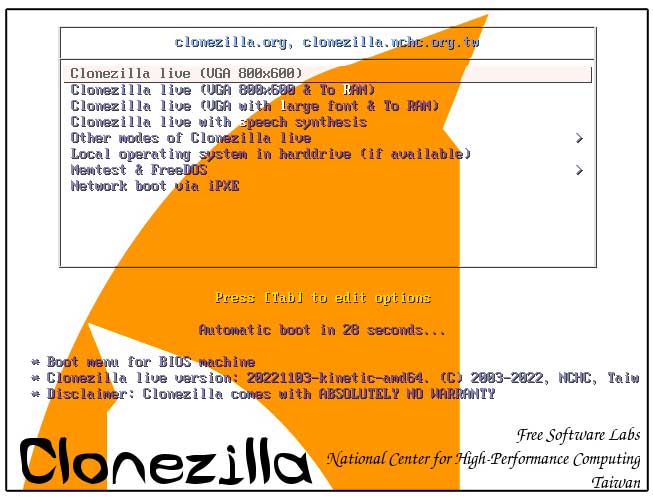
Once you boot to the Clonezilla software, you will need to choose the first option which is Clonezilla live. You will have 30 seconds to make a selection so be sure not to wait too long.
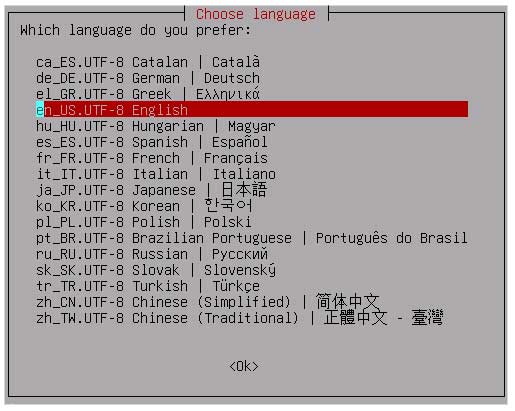
Next you will need to choose your language.
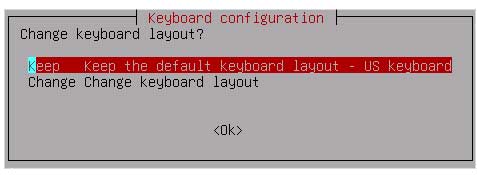
Then you will need to choose your keyboard configuration. You should be fine with the Keep the default keyboard layout option.
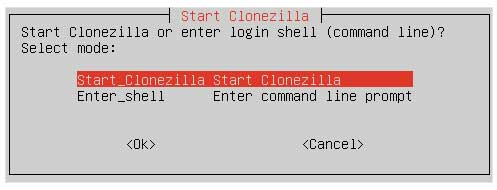
On the next screen you will need to choose Start Clonezilla and press enter.
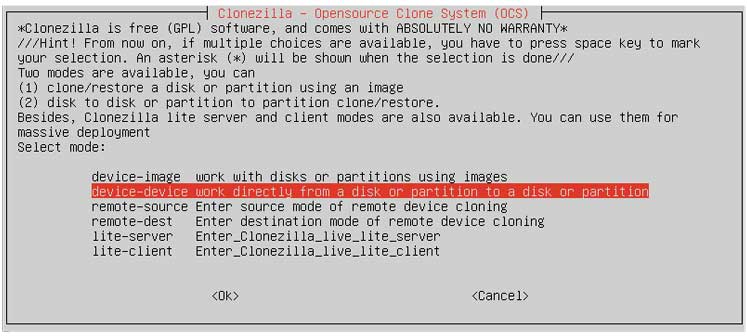
Now you will choose the device-device – work directly from a disk partition to a disk or partition selection since we will be doing a disk to disk clone.
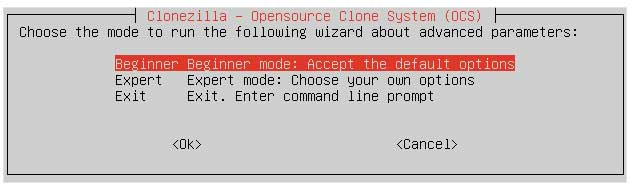
For the next screen, Beginner mode should be fine for most situations.
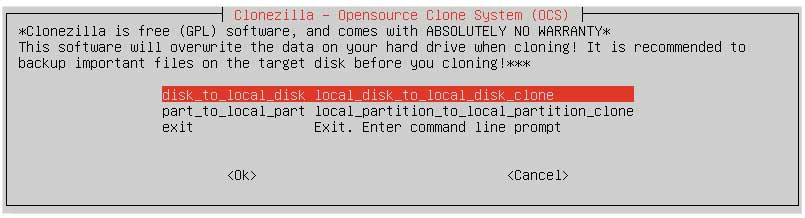
Then you will choose the disk to local disk option since both hard drives are in the same computer.
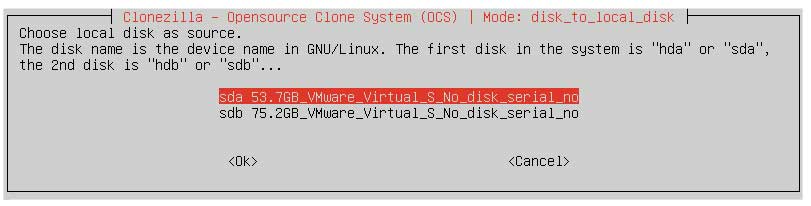
This next step is very important to get right. You will now need to choose the source disk which is the drive with your OS and other files on it.
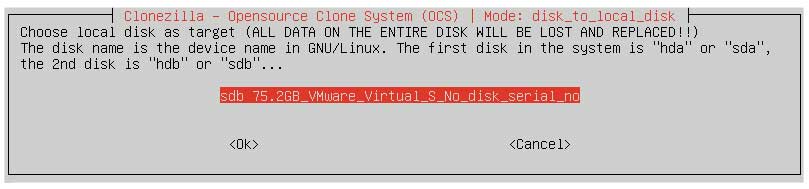
Now you will choose the destination drive which will be the blank\empty disk or at least a disk that you don’t mind having wiped out.
The next step will ask you if you want to check the source drive for errors before cloning it. If you do not think you have any problems with your disk, you can choose the sfsck Skip checking/repairing source file system option.

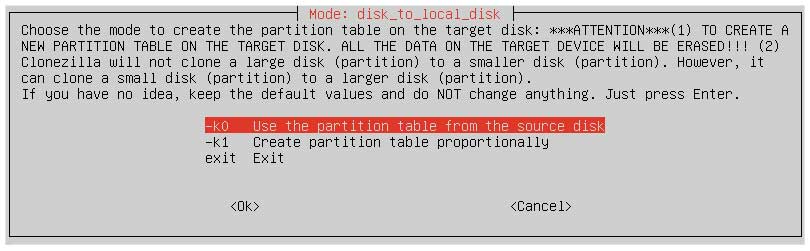
On the next screen, you will be asked how you want to create the partition table on the destination disk. Since the goal is to create a clone of the OS hard drive to be used on the other disk, we will choose the k0 Use the partition table from the source disk option.
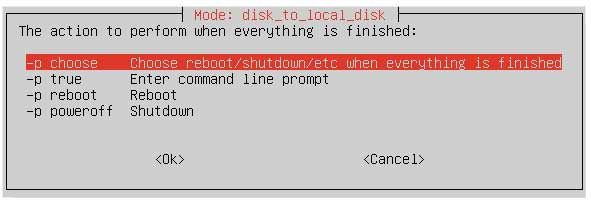
You will then be asked what you want to do when the cloning process is finished. You can have it prompt you when complete or go to the command line, reboot or shutdown.
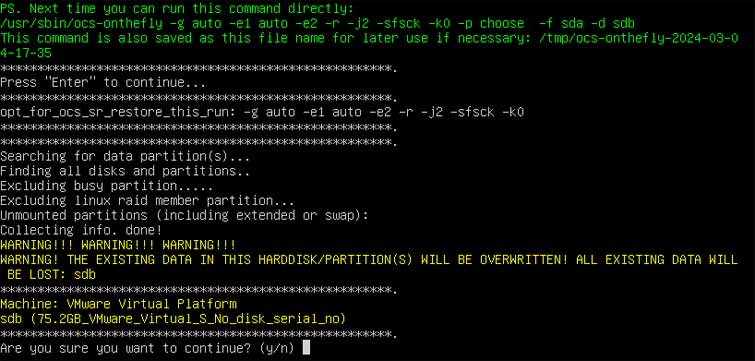
After you make your selection as to what action to take when everything is finished, you will be asked to confirm that all the existing data on the destination drive will be overwritten and may be asked again after you type in Y and press enter.
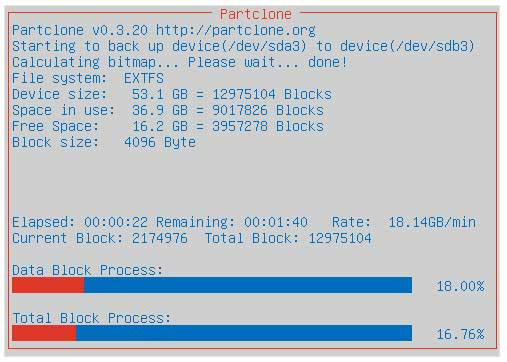
You will see a few screens with the progress screens showing the cloning process and this step will take some time, especially if your source drive is large and has a lot of data on it.
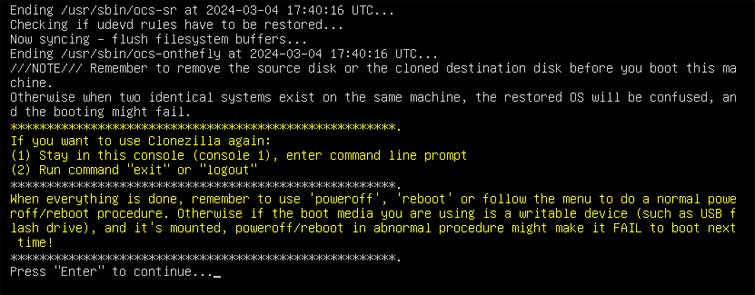
When the cloning process is complete, you will be notified and then you can press enter to continue to the next step which was the action you chose to perform when completed.
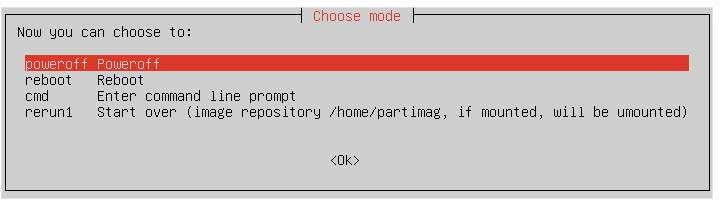
If you chose the first option (choose), you will then be prompted to select one of the following options (power off, reboot, enter the command line, or start over).
Now you will need to either remove the original source drive, disconnect it or change the boot order of your PC so that it will boot to the new cloned Linux drive, and you should see everything you had on your old disk.
You can also clone a Linux OS drive using the DD command.
For additional training resources, check out our online IT training courses.
Check out our extensive IT book series.