If you are the type who prefers to install your own operating system and repair your own computer when things go wrong, it makes sense that you would have multiple tools that you would be using to do so. And most of the time, it is required that you use some type of bootable media to run these tools and install these operating systems.
But rather than having one bootable USB flash drive for each tool or OS, you can use the YUMI Mulitboot app to create a bootable USB toolkit for all your operating systems and repair tools. Then when you boot your computer with this flash drive, you will be able to choose which operating system installer to load or which tool to run.

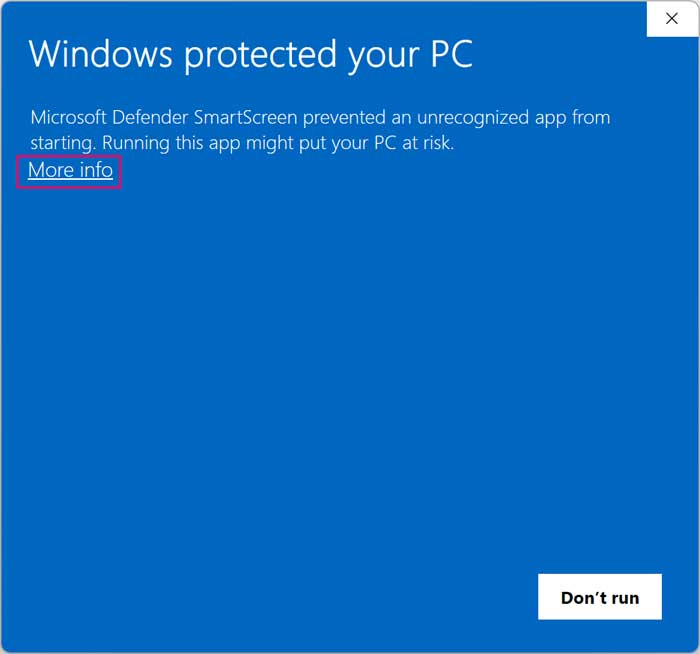
To begin, you will need to download the YUMI Multiboot software from their website here. There is nothing to install and it will be an executable file that you can double click to run. You may see a Microsoft Defender Smart Screen message appear after doing so and you will need to click on More info and then click on Run anyway. You will then need to click on the Yes button at the UAC prompt.
Then you will need to agree to the license agreement to continue. Next, you can select your flash drive under step 1. Just be sure to choose the correct drive because it will get wiped during the process. If you have a secondary hard drive or USB hard drive connected, those might show up in the dropdown list as well.
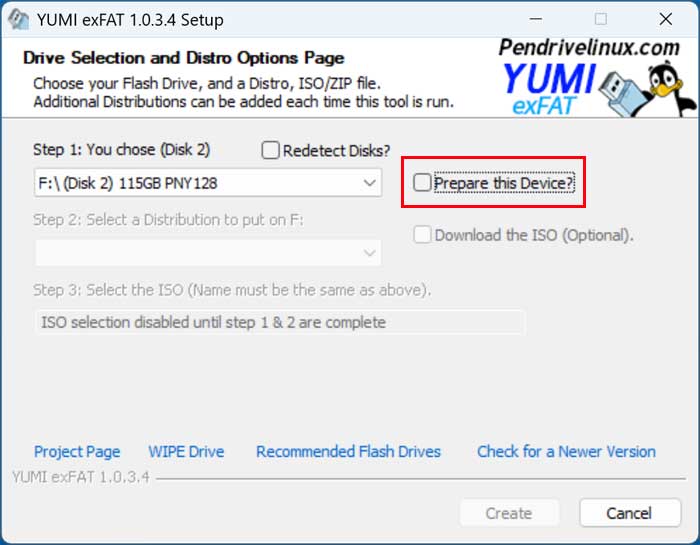
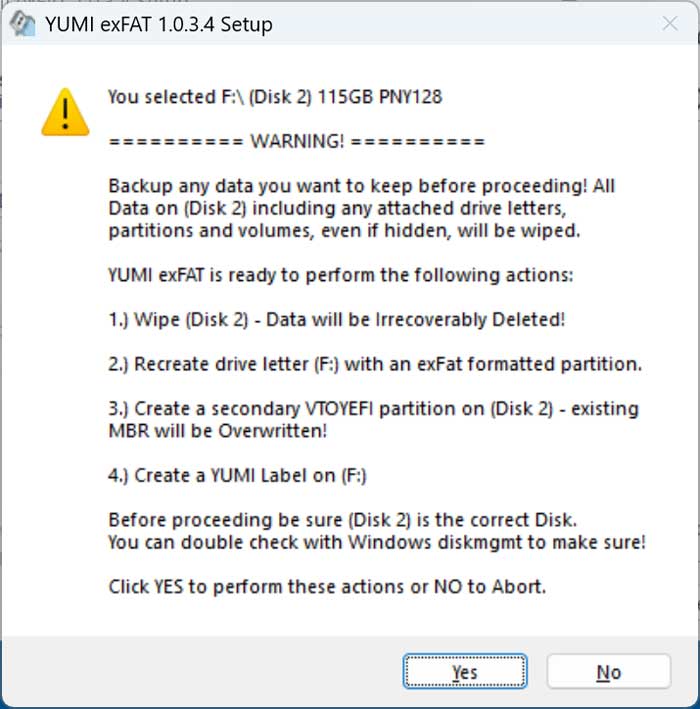
Once you have the correct USB flash drive selected, check the box that says Prepare this Device. You will then get a warning that all partitions, volumes and data will be wiped. You can then click the Yes button to continue.
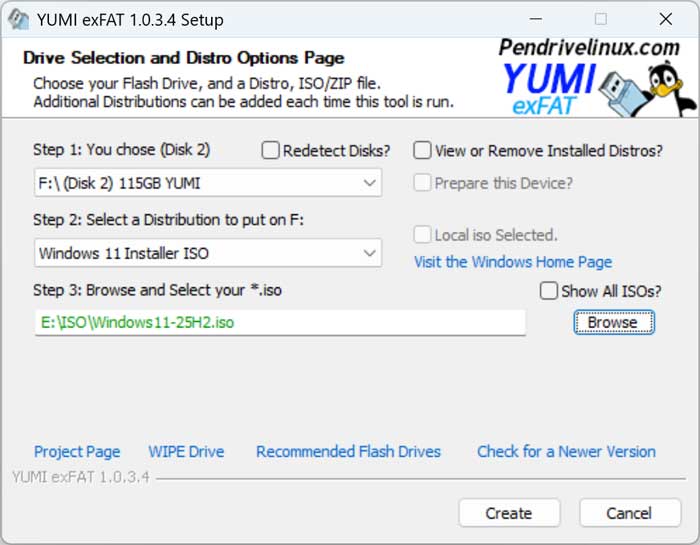
Now you can choose what type of distribution you want to add to your bootable flash drive from the list. You will find many options for various operating systems, cloning apps and repair tools.

Once you make your selection, you will have the option to visit the website for that OS or tool and download the ISO file if you do not have your own copy. Or you can click the Browse button and choose your own from your hard drive.
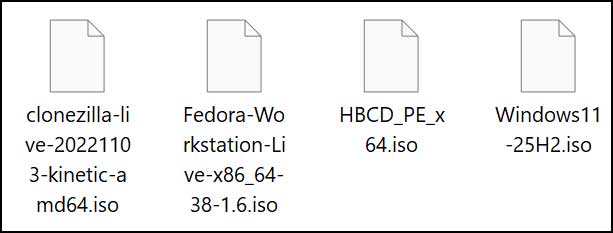
We already have ISO files for Clonezilla, Fedora Workstation, Hirens Boot CD and Windows 11 read to go on our computer.
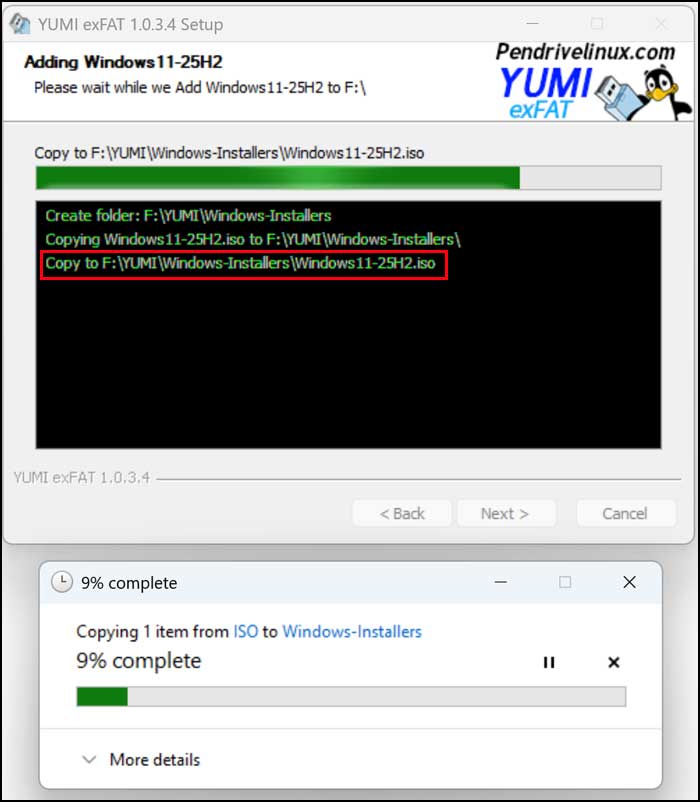
We will first add Windows 11 to our YUMI Multiboot toolkit by choosing the ISO from our hard drive.
YUMI will then add it to the flash drive and place it in a Windows-Installer folder automatically for us to help keep things organized.
When the process is complete, you will be asked if you want to add more distros to your flash drive. If not, then you are ready to go and can add more later if needed. We will now add the other three ISO files to our YUMI Multiboot toolkit.
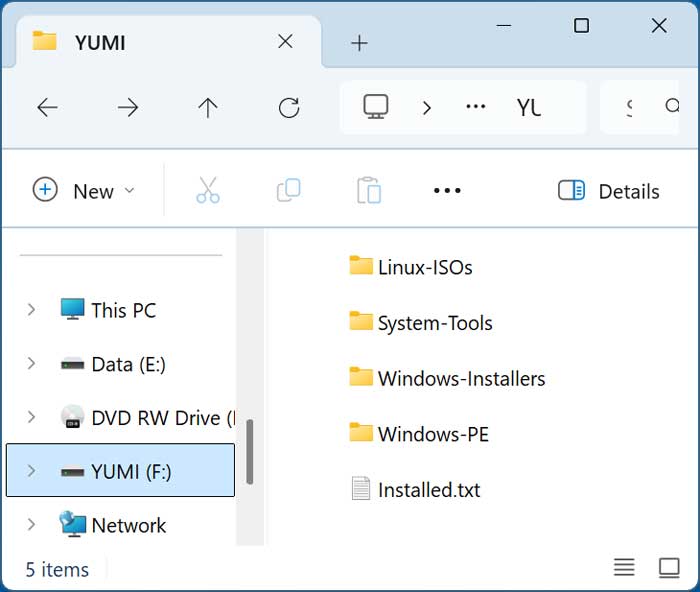
Once we are finished, we can look at the flash drive in File Explorer and see the folders that YUMI created for our various OS distributions and other software. There is also a text file called Installed.txt that will show us what operating systems and other software have been added to our flash drive.
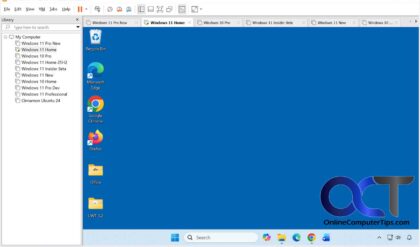
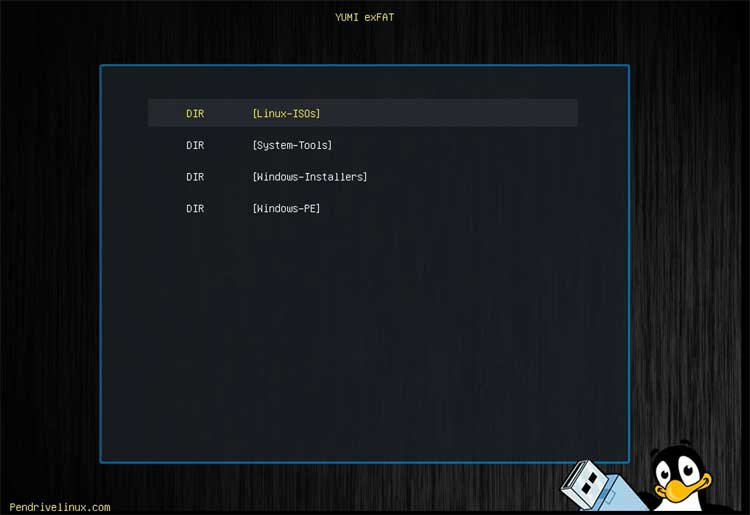
Now when we boot our computer with our YUMI Multiboot USB toolkit, we will be able to choose any of the operating systems or other tools that we have configured to use with it.
You may also want to check out the Universal USB Installer and Ventoy tools which can also create multiboot USB flash drives.
For additional training resources, check out our online IT training courses.
Check out our extensive IT book series.