Last Updated on April 10, 2026
VMware Workstation works by mapping the physical hardware resources to the virtual machine’s resources using the virtualization layer. By doing this, the virtual machines have their own CPU, memory (RAM), disks, and other devices. You install VMware Workstation onto your operating system on your computer. This allows for hardware support by inheriting device support from the host.
Broadcom Licensing Changes
In a major move for the tech community, Broadcom has made VMware Workstation Pro free for personal, non-commercial use. This means you no longer need to settle for the limited ‘Player’ version; you can access professional features like snapshots, advanced networking, and multiple running VMs at no cost for your home lab or learning projects.
After installing VMware Workstation, you create a virtual machine by assigning it a processor or processors, RAM, a virtual hard disk, ports, and networking. Then you turn on the VM (virtual machine) and install the guest operating system using a CD or ISO image file just like you would if it were on the physical computer itself. The host OS sees VMware Workstation as an application so no modifications are made to the host OS. For IP addressing, the VM can use NAT (network address translation) and share the host’s IP address or use bridged networking to receive its own IP address from an available DHCP server.
Or if you don’t need external network access you can use the host only network option which connects your VMs internally as a private network. Modern versions of VMware Workstation Pro support significantly more powerful configurations, allowing for up to 32 virtual CPU cores, 128 GB of RAM, and 8 TB virtual disks, depending on your host hardware. Just make sure your computer (the host) has sufficient resources to create the types of virtual machines you want to use. Another nice feature is driverless printing which allows the host computer’s printers to be accessible to your virtual machines without any additional drivers to be installed.
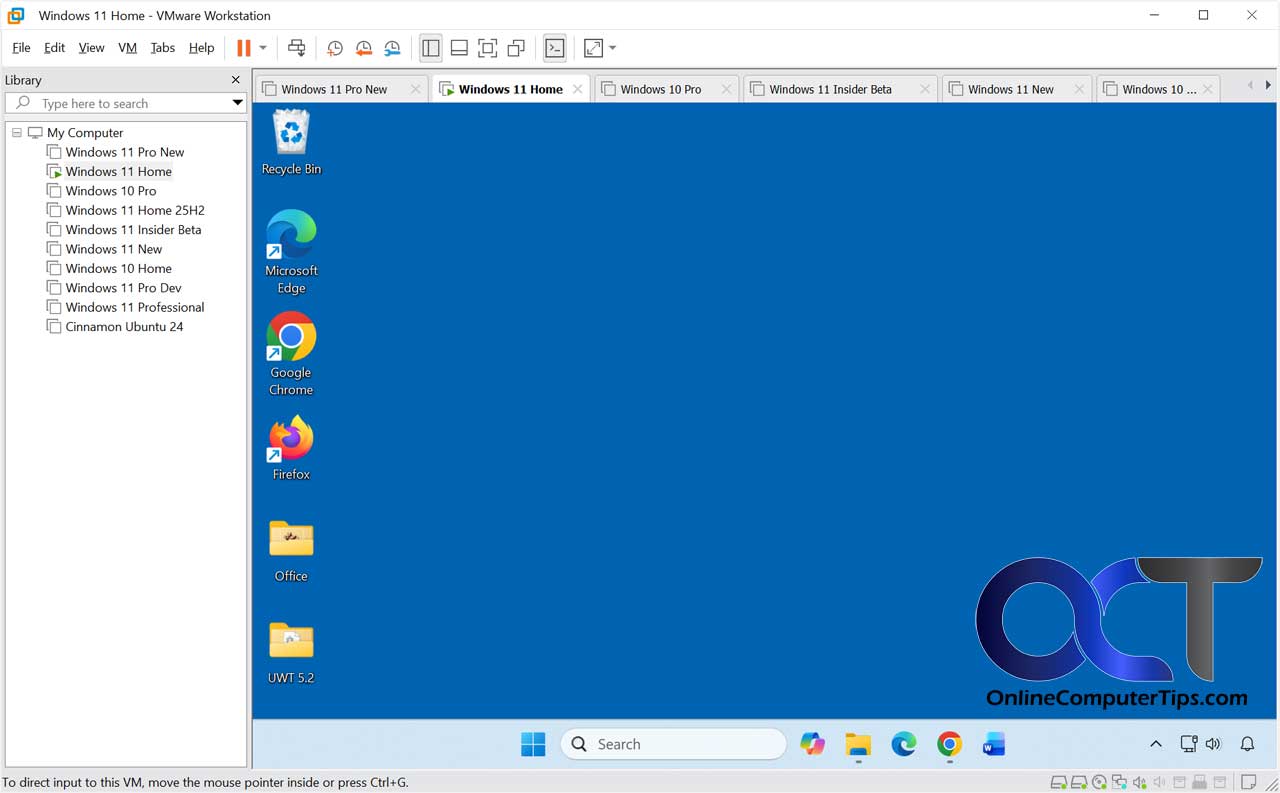
Once you get your VMs setup you will have them all in one easy to manage interface. You can run as many at a time as your recourses will allow. Plus you will have the option to edit the hardware and settings of your VMs to adjust for things like performance and storage capabilities. You can also add and remove virtual hardware as needed. If you want to share folders between the host and guest computers then there is an option to turn that on. Snapshots take point in time image backups of your VM in case you want to restore it to a prior state. The VMware converter will convert physical or virtual computers to VMware VMs that you can use within VMware Workstation.
Steps to Create a VM:
- Open VMware Workstation and select Create a New Virtual Machine.
- Choose the Typical configuration for a guided setup.
- Select your Installer disc image file (ISO) for the OS you want to install.
- Enter a name for the VM and choose a storage location.
- Specify the disk capacity (60GB is usually a safe starting point).
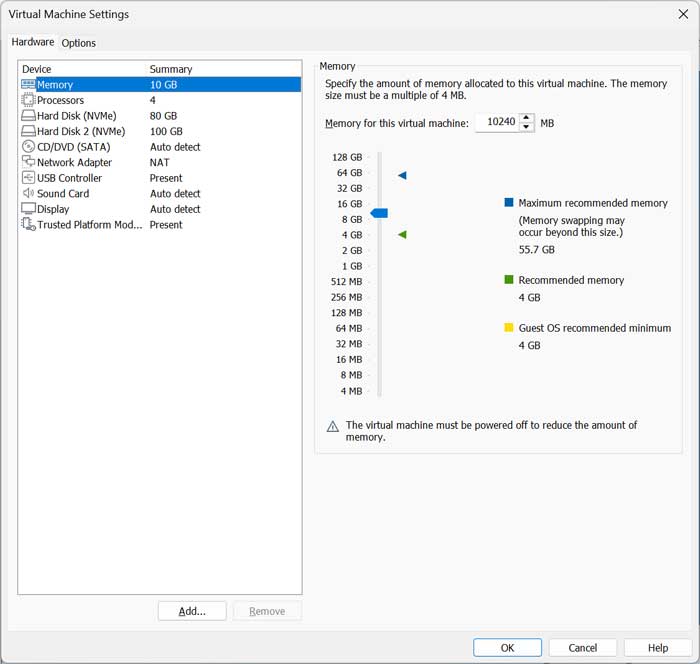
- Click Customize Hardware to adjust RAM and CPU cores before finishing.
Here is a video on how to install Windows 11 as a virtual machine in VMware Workstation.

Current Host Support
- Windows 10 and 11 (64-bit)
- Windows Server 2019 and 2022
- Modern Linux Distributions (Ubuntu, Debian, Fedora, RHEL, CentOS)
Current Guest Support
- Windows 11 (including TPM 2.0 support)
- Windows 10
- Latest Linux Kernels
- Legacy OS support (Windows XP, 7, etc.) for lab environments
Check out VMware Workstation for yourself and see if it’s something you can benefit from. Its now fee to use and can be downloaded from their website.