If you are a Windows 11 user, then you know how often Microsoft likes to change things around as well as add or remove features, sometimes ones we even like! For example, WordPad has been removed from Windows 11 but there are a couple of ways to get WordPad back on your computer.
The Windows Start menu is where you go to find your installed programs, as well as where you can go to log off, shut down and reboot your computer. There have been some subtle changes to the Start menu and you may even find that you have a new section for the Windows Phone Link feature.

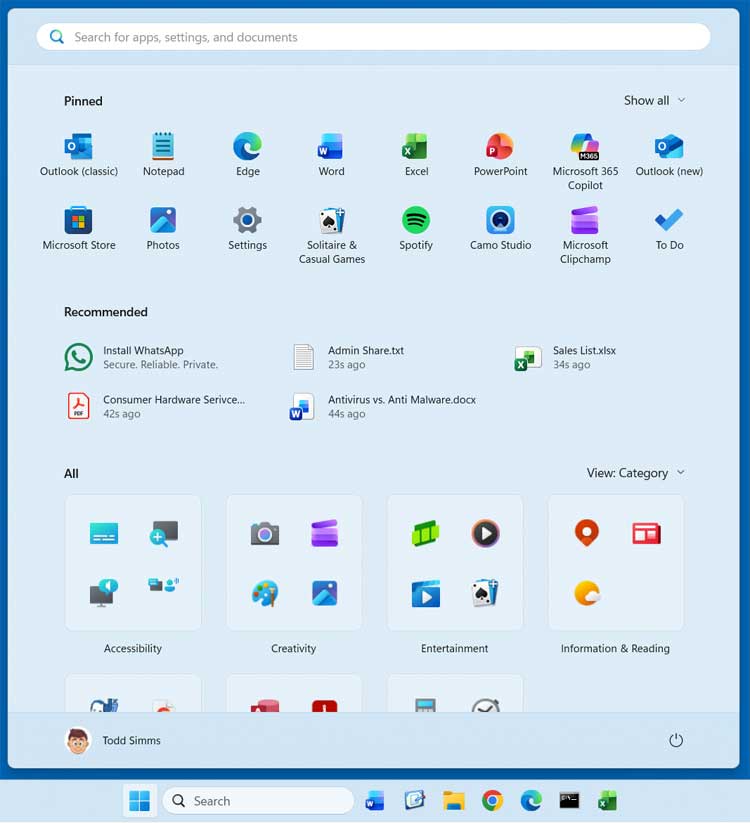
One recent change with the Windows 11 25H2 update is that the Start menu now has categories for your programs which can also be changed to a grid or list view. Plus, the All button has now been removed since you can view a list of all your apps at the lower part of the Start menu. But many people are finding that they are not getting this Start menu update after upgrading to 25H2. In this article, we will be showing you how to enable the new updated Start menu in Windows 11 25H2.
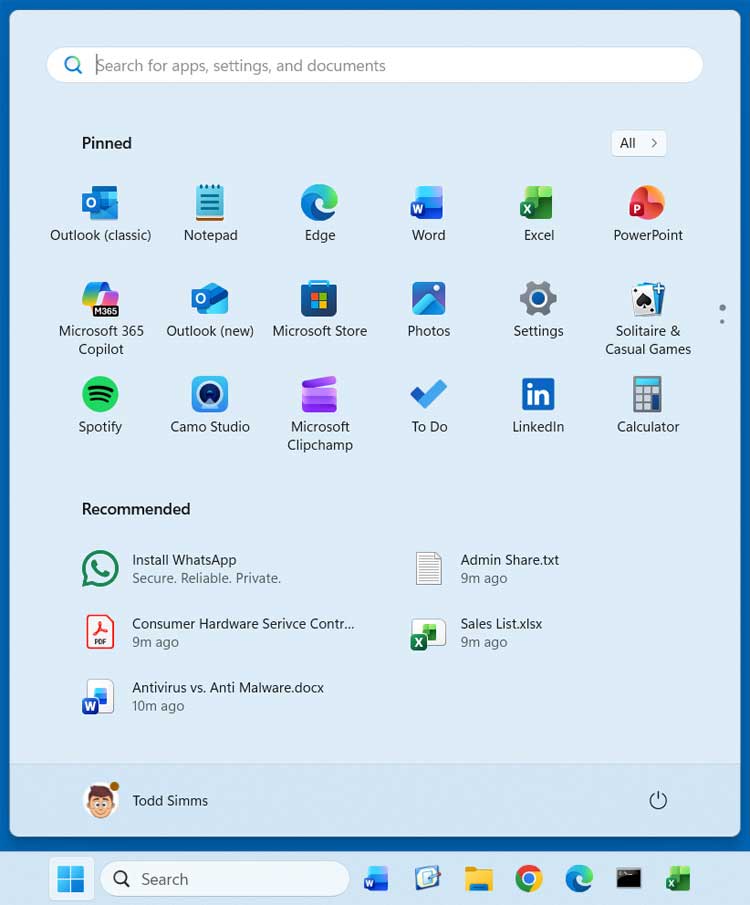
The image below shows the older Windows 11 start menu which you may still have on your computer. It has a search box on the top, the All apps button, pinned apps and also a Recommended section which can be disabled or completely removed.
If you want to enable the new updated Start menu in Windows 11 25H2, you have two options. You can either wait until it gets rolled out to your computer or manually enable it using the ViVe Tool. The ViVe Tool is an open‑source command‑line utility for Windows 10 and 11 that lets you enable, disable, or configure hidden and experimental Windows features using their internal Feature IDs.
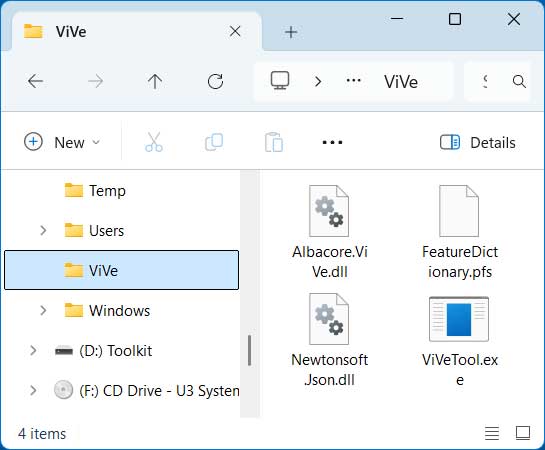
To use the ViVe Tool, you will need to download it and then extract the zip file to a folder on your computer. You will see that there is a file called ViVeTool.exe but this is not something that you can double click to open the program. It will need to be run from an administrative command line.
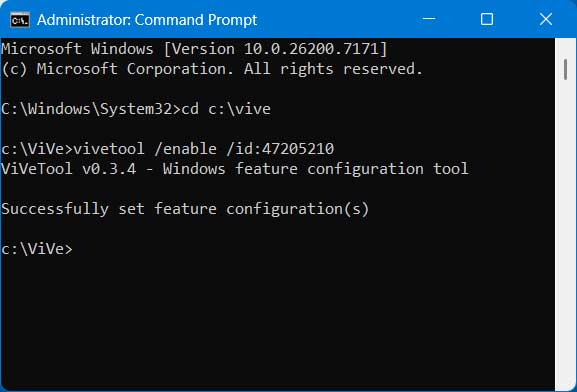
To do so, type in CMD in the taskbar search box and choose the Run as administrator option for Command Prompt. Then you will need to navigate to the folder that contains the ViVe Tool files and type the following command;
vivetool /enable /id:47205210
This runs the ViVe Tool and enables ID 47205210 which is used to enable the updated Windows 11 25H2 Start menu.
Then you will need to reboot your computer and once you log in again, you should see the new Start menu when you click on the Start button.
If you change your mind and want to go back to the older Start menu, you can repeat the process, but this time use the disable version of the command.
vivetool /disable /id:47205210
One thing to keep in mind with some of these IDs is that if you disable them and then try to enable them again, it might not work. And for this one, you may find that you end up with the newer Start menu eventually even if it’s disabled because it will be forced upon you by Microsoft.
For additional training resources, check out our online IT training courses.
Check out our extensive IT book series.