Last Updated on August 4, 2026
Even though today’s modern computers have very large hard drives, many people still find themselves running out of room and don’t like to delete files or remove software to get their space back. You may also run into a situation where your hard drive is failing and you want to copy Windows, your programs and your files to a new drive before it finally gives out.
This is where the process of hard disk cloning comes into play. When you clone your drive, you are making an exact copy of everything that is on it, including its partition layout. In order to clone your system or Windows drive and make it bootable, you will need software that can handle the task at hand. In this article, we will be showing you how to clone your Windows system drive for free using WittyTool Disk Clone.

Preparing Your Computer for Cloning
1. Inspect Your Current Drives
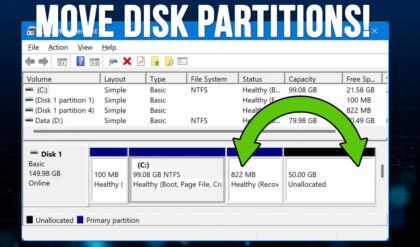
The image below shows the Windows Disk Management tool with the current 70 GB system\Windows drive with the drive letter C. Disk 1 is our new blank 100 GB hard drive that we will be cloning the C drive to. You must verify these exact storage capacities before opening any third party utility. This strict verification prevents you from accidentally wiping the wrong disk.

2. Download the Cloning Utility
In order to use WittyTool, you will first need to download and install it on your computer. If you are using Microsoft Edge to download the software, you might get a message that it was blocked for your safety. You can then click the ellipsis (…) and choose Keep to download the software. We have not found any issues with the software but just like everything else you download, use this at your own risk.

Configuring WittyTool Disk Clone
1. Select the OS Migration Mode
When you first run the WittyTool software, you will need to click on the Clone option on the left side of the program. Then you will need to click on System migration. You can use the Disk clone option to make a copy of a different drive that does not have an operating system on it. Use the Partition clone option to copy just an isolated partition on a disk to another disk.

2. Choose the Destination Target
Next, you will need to choose the exact destination disk. This will be where the identical copy of the system drive will be made. Click the target row to highlight it in blue. Verify the drive capacity shown matches your new blank drive exactly.

3. Adjust the Partition Sizing
By default, WittyDisk should configure the destination drive to use all of the available space. If it is a bigger disk, you will have more free space after the cloning process is complete. If you do not want to use all the space on the destination drive, you can move the slider accordingly. This leaves unallocated space for secondary partitions later on.

Executing the Clone Process
1. Confirm the Data Destruction
Once you click the Start Clone button, the software halts the process to warn you. You will be warned that all the data on the target disk will be erased. You will need to click on Yes to continue. There is no way to recover wiped files after you click this confirmation button.

2. Wait for the Migration to Finish
The software locks the active partitions and begins transferring the raw sectors block by block. The length of time it takes to complete the cloning process will be determined by the size of your disk. It also relies heavily on the specific disk type and the amount of data sitting on the source disk. Do not close the window or shut down the machine during this phase.

3. Verify the Cloned Disk Data
Once the process is complete, you can open Windows Disk Management again. This allows you to verify that everything was copied over correctly. You can also open File Explorer and see how things look inside the new directory tree. You will see identical file structures on both hard drives.
For additional training resources, check out our online IT training courses.
Check out our extensive IT book series.