Last Updated on August 4, 2026
Hard drive technology has advanced quite a bit compared to how it was 5 or 10 years ago. We used to think we would never run out of room with our 20GB IDE hard drives, but with Windows and our apps taking up much more space than it used to and our files getting larger, we soon found out that we needed something more.
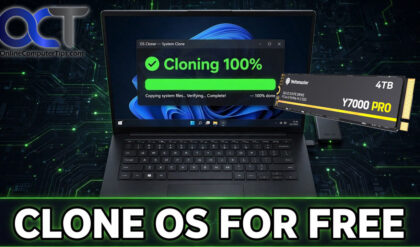
If you find yourself running out of hard disk space, have a failing hard drive, or even building a new computer, you can easily clone your existing Windows drive to a new or larger hard drive in only a few steps. In this article, we will be showing you how to clone your OS hard drive using the free NIUBI Partition Editor software.

Viewing Your Hard Disk Settings
1. Connect Your New Hard Drive
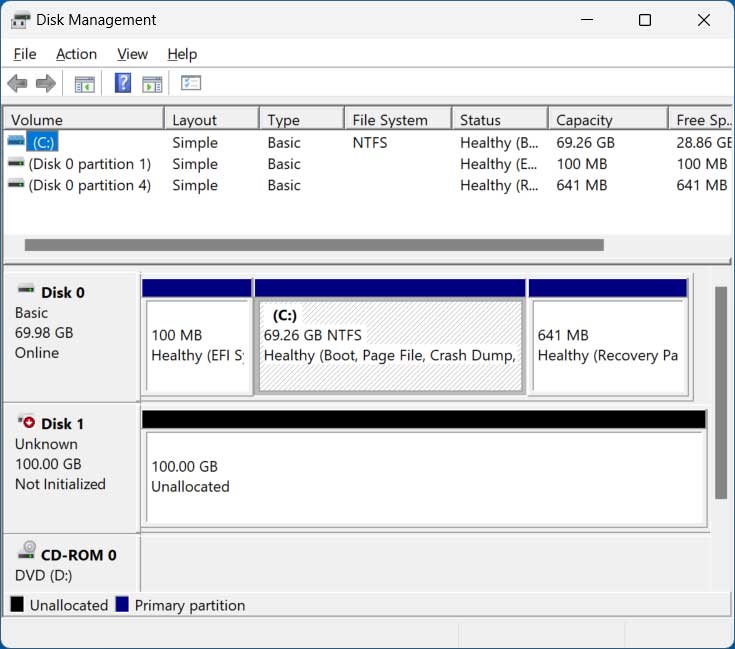
To begin the process, you will need to attach your new hard drive to your computer along with your existing hard drive so Windows recognizes it. If you open up the Windows Disk Management tool, you will then see your existing drive as well as your new hard drive.
2. Verify Disk Management Status
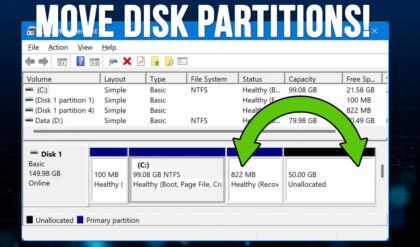
If you look at the image below, you can clearly see that our Windows drive is 70GB and our new drive is 100GB. The new drive has not been initialized yet. It does not contain any formatted volumes which is perfectly fine for this copying process.
3. Launch NIUBI Partition Editor
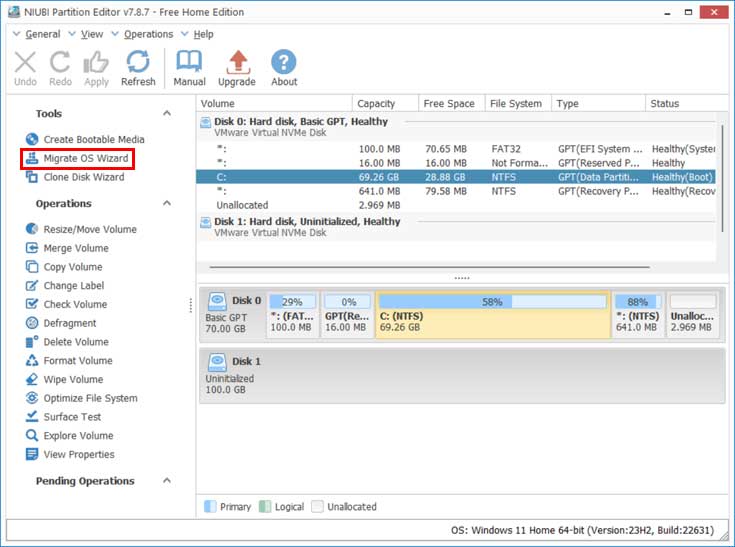
After you install the NIUBI Partition Editor software, you can then launch the program from your desktop shortcut. You will see similar drive size information displayed right on the main screen. Make sure both of your drives show up accurately before proceeding to the next step.
Starting the Hard Drive Cloning Process
1. Open the Migrate OS Wizard
To start the cloning process, you will need to click on the Migrate OS Wizard option located on the left side of the screen. One thing you might want to seriously consider is doing a complete backup of your important files first. This protects your data in case you run into an unexpected power outage or hardware problem during the process.
2. Select Your Destination Disk
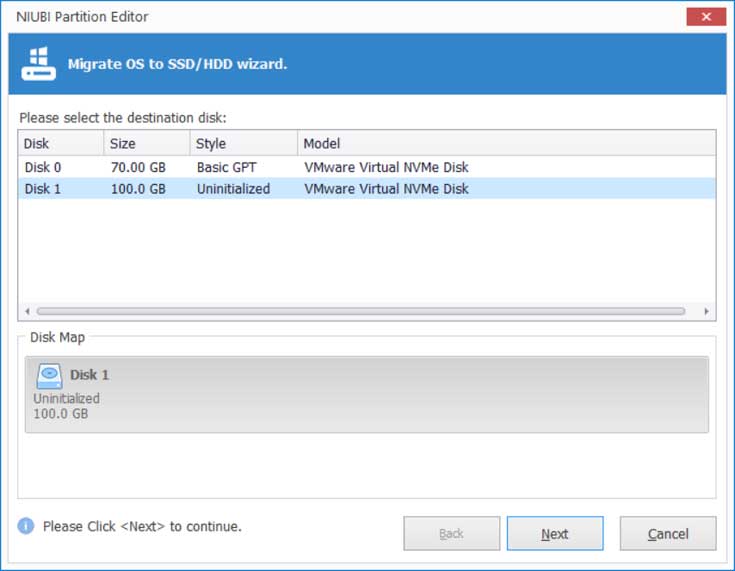
You will then need to select the destination disk which will be the exact drive that you want to copy your existing Windows drive to. If you have more than one additional drive plugged in, make absolutely sure you select the correct one. Everything on the chosen destination drive will be permanently deleted during the cloning process.
3. Review the Partition Layout
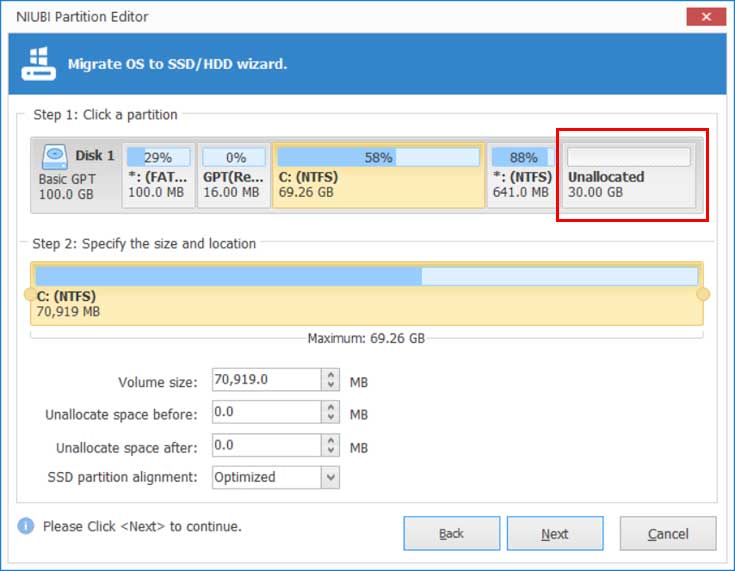
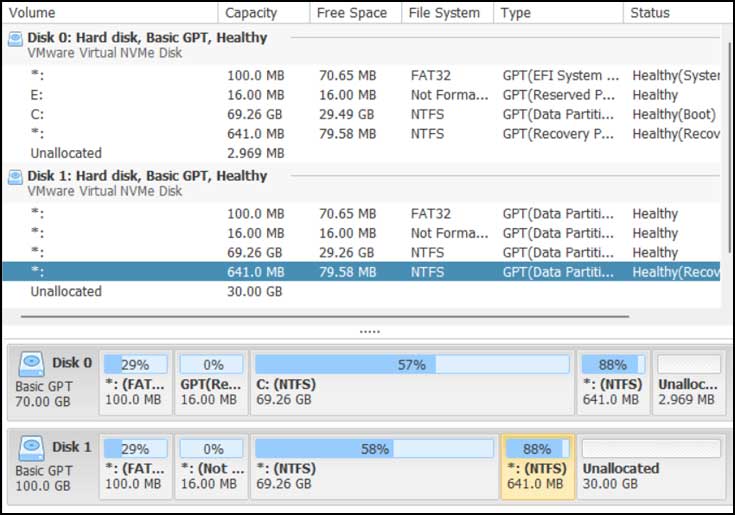
Once you click on the Next button, you will be shown a visual summary of how the new drive will be partitioned. This layout should match the existing source drive that you are currently cloning. Since the destination drive is larger than the source drive, you can see we will have 30GB of unallocated free space left over.
4. Confirm the BIOS Boot Instructions
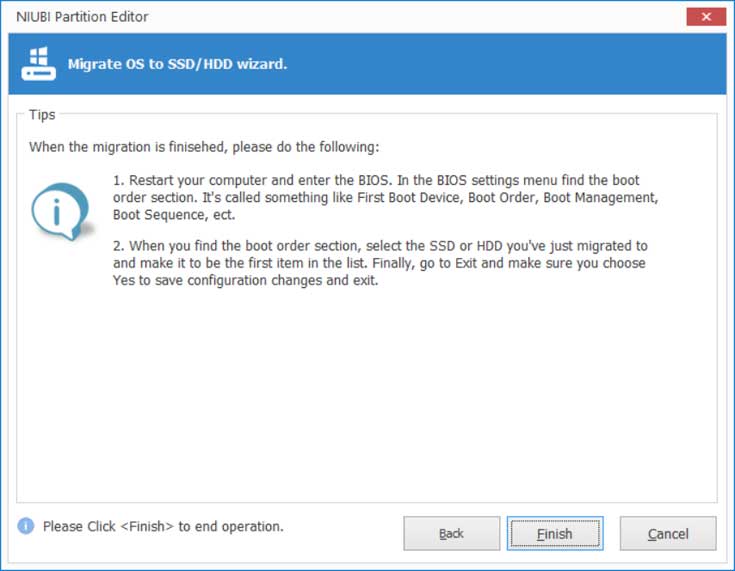
If everything looks correct, you can then click the Next button to proceed. You will be shown a summary screen telling you that you will need to boot your computer into its BIOS or UEFI settings. You must change the boot order to make the new drive the first boot device. If you plan on completely removing the old drive, your computer will likely boot just fine without having to do this manually.
5. Apply the Pending Changes
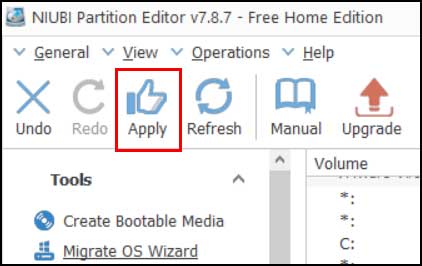
After you click on the Finish button, the software simply queues up your requested tasks. You will need to click on the Apply button located at the top left of the main screen to actually start the cloning process. Confirm the final prompt to begin moving your data.
6. Wait for the Cloning Process
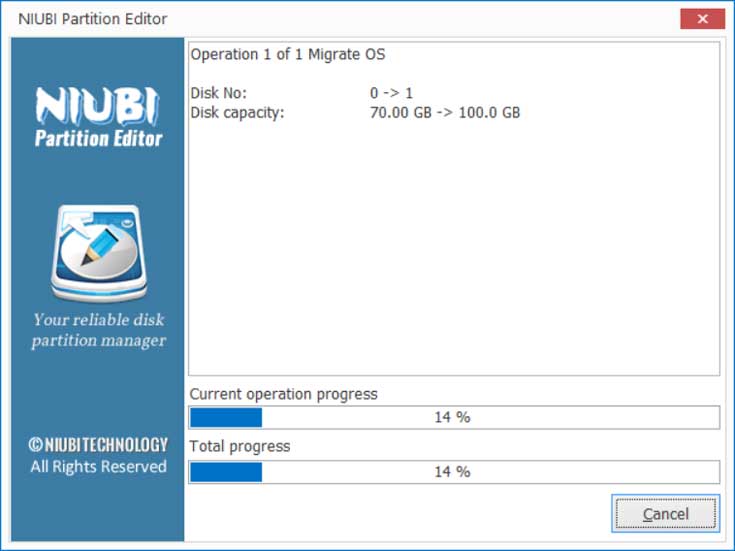
The cloning process does not take very long to complete. The exact time will vary depending on the total size of your hard drive and how much data is actually stored on it. Solid state drives will finish this transfer much faster than older spinning disk drives.
7. Verify the Cloned Disk Layout
Once the process is complete, you will then be able to see how the new disk matches the old disk perfectly when it comes to partition layout and size. You will also see the unallocated space shown clearly on the new drive if it is a physically larger drive. After the cloning process is fully complete, we can easily add this extra space to our OS drive so we can use it.
8. Boot Up With Your New Drive
We will now shut down the computer completely and remove the old hard drive from the case. When we boot back up and go directly to Disk Management, we can now see the new 100GB drive powering the system. It runs flawlessly with its 70GB Windows partition intact.
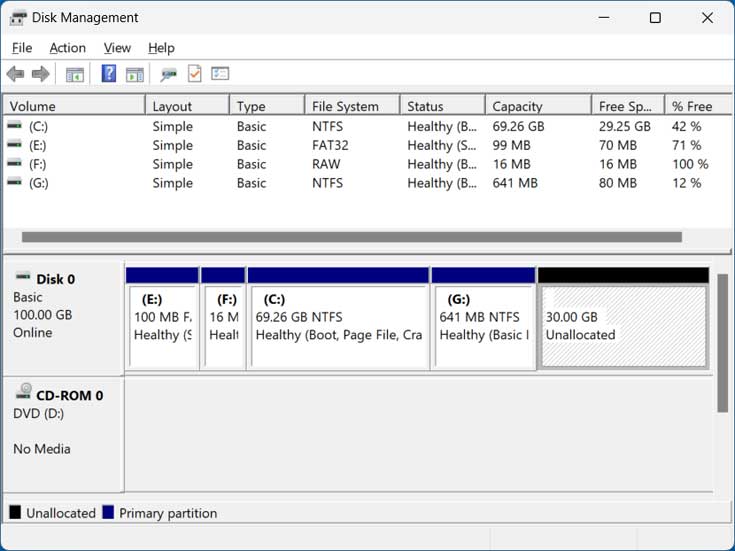
To extend the C drive using the extra unallocated space, you can use the same program by following the steps in this article.
For additional training resources, check out our online IT training courses.
Check out our extensive IT book series.