There are many reasons one might want to clone their hard drive. It’s a great way to transfer Windows, your apps and also your files to a larger or faster hard drive. Or maybe your current hard drive is failing, and you want to make a copy of it before it fails completely. It’s also a good way to transfer your OS to a new PC if you have built your own computer.
There are many different scenarios when it comes to cloning a hard drive. For example, you may have a hard drive with Windows on it as well as another partition for data such as your D or E drive. Or you may have a situation where you want to clone your old Windows drive to a newer SSD or NVMe drive that happens to be smaller in size. In this article, we will be showing you how to clone your Windows OS drive containing extra partitions to another drive.

For our example, we will be cloning a 50GB Windows partition that is part of a 100GB drive. The other 50GB is used for storing data and uses the drive letter E. The drive we will be cloning to is 75GB in size and has no volumes or partitions created on it (unallocated space). Even though the source drive is larger than the destination drive, we will still be able to clone it since we are only cloning the Windows partitions.

Since our E drive contains files and folders, we will need to move them somewhere else if we plan on permanently removing the old drive from the computer after cloning it. Another option is to move the files to the new drive after cloning it and then wiping the old drive and using it for extra storage.

The software we are going to use to clone our Windows OS drive to another drive is called DiskGenius and it can be downloaded for free from their website here. There are many other disk cloning apps that you can try out as well.
Once you have DiskGenius installed, simply open the program and click on the OS Migration button in the toolbar.

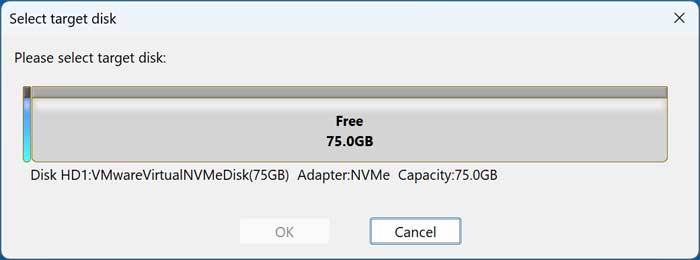
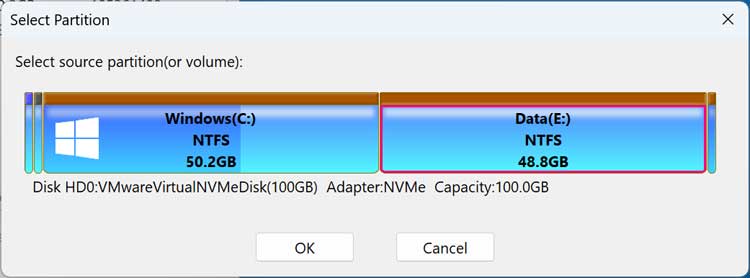
Depending on your computer’s configuration, it may find the destination drive for you. Otherwise, you can choose the correct drive yourself.
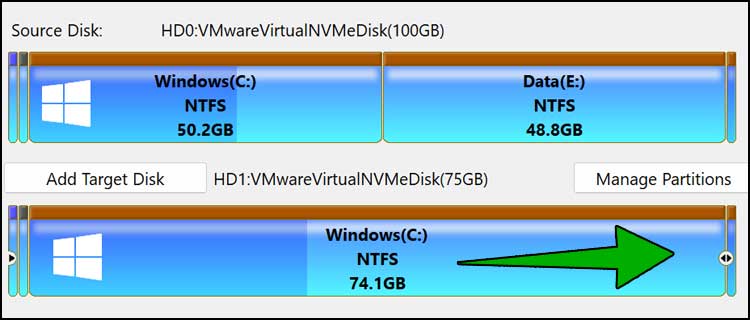
The image below shows the source disk with the Windows partitions and the destination or target disk. As you can see, it added the 50GB Windows partition and shows 23.8 GB free space since the target drive is larger than the Windows partition.

If you were to click on the Manage Partitions button, you would be able to add or remove other partitions from the cloning job by clicking on the Add Partition button.
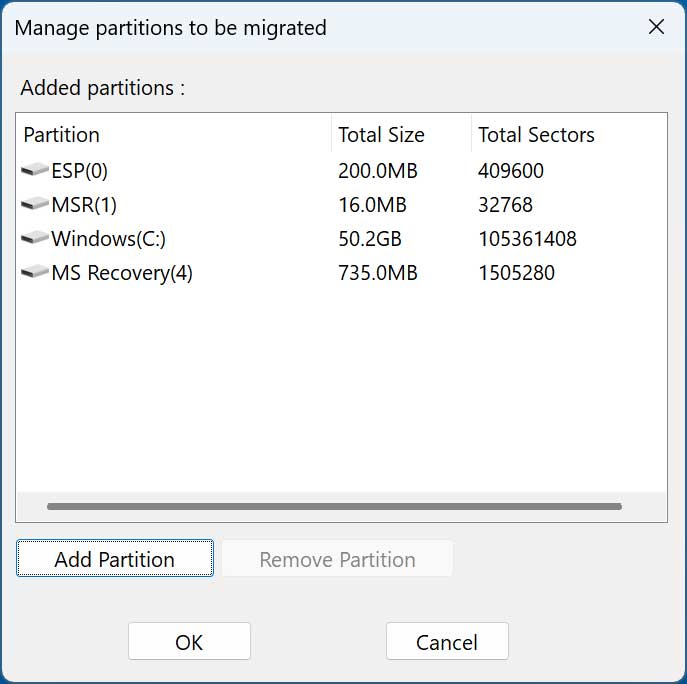
Since our destination drive is smaller than the source drive, we cannot clone the extra E partition.
Since the destination drive has extra space available, we can either leave that extra space unallocated or add it to the Windows partition on the new drive. To do so, simply drag the slider to the right so all the space is allocated to the C drive.
Then click on the Start button to begin the cloning process and you will get a warning saying all the files and partitions on the destination drive will be overwritten.
You will then need to decide if you want to do the hot migration or reboot into the WinPE environment for the cloning process.

Hot Migration
- Runs inside your current Windows environment while the OS is active.
- Uses Volume Shadow Copy Service (VSS) to create a snapshot of the disk so files can be copied even if they’re in use.
- Pros:
- No need to reboot or use external media.
- Convenient for quick migrations.
- Cons:
- Slight risk of data inconsistency if something interrupts the process.
- Can be slower because Windows processes are running in the background.
WinPE Migration
- Runs in a Windows Preinstallation Environment (WinPE), which is a minimal OS loaded from a bootable USB or ISO.
- The system drive is offline, so no files are in use during cloning.
- Pros:
- Safer and more reliable for system disk cloning.
- No interference from running processes.
- Cons:
- Requires creating and booting from WinPE media.
- Slightly more setup time.
You should be fine using the hot migration option since it is easier and can be done from Windows itself.
Then cloning job will take several minutes and the time it takes will depend on the size and speed of your drives.

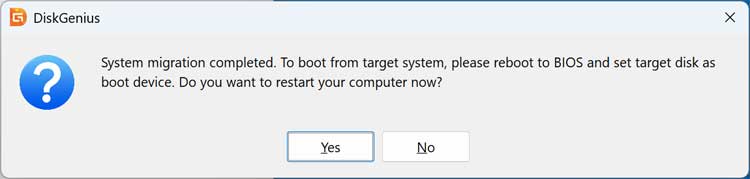
Once the cloning job is done, you will be prompted to reboot so you can go into your BIOS/UEFI settings to change your boot order. Whether or not you will do this will depend on if you want to remove the old drive first like we will be doing.
We are now running Windows using the new cloned drive and have removed the original source drive. As you can see from Disk Management, we have our 75GB Windows partition and no other drive installed in the computer.

After opening File Explorer, we can see that we just have our C drive with 75GB allocated to it.

For additional training resources, check out our online IT training courses.
Check out our extensive IT book series.