
Last Updated on May 21, 2026
By now you are most likely running Windows 11 on your computer, and you may or not be a fan of the new design and features, or lack of features and customization compared to Windows 10. One of the main complaints people have about Windows 11 is that Microsoft has changed or removed many of the apps that we relied on and used on a daily basis.
One app in particular that many people are not fond of is the new Photos app that is built into Windows 11. Since it’s new, of course it had to be changed from the original but that is not always a good thing! One of the biggest changes caused by the newer version of the Photos app is that the Windows Video Editor app was removed and replaced by Clipchamp which many people like while others prefer the older app.

Why Do Users Prefer the Legacy Video Editor?
When Microsoft officially transitioned to Windows 11, they acquired Clipchamp and integrated it as the default video editor for the entire operating system. While Clipchamp undeniably has advanced features, it is a web-based, cloud-first application rather than traditional standalone software. This means it relies heavily on an active internet connection, pushes users toward paid premium subscription tiers for higher resolution exports, and often suffers from much slower rendering times compared to local software.
In stark contrast, the Legacy Video Editor is a lightweight, strictly local application that runs natively on your machine. It efficiently uses your computer’s internal CPU and GPU to render videos quickly, doesn’t require a Microsoft account login to function, and has zero premium paywalls locking away your content. For simple video trimming, merging clips together, and adding basic text overlays, the Legacy app is significantly faster and far more private.
If you prefer the original legacy Windows Photos & Video Editor app that comes with Windows 10, you can easily download and install it if you know exactly where to look. In this article, we will be showing you several different ways that you can quickly download and install the legacy Photos app in Windows 11.
Method 1: Install from the Windows Search Menu
1. Search for the Built-In Video Editor
The first method involves doing a quick search for the video editor directly from the Windows taskbar search box. Simply click on the magnifying glass icon or search bar at the bottom of your screen and type in those exact words. If you have a matching result for the video editor application, you can go ahead and click on that to proceed to the next prompt.
2. Select the Photos Legacy Option
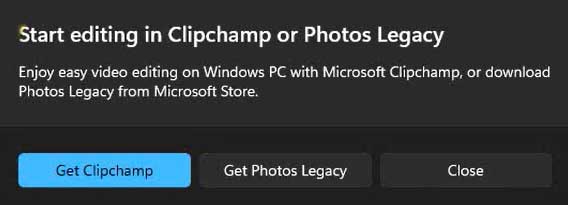
Once you click on the search result, you might get a helpful popup window asking you if you want to use the new Clipchamp software or the Photos Legacy app. From this specific prompt, you can safely ignore the new software and click directly on the “Get Photos Legacy” button. This will initiate the process of restoring the older, more familiar application to your operating system.
3. Install the App from the Microsoft Store
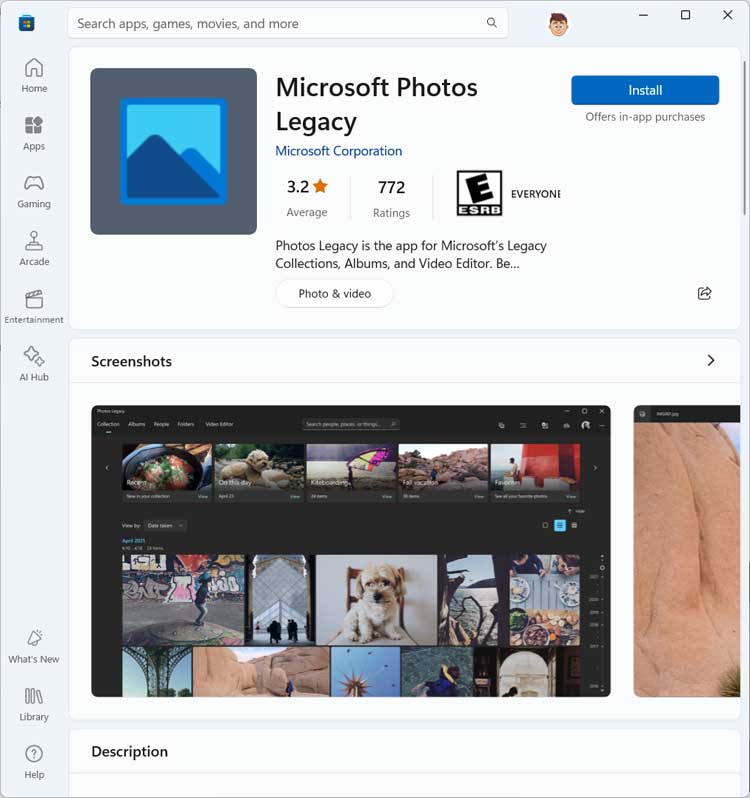
When you click on the Get Photos Legacy button, you will then be automatically taken to the official Microsoft Store application on your computer. From this secure storefront, you can then safely download and install the legacy Photos app with a single click. Just hit the blue install button and wait for the files to finish downloading to your hard drive.
4. Navigate to the Direct Web Link
If you do not have the search popup option or the previous method simply fails, you can manually open a web browser and go directly to the application’s hidden website. You will need to carefully navigate to this specific Microsoft Store web address:
https://apps.microsoft.com/detail/9nv2l4xvmcxm?ocid=pdpshare&hl=en-us&gl=US.
This unique link points directly to the legacy application that cannot normally be found just by browsing the standard storefront.
5. Launch the Store Application from the Web
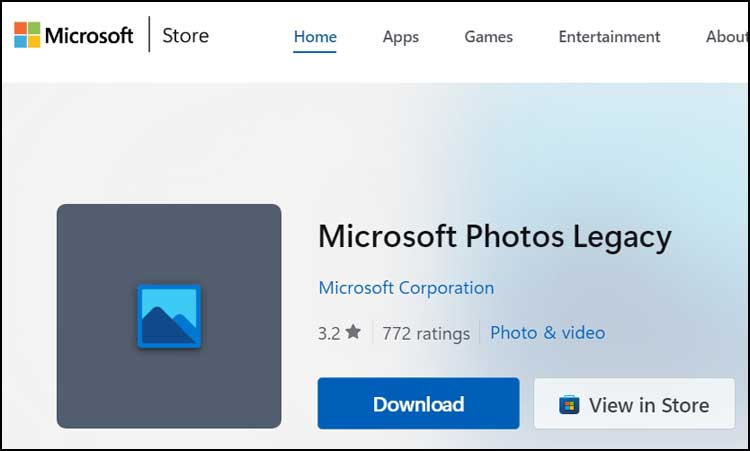
Once you are safely on that specific webpage, you can look for and click on either the Download or View in Store button prominently displayed on the screen. Both of these buttons will automatically trigger a prompt that will take you straight back to the desktop Microsoft Store app. From there, you can then freely install the Photos app exactly like shown in the previous method.
Method 3: Install via Winget (Command Prompt)
6. Open the Windows Terminal as Administrator
If the Microsoft Store is intentionally disabled on your computer, which is extremely common in enterprise, school, or corporate IT environments, you have another powerful option. You can bypass the Store interface entirely using the Windows Package Manager (winget) utility built into the system. To start this method, simply right-click your Start Button and select either Terminal or Command Prompt from the context menu.
7. Run the Winget Install Command
Once the black command line window is open on your screen, you will need to carefully type the specific package installation command. Type winget install 9nv2l4xvmcxm exactly as it is written here, and then press the Enter key on your keyboard. This advanced command directly targets the unique application ID for the legacy software on Microsoft’s hidden servers.
8. Agree to the Installation Terms
After pressing Enter, the package manager may pause and prompt you to accept the source agreements before proceeding with the download. Simply press the Y key on your keyboard to agree to the software terms if you are prompted by the system. Windows will then automatically download the official package directly from Microsoft’s servers and safely install it silently in the background for you.
Using Your Newly Installed Applications
9. Launch Your Restored Applications
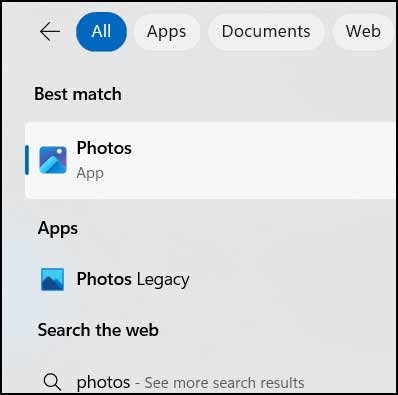
After you finally have the legacy Photos app successfully installed, you can then do a quick search from the Windows taskbar for “photos”. You should now clearly have the option to open either the new Photos app or the restored Photos Legacy app from your search results. You can even run them both at the exact same time if desired, and you can also natively run the original Video Editor app directly from the Photos Legacy app itself.
How to Set Photos Legacy as Your Default Viewer
10. Open the Windows Settings App
Simply installing the older app isn’t quite enough to restore your full classic workflow. By default, Windows 11 will aggressively still force your .jpg and .png images to open in the new, modern Photos app whenever you double-click them. To completely replace the new experience, you must press the Windows Key + I on your keyboard to open the Settings app and forcefully change your defaults.
11. Navigate to the Default Apps Menu
Once the main Settings window is open, look to the left-hand sidebar and carefully navigate to the Apps section. From that menu, click on the Default apps option on the right side of the screen to view your current file associations. This is the master list where Windows ultimately decides which specific programs handle which exact file extensions on your computer.
12. Search for Specific File Types
Instead of painstakingly scrolling through the massive list of every single program on your computer, you can easily use the search feature at the very top. In the search box labeled “Set a default for a file type or link type”, simply type in the extension .jpg and wait for the results to populate. This will instantly isolate the exact image file type you want to change the behavior for.
13. Change the Default App Assignment
You will then need to click the application icon that is currently assigned to that file type, which is highly likely to be the new Photos app. A small menu will instantly pop up on your screen showing you all the compatible image viewers currently installed on your system. Carefully select Photos Legacy from this list and click the Set default button to successfully finalize the system change.
14. Repeat for Other Common Image Formats
While changing the .jpg extension covers a massive bulk of your daily files, you will want to make sure your other media is handled correctly too. You should quickly repeat this exact same search and replacement process for other incredibly common image formats like .png and .jpeg. You can even do this exact same process for the .mp4 extension if you strictly want the legacy application to handle all of your basic videos as well.
15. Review the Legacy Photos App Interface
Once everything is correctly set up and configured as your default viewer, you can finally enjoy the classic interface when opening your images. The original application elegantly features the familiar layout, simple menus, and straightforward editing tools that you are accustomed to working with. It provides a much faster, much cleaner experience without aggressively pushing you toward any

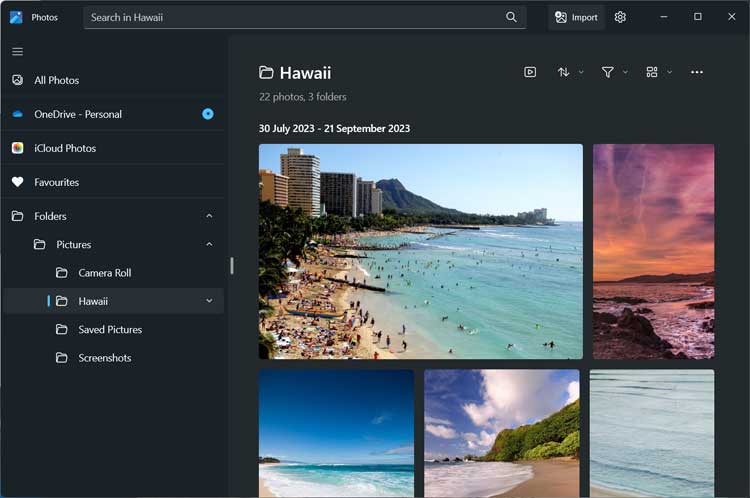
16. Compare with the Current Photos App
For a stark comparison, you can also open the newer iteration of the application to see the massive differences in design. The modern Photos app heavily integrates with OneDrive and iCloud, focusing much more heavily on cloud syncing and complex gallery views. By keeping both applications installed, you can simply choose whichever interface works best for your specific daily workflow and storage preferences.
For additional training resources, check out our online IT training courses.
Check out our extensive IT book series.


