Creating bootable USB flash drives to do things such as install operating systems, load system repair and disk cloning tools is becoming a more common practice these days. In order to install Windows for example, you will need to create a bootable flash drive since Windows 11 is too large for a DVD, and nobody really uses DVDs these days.
There are many bootable USB tools you can use these days such as Rufus, WinToUSB, and UNetbootin. But if you are looking to create a bootable USB flash drive that can be used for multiple images, you might want to check out Ventoy. In this article, we will be showing you how to create and use a Ventoy bootable USB drive in Linux using the GUI and CLI (command line interface).

The first step will involve going to the Ventoy website and downloading the Linux version of the software.
If you want to download Ventoy via the command line, you can use this command but will need to replace the * with the version of Ventoy you want to install.
wget https://github.com/ventoy/Ventoy/releases/latest/download/ventoy-*-linux.tar.gz
Example
wget https://github.com/ventoy/Ventoy/releases/download/v1.1.10/ventoy-1.1.10-linux.tar.gz
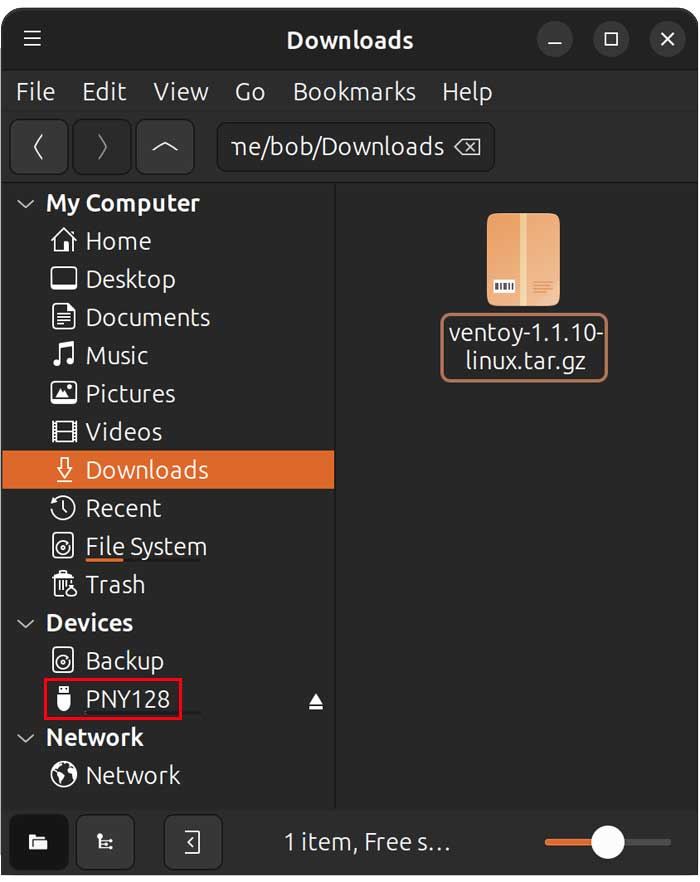
The image below shows the Ventoy TAR file that is located in our Downloads directory on the PC.
To begin, we will need to open the Terminal app and navigate to the Downloads folder using the cd ~/Downloads command. If your Ventoy file is in a different folder, you will need to alter the command accordingly.
Next, we will need to extract the TAR file before we can install Ventoy using the following command. Just be sure to edit the version if it is different from what is shown.
tar -xzf ventoy-1.1.10-linux.tar.gz
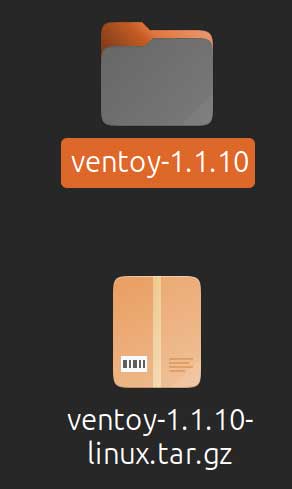
You will then have a folder with the extracted files in the same directory as the Ventoy TAR file.
Next, we will change into the downloaded Ventoy files directory in the Terminal using the cd ventoy-1.1.10 command.
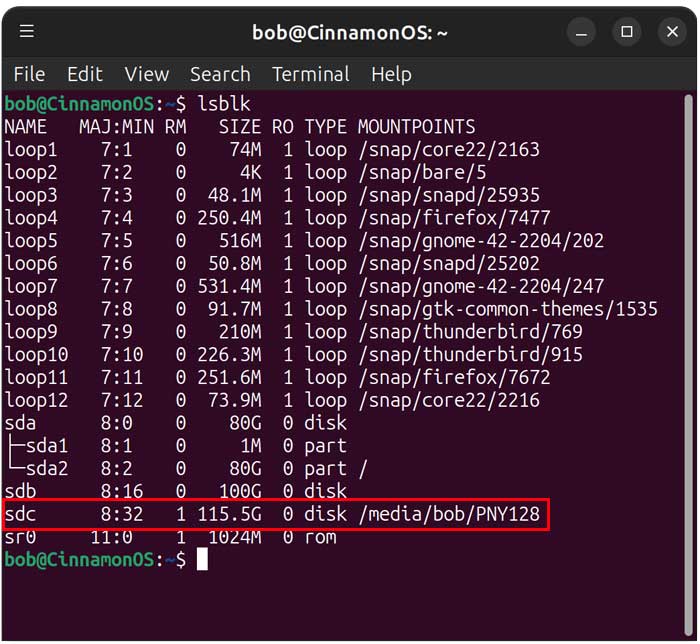
Before we install Ventoy on our UBS flash drive, we want to make sure that we are using the correct disk designation, so we do not install it on the wrong drive. To do so, we will use the lsblk command. Our flash drive is the /dev/sdc disk.
Installing Ventoy Using the CLI Method
Now we will install Ventoy on the flash drive using the sudo ./Ventoy2Disk.sh -i /dev/sdc
command. You will need to enter your administrator password to continue.

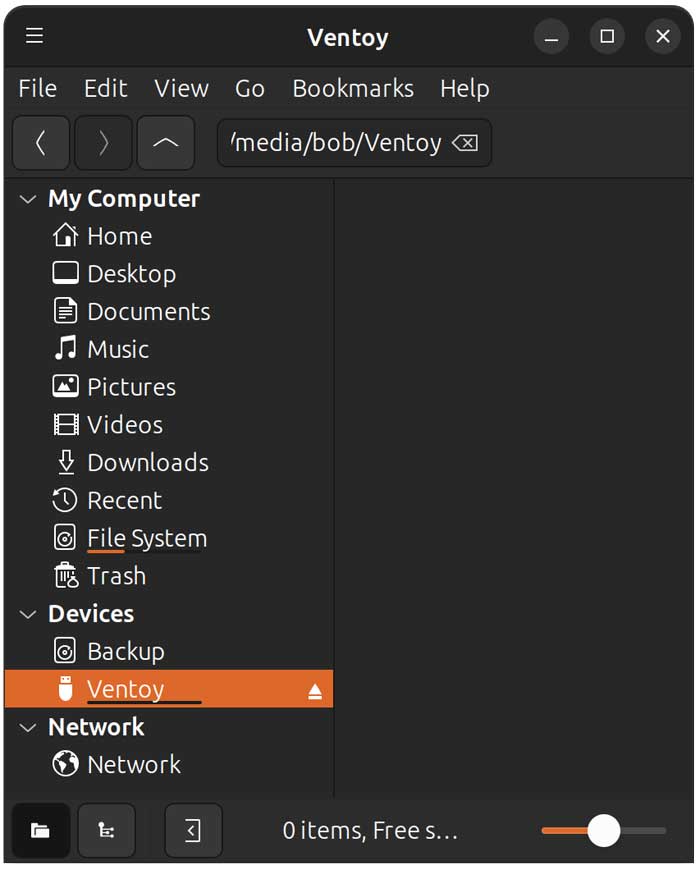
Now we can see that our flash drive has been renamed to Ventoy. You will not see anything on the drive when you go to it in the Files app.
Now we can simply drag and drop any ISO files we want to add to our flash drive into the Ventoy drive itself.
Installing Ventoy Using the GUI Method
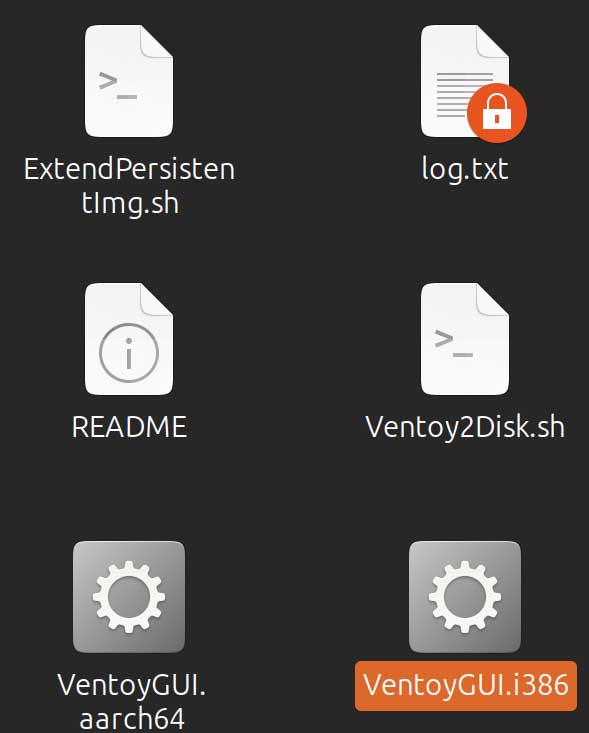
There is a way to install Ventoy using a graphical method, but you will still need to perform a couple of steps via the command line. The first thing you should do is look in your extracted Ventoy files and make sure there is a file there called VentoyGUI.x86_64.
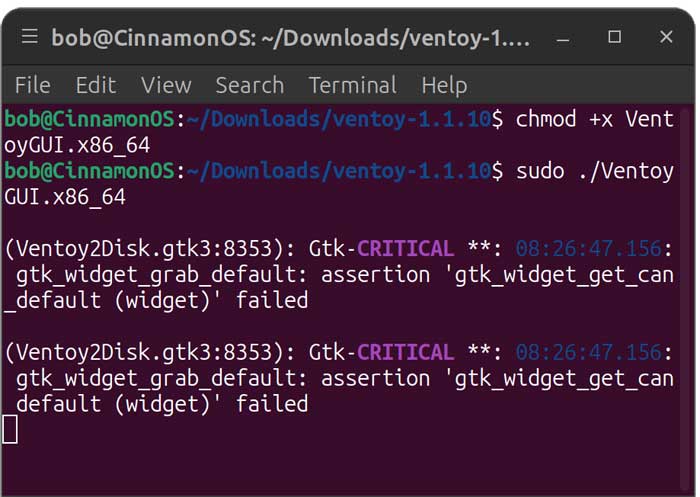
Next, you will need to make the GUI file executable by typing chmod +x VentoyGUI.x86_64 in the Terminal.
Now you can launch the Ventoy GUI to install Ventoy on the USB by typing sudo ./VentoyGUI.x86_64.
You will see some messages that say Gtk-CRITICAL but this is normal and you can ignore these.
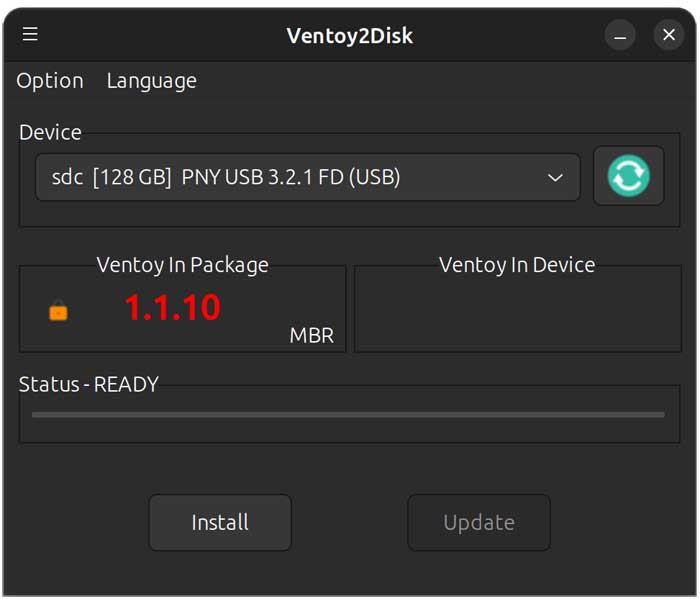
Now you should see the Ventoy2Disk GUI where you can then select your flash drive from the Device dropdown. You should also see the version of Ventoy you are going to install in the Ventoy In Package section.
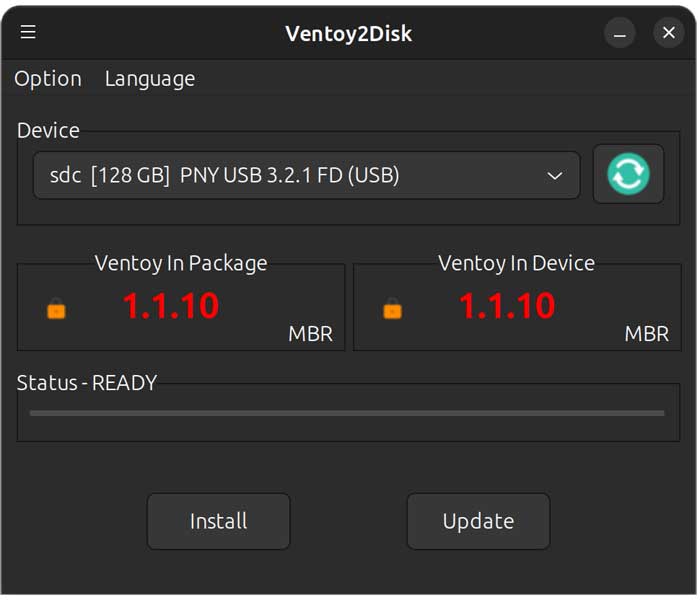
Next, click the Install button and you will be shown a message saying the device will be formatted and all the data will be lost. You will need to click the OK button to continue. Once the installation is complete, you should see the same version in the Ventoy In Device section. The GUI method also has an Update button if you need to update your version of Ventoy to a newer one.
One issue you might have when using the GUI method is that your flash drive will become disconnected, and you will no longer see it with the Files app. If that happens, you can try to mount the flash drive using the sudo mount /dev/sdc /mnt command. Just be sure to change the drive designation to match your flash drive.
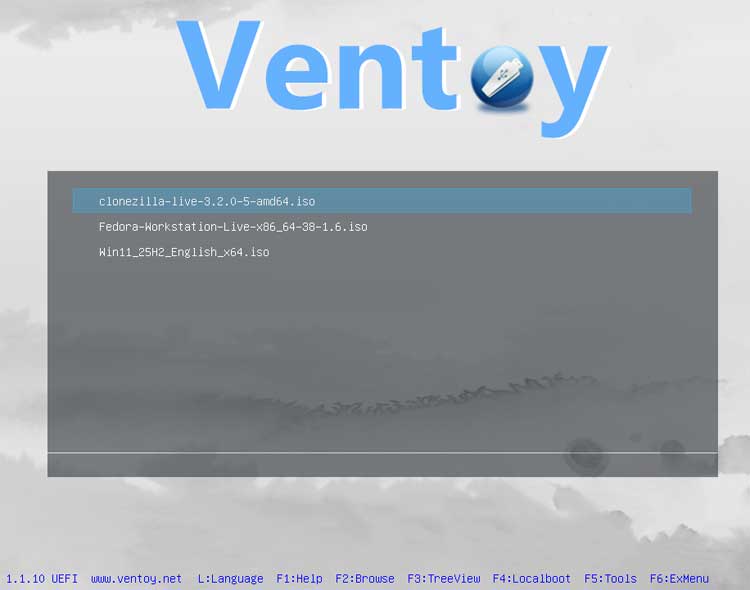
Now you can drag and drop your ISO images files into your Ventoy flash drive. For our example, we will copy a Windows 11, Fedora Linux and Clonezilla ISO file to our drive. When we boot the computer to the Ventoy flash drive, we have the option to load any one of these images.
You can also use Ventoy in Windows if you are not a Linux user.
For additional training resources, check out our online IT training courses.
Check out our extensive IT book series.