Get rid of those pesky backgrounds in your images

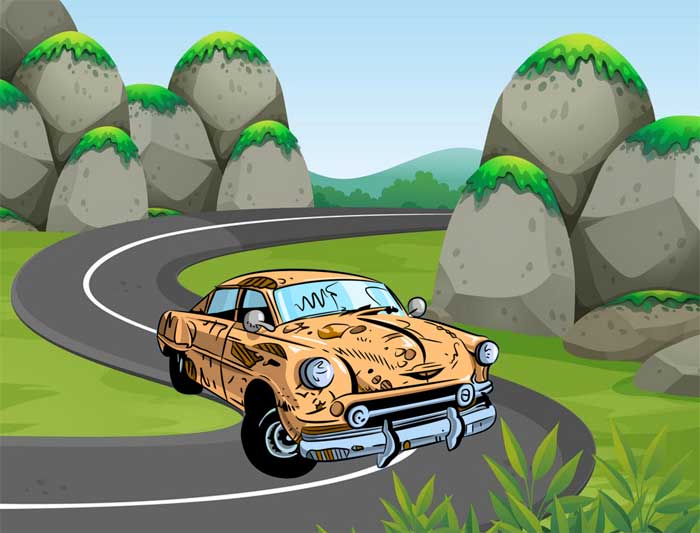
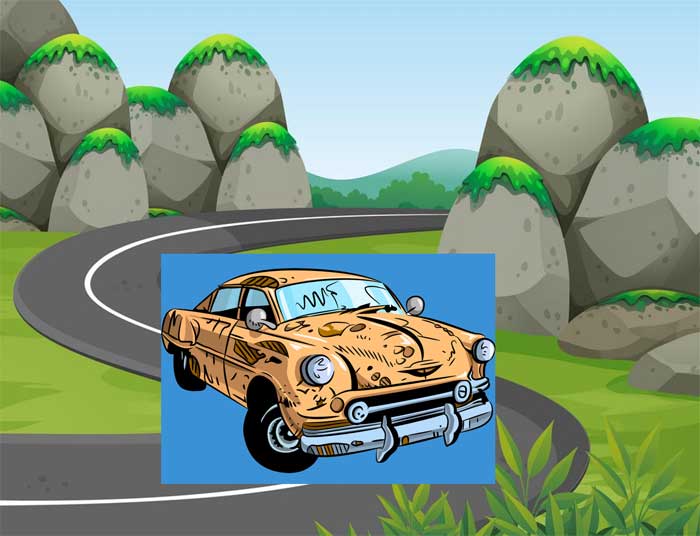
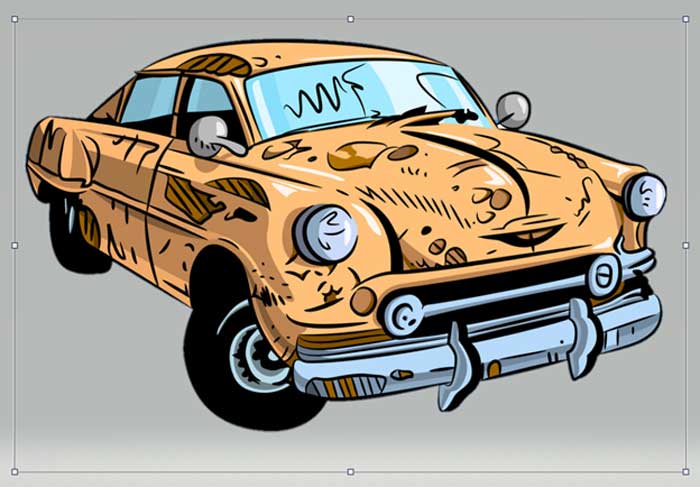
Photo editing is a very common thing that people like to do using their computers and if you are into graphic design then you most likely have had the need to make a transparent background for your images to get rid of any boxes surrounding an image when you place that image onto another like seen below.
If you don’t have any specialized photo editing software such as Adobe Photoshop then you might find it hard to remove this extra background from your images so they look right when you add them to whatever project you might be working on.
Fortunately, you can remove the background from pictures using the built in Paint 3D that comes included with Windows 10. This is different than then old version that was just called Paint which is still part of Windows as well.
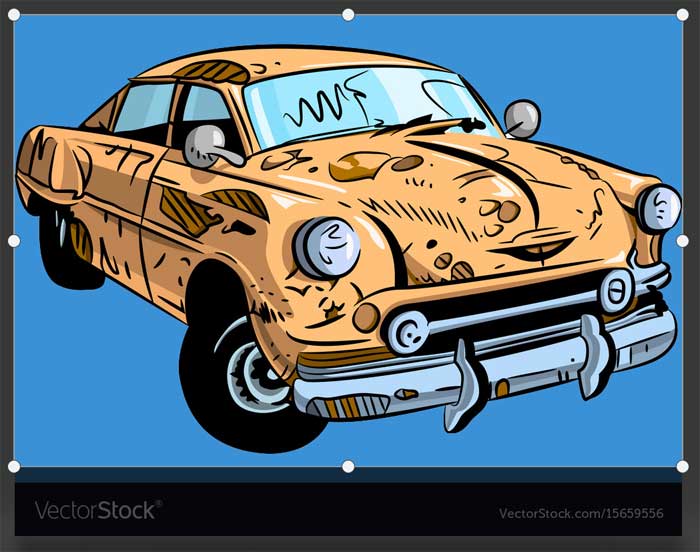
The first step in this process is to open the picture in Paint 3D and then use the Crop tool to remove any part of the image you don’t want to be in the final version if necessary.
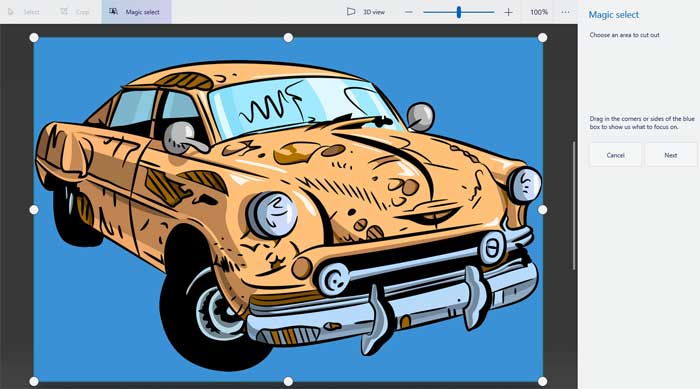
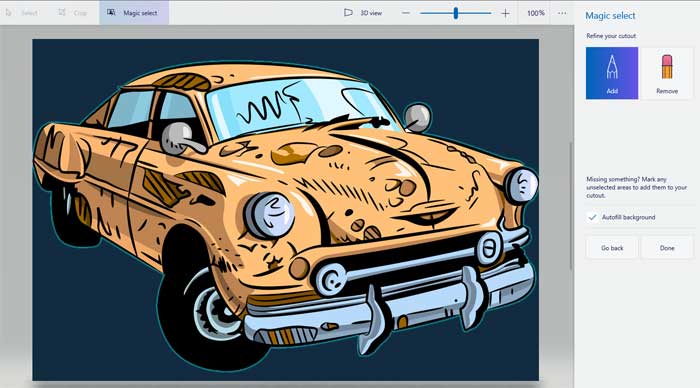
Next you will need to click on the Magic Select tool and then move the boundaries of the box around the image, so it fits within the box. After you do this it will look a lot like it did when you cropped your image if you needed to do so. Then you will click on the Next button.
You will then see a green neon colored line around your image showing the part of it that has been selected. If there is a part of the image that was not selected you can click on the Add button and then draw around the missed part to have it added or you can click on the Remove button to remove any part of the image that you don’t want included. Once everything looks good, you can then click the Done button.
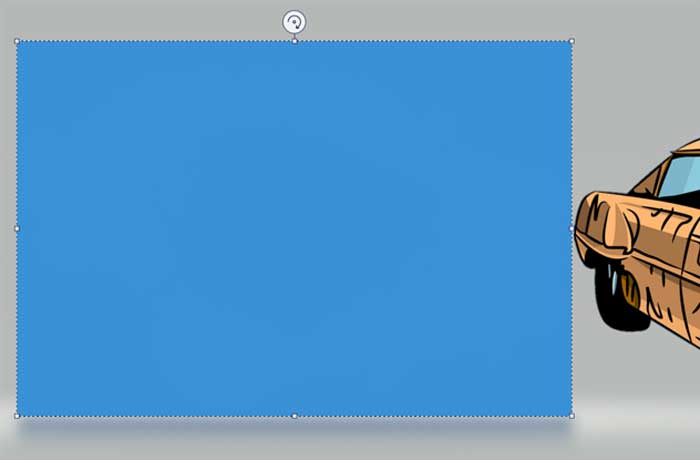
Next you will need to remove the background now that your main image has been separated from it using the Magic select too. The easiest way to do this is to drag your image off the background and then use the Select tool to draw a box around the remaining background.
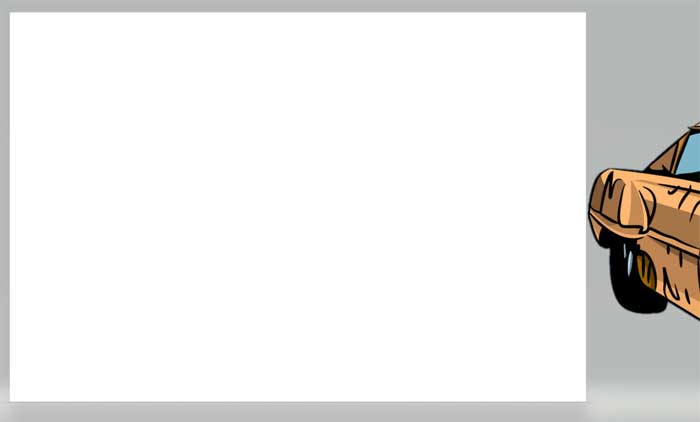
Then you can press the Delete key on your keyboard to have the background removed. If it was a colored background it will turn white even though it was actually deleted. If it was a white background then it will look as though nothing happened even though it was still removed.
The final step involves enabling the transparent canvas feature by clicking on the Canvas button on the top and then moving the slider for Transparent canvas to the right. The background will then turn grey to match the rest of the Paint 3D window.
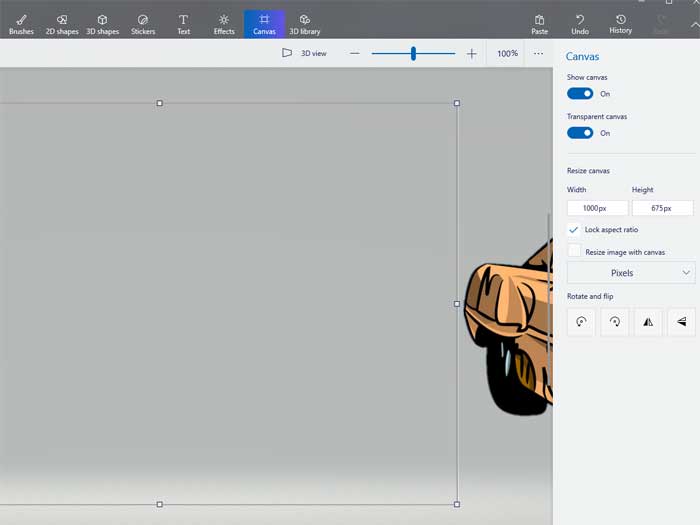
Then you can drag your image back into the box that contains the now transparent background and resize it as needed.
To save your picture with its transparent background you will need to go to the Menu button at the top left of the window and click the Image button and choose Save as and select PNG as the file type and give it a name and place it in whatever folder on your hard drive you like.
Now when you place your new image with its transparent background on top of another image it will only show the picture itself and not the colored or white background.