Last Updated on May 24, 2026
When it comes to connecting your printer to your computer, there are several ways to go about it. You can use connection methods such as USB, wireless, Ethernet and even a direct connection using a static IP address. And if you are using an HP printer, there is even an option to use their HP Direct Connect feature.
If your HP printer is network connected via Wi-Fi or Ethernet, then it will have an IP address assigned to it. Your printer will usually use DHCP to get a dynamically assigned IP address for the router on your network.
If you want to view the IP address assigned to your HP printer or even change it to a static IP address, you can do so easily using the HP Smart app. The easiest way to get the HP Smart app on your computer is to download it from the Microsoft Store.

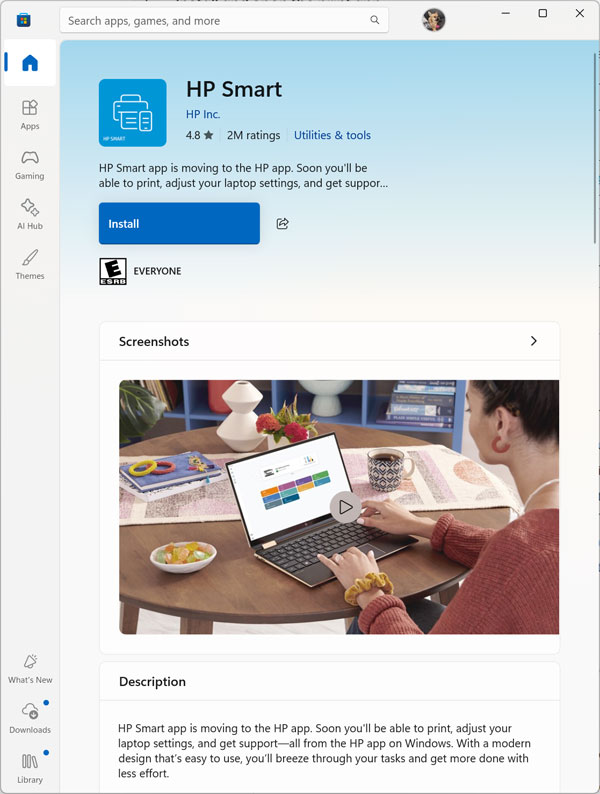
1. Install the Software
All you need to do is search for HP Smart and then once you find it click the Install or Get button and it will be downloaded and installed on your computer.
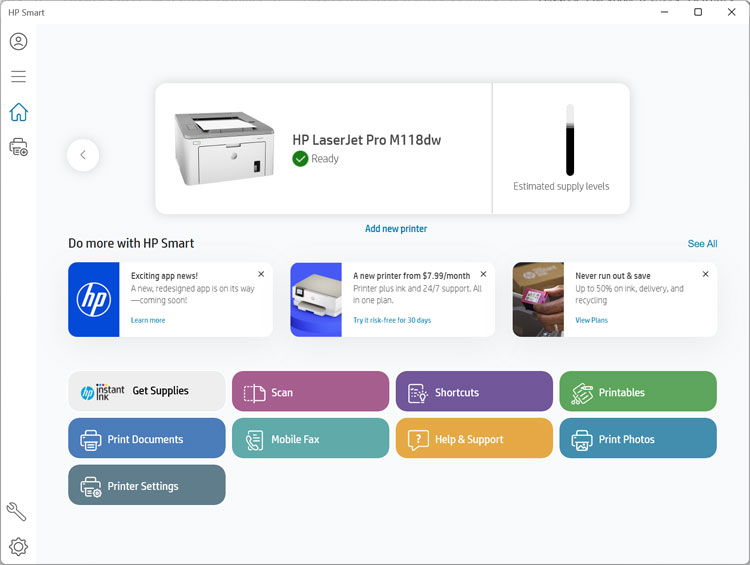
2. Select Your Target Printer
If your printer is already installed and powered on, you should see it at the top of the app interface. If it is not installed, you can use the HP Smart app to help you install it on your computer. Make sure both devices share the exact same local network connection.
3. Open the Printer Settings
Once you have the correct printer selected, you can then click on the Printer Settings button to get started. This menu acts as the central hub for hardware configuration. You will use this area to check toner levels and modify network states.
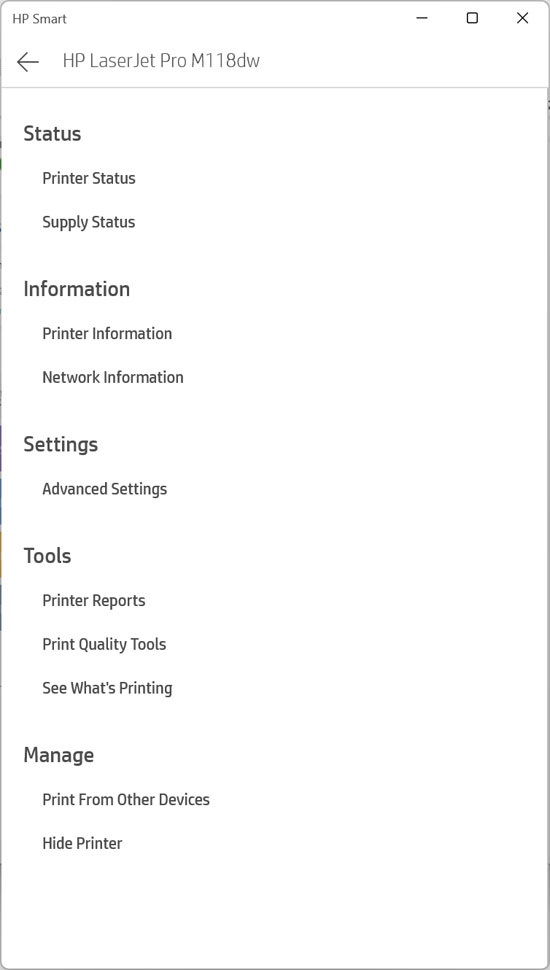
Viewing Your Current Network Status
1. Access the Network Information Tab
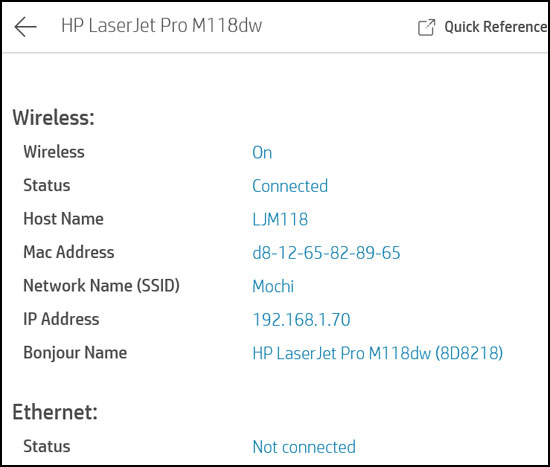
From the menu that appears, you can click on Network Information to see the current network settings and IP address for your printer. The screen populates with your active connection details. Read through these numbers carefully.
2. Review the Active IP Address
As you can see in the image below, the printer is configured for wireless and has an IP address of 192.168.1.70. It also shows that Ethernet is not connected. Jot this active IP address down on a piece of paper for future troubleshooting.
Changing to a Static IP Address Configuration
1. Open the Advanced Settings Menu
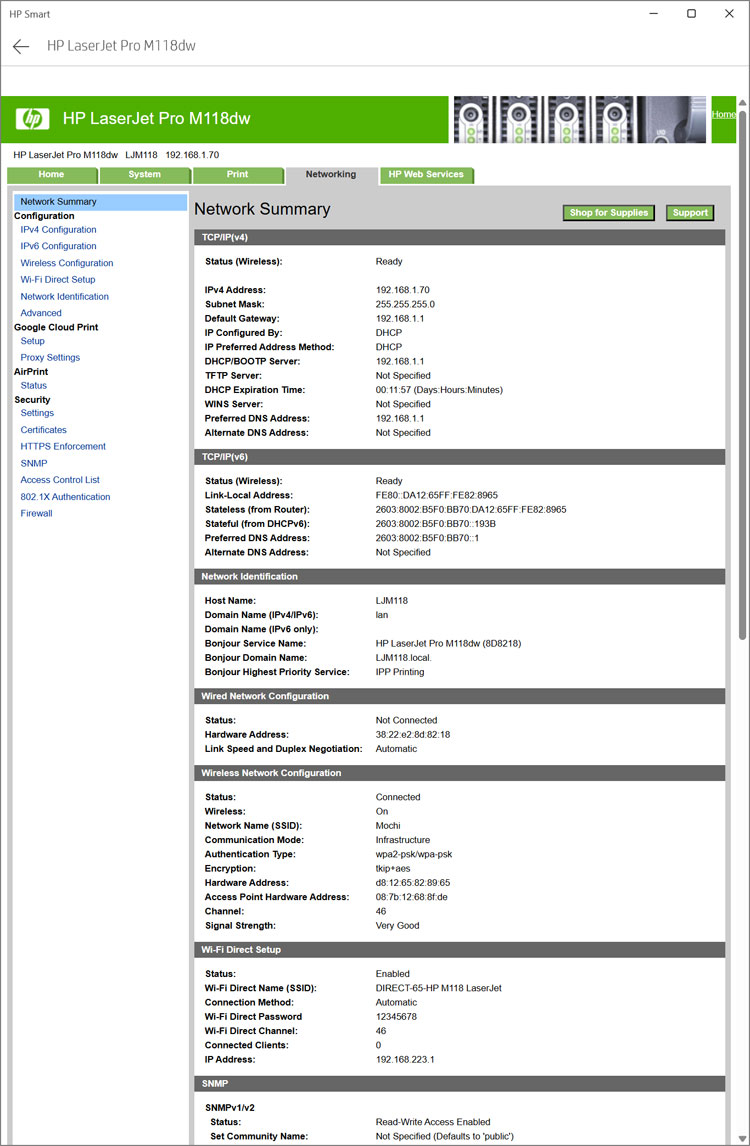
If you go back to the previous menu and click on Advanced Settings, you will then be taken to the main HP printer settings configuration page. This embedded web server interface lives directly on the printer firmware. As you can see, there are several tabs such as Home, System, Print, Networking and HP Web Services.
2. Navigate to the Networking Tab
We want to go to the Networking tab to view the IP address and other network details for our printer. As you can see in the image below, this tab shows a lot of details such as the IP address, default gateway, DHCP status, IPv6 address, hostname and more. This data reveals exactly how your router talks to the printing device.
3. Modify the IPv4 Configuration
To change the IP address configuration type from DHCP to manual for a static IP address configuration, we will need to click on the IPv4 Configuration option. Look for this specific text link on the left side of the screen. Clicking this unlocks the protected IP address text fields.
4. Choose Your Preferred Address Method
Then we will be shown the currently configured method and can change it by clicking in the IP Preferred Address Method box. A drop down menu appears. You must choose either DHCP, BOOTP, AUTOIP or Manual from the list.

Understanding HP Network Connection Methods
1. Dynamic Host Configuration Protocol (DHCP)
DHCP is the default connection method that goes out to a DHCP server to get an available IP address. Your home wireless router usually acts as this server. It hands out temporary leases so your devices can communicate automatically.
2. Bootstrap Protocol (BOOTP)
BOOTP is an older legacy network protocol. It automatically assigns a permanent IP address to a device based strictly on its hardware MAC address when it boots up. Modern home networks rarely utilize this outdated standard.
3. Automatic Private IP Addressing (AUTOIP)
AUTOIP is a built in fallback feature. It allows a device to automatically assign itself a temporary local IP address starting with 169.254.x.x. This only triggers when the printer cannot find a functional router or DHCP server on the network.
4. Manual Static IP Configuration
When the Manual option is selected, you can then type in your own IP address directly. You must also choose a subnet mask and enter your own default gateway address. This static method ensures your computer never loses track of the printer location.
Finalizing Your New Network Settings
1. Apply the Configuration Changes
Once you change the network connection type from DHCP to Manual and enter the IP information, hit apply. You may have a short loss of connection until the printer reconfigures itself. You should also be sure to use the correct IP information so it is on the same network as the computers you are going to use to print to it.
2. Recover from Connectivity Errors
If you make a mistake and lose connectivity to your printer, do not panic. You can always connect to it via USB and then use the HP Smart app to reconfigure things locally. Or if your printer has the capability to change network settings from the physical control panel itself, you can fix it from there.
For additional training resources, check out our online IT training courses.
Check out our extensive IT book series.