Telnet is a terminal emulation protocol used from a terminal or PC to log in to a remote computer and run a program or execute other commands over a network. Telnet lets you log on as a standard user with the privileges you have been granted to the specific application and data on that computer.
The Telnet client is included with Windows Vista and newer as well as Windows Server 2008 and newer but it is not enabled by default most likely for security reasons. Fortunately it is very easy to enable so you can go about using it to connect to remote computers.
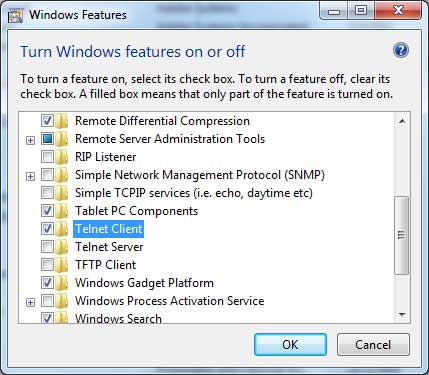
In Windows Vista and up open Control Panel and double click Programs and Features. From there click on the Turn Windows features on or off link on the left and scroll down to Telnet Client. Put a check mark in the box and click OK and you are done.
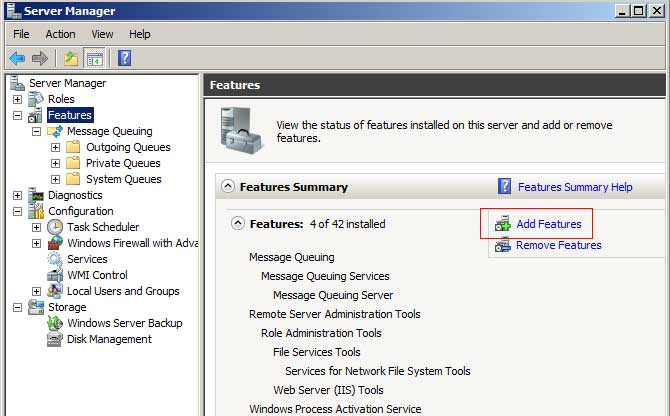
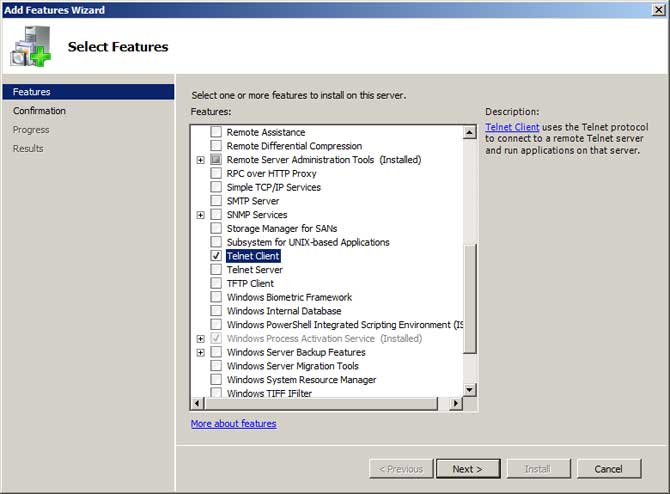
For Windows Server 2008 there are a couple more steps but it’s still very easy. Open Server Manager from Administrative Tools and then click on Features. From there, click on the Add Features link on the right and scroll down to Telnet Client. Just like with the Windows desktop versions, put a check mark in the box and click Next and Install and you ready to go.