Last Updated on June 5, 2026
Being able to remotely control other computers over the network or the internet has been a common procedure used by technology professionals and even home users for many years. People like to do this to offer support for remote users or control their work PC from home or even get into servers in the datacenter.
As you may know, the Remote Desktop Client that many people like to use for remote connections does not work with Windows 11 Home Edition without the use of third party tools. There is a Windows tool called Quick Assist that will work with Windows Home, but it can be a little unreliable. So, in this article, we will be showing you how to use the NoMachine free remote desktop app that you can use for Windows, Linux, macOS, Android & iOS to connect to your remote devices.
The NoMachine remote desktop client is free to use on your local area network. But if you want to use it over the internet, you will need to use something like a VPN or configure your router for incoming remote connections. They do have a subscription plan where you can join the NoMachine network to connect to your computers over the internet using their servers. Regardless of which method you use, you will need to download their software from their website.
The software must run as a constant background service on the target Windows PC you plan on connecting to. The client computer you are physically typing on just needs to have the basic NoMachine application installed. Both machines must communicate directly to establish the visual feed. For our specific tutorial example, we will be connecting to a remote computer located directly on the exact same local network.
Setting Up Your NoMachine Connection
1. Scan Your Local Network
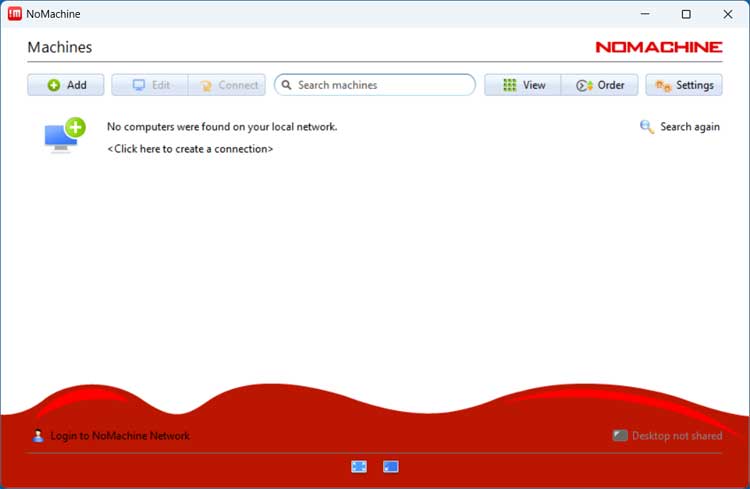
Open the NoMachine client on your source computer to initiate the connection sequence. The software will immediately search for other computers actively running NoMachine on the local network. You will be explicitly shown a warning message saying no computers were found on your local network if the automated scan fails. You can do a manual search for the specific computer name or exact IP address of the remote machine to force a connection. You may also need to thoroughly check your Windows firewall settings to be absolutely sure the traffic is not being blocked.
2. Refresh the Network Search
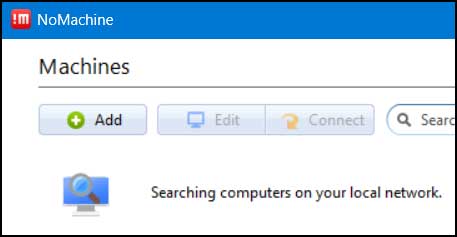
You must be absolutely sure the remote computer is fully online and actively running the background NoMachine service. Click the Search again button to force the client application to check your entire network once more. The software will send out a fresh broadcast ping to locate available listening ports.
3. Select the Target Computer
The NoMachine client will eventually locate the correct remote computer on your local subnet. The target machine will be prominently shown in your client window right away. You will clearly see its specific computer name and current operating system fully displayed. Click directly on this blue box to initiate the remote connection protocol.

4. Verify the Host Identity
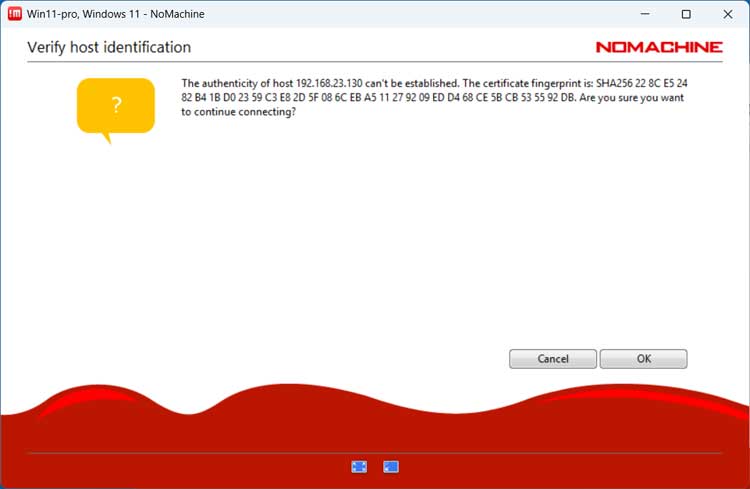
You will most likely see a verify host identification prompt immediately appear on your screen. This security warning explicitly says the authenticity of the host IP address cannot be established. This essentially means your client computer cannot automatically verify the remote machine is the genuine server you expect. This security check usually only happens the very first time you ever connect to that particular computer. Click the OK button to safely accept the fingerprint and proceed.
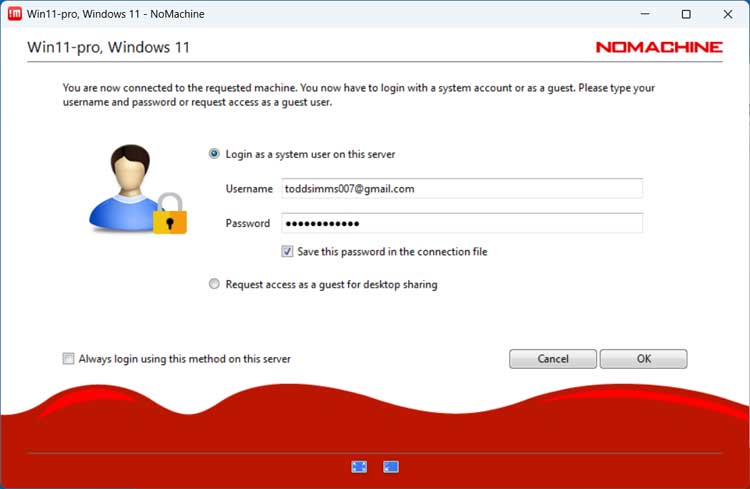
5. Provide Login Credentials
Next, you will have the direct option to login with your standard Windows user credentials. You can also explicitly request access as a basic guest for simple desktop sharing. Using the second guest option means someone will physically need to be sitting at the remote computer. That local user must be present to manually grant you viewing access.
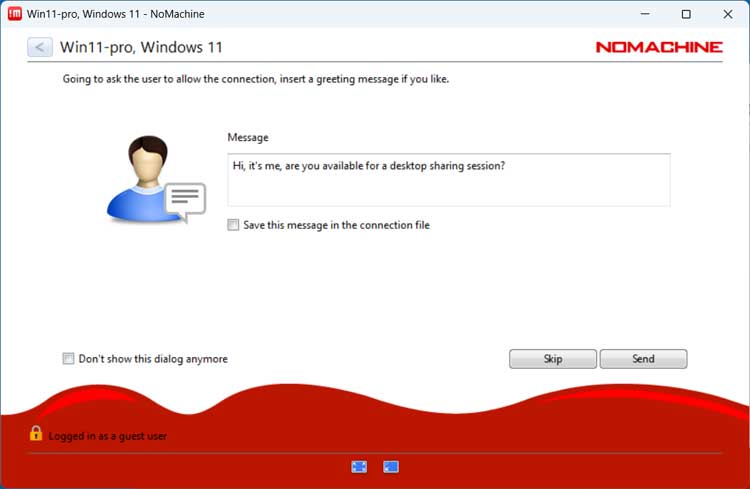
6. Send a Guest Request Message
You might decide to use the restricted guest access option instead of a full administrative login. The software will perfectly allow you to send the remote user a custom text message. You can explain exactly who you are and why you need access to their desktop. They can then read your message and decide if they want to safely allow you into their active session.
7. Wait for User Approval
The person sitting at the remote computer will suddenly see a small popup notification appear on their desktop. This alert box will perfectly display your preconfigured text message asking for explicit permission to connect. They must physically click the Accept button on their end to approve the incoming visual stream.
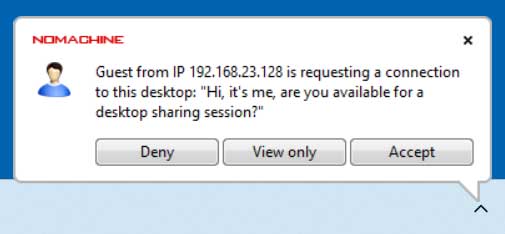
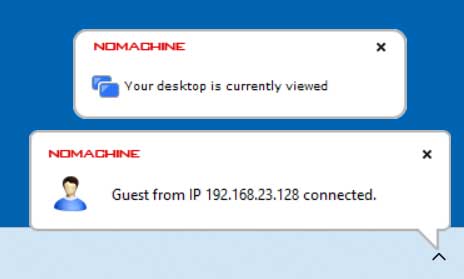
8. Finalize the Connection State
The remote user must manually click the Accept button to officially authorize the session. They will then immediately see a persistent notification showing their computer is being actively accessed. They can also simply click the View only button during the prompt phase. This specific choice grants the remote user pure viewer access with absolutely no ability to physically control the mouse or keyboard.
Managing Your Active Remote Session
1. Control the Remote Desktop
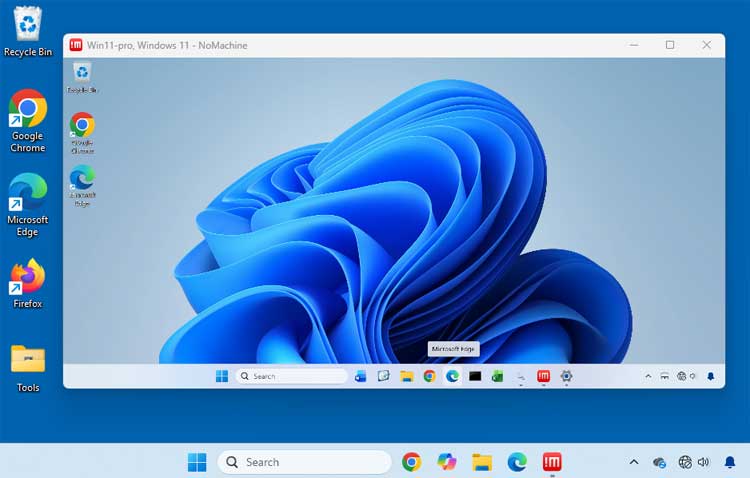
Once you are fully connected, you will clearly see the remote computer inside a large console window right on your local desktop. You can completely control the remote operating system exactly as if you were physically sitting right in front of it. You can safely close the session and instantly disconnect at any time. Simply click on the standard X icon located at the top right of the console window.
2. Access the Hidden Session Menu
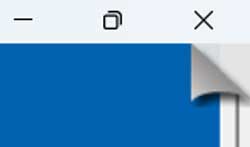
You will definitely need to access the advanced NoMachine options during an active remote session. You must carefully hover your mouse cursor over the absolute upper right corner of the active console window. Wait one second until the software generates a cool page turn animation effect. You can then physically click directly in that peeled back area to instantly reveal all available session options.
3. Navigate the Configuration Settings
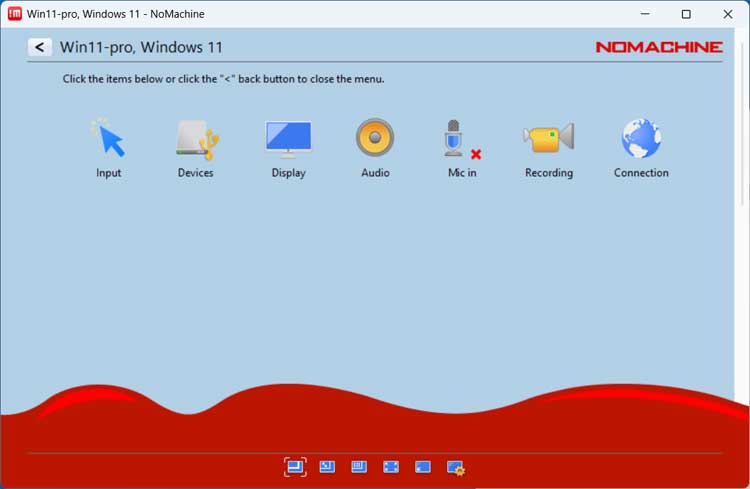
The hidden menu explicitly exposes several powerful configuration modules. There are dedicated option panels for managing input, connected devices, display scaling, audio routing, and direct microphone input. You even have quick access to a built-in screen recording utility and advanced connection diagnostics.
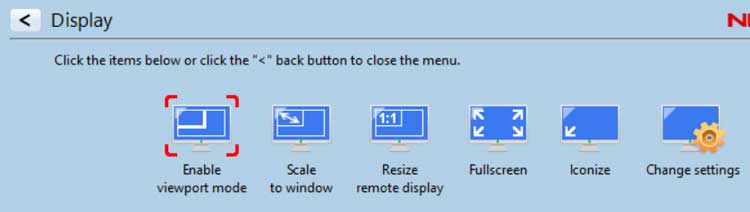
4. Adjust Your Display Preferences
The Display options module gives you complete granular control over the visual feed. It allows you to quickly do things such as force the application to go entirely full screen. You can also explicitly scale the remote desktop resolution to perfectly match your current local window size.
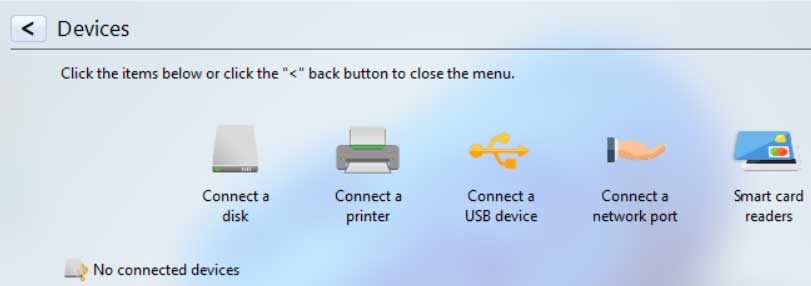
5. Forward Local Hardware Devices
You might urgently need to connect a physical remote device such as a USB hard drive or a local printer. You can easily forward these physical hardware peripherals directly through the secure network tunnel. Open the Devices option panel to map your local hardware to the remote machine seamlessly.
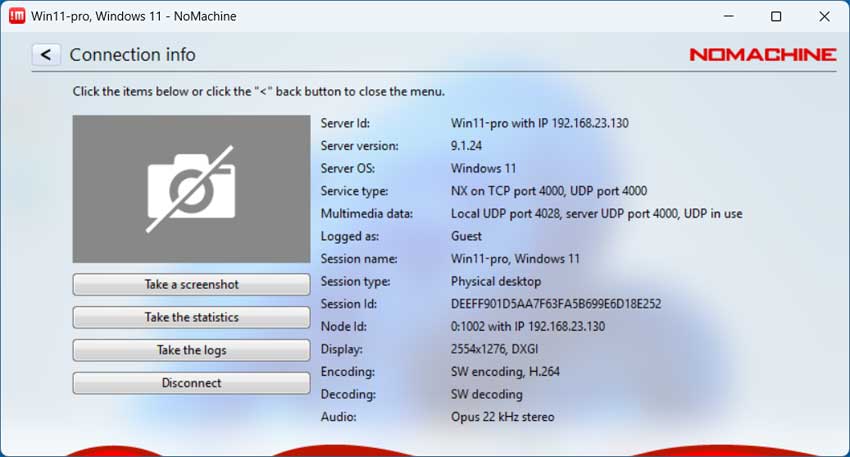
6. Review Connection Statistics
The Connection option tab acts as your primary network diagnostic tool. It will clearly show crucial details about your active connection stream. You will see the exact server ID, IP address, target OS, current login name, and active screen resolution in real time.
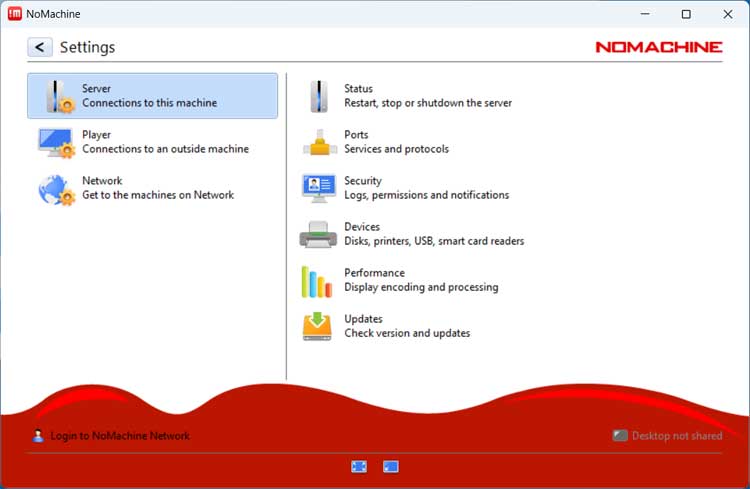
7. Modify Base Application Settings
There are also deep background settings available for the base NoMachine program itself. These specific options explicitly control how the software physically operates on your host machine. You can safely manage server protocols, port assignments, and background service rules directly from this interface menu.
In summary, the NoMachine remote desktop app for Windows, Linux, macOS, Android and iOS is a great tool to use for remote connections over your local area network (LAN) and also over the internet if needed.
For additional training resources, check out our online IT training courses.
Check out our extensive IT book series.