With today’s hard drives getting larger and faster, it makes sense that you might want to upgrade your old SATA spinning disk to a newer SSD NVMe hard drive. Or maybe your current hard drive is failing, and you want to clone it before it dies completely. And many people who build their own computers will clone the drive from their old computer to use in their new one.
Since these newer hard drives can be more expensive per gigabyte, you might have a situation where you need to clone your Windows OS system drive to a smaller hard drive because getting a larger one is too expensive. Fortunately, this is easy to do assuming the data or used space on the old drive will fit on the new drive.

In this article, we will be showing you how to clone your Windows OS drive to a smaller hard drive using the Hasleo Disk Clone Free software that can be downloaded here.
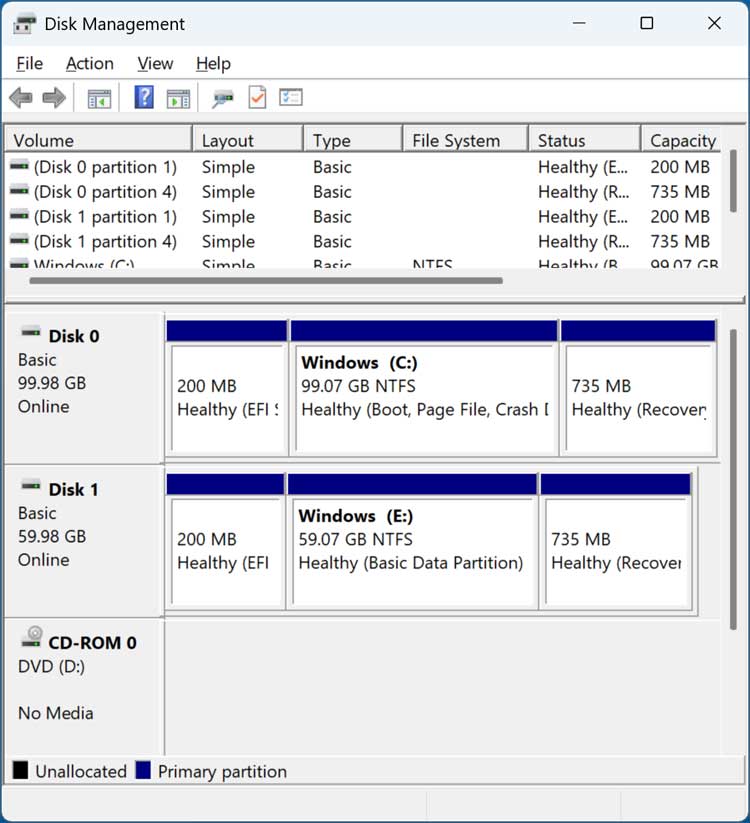
For our example, we will be cloning a Windows drive that is 100 GB in size to a smaller 60 GB drive as you can see in the Windows Disk Management tool.
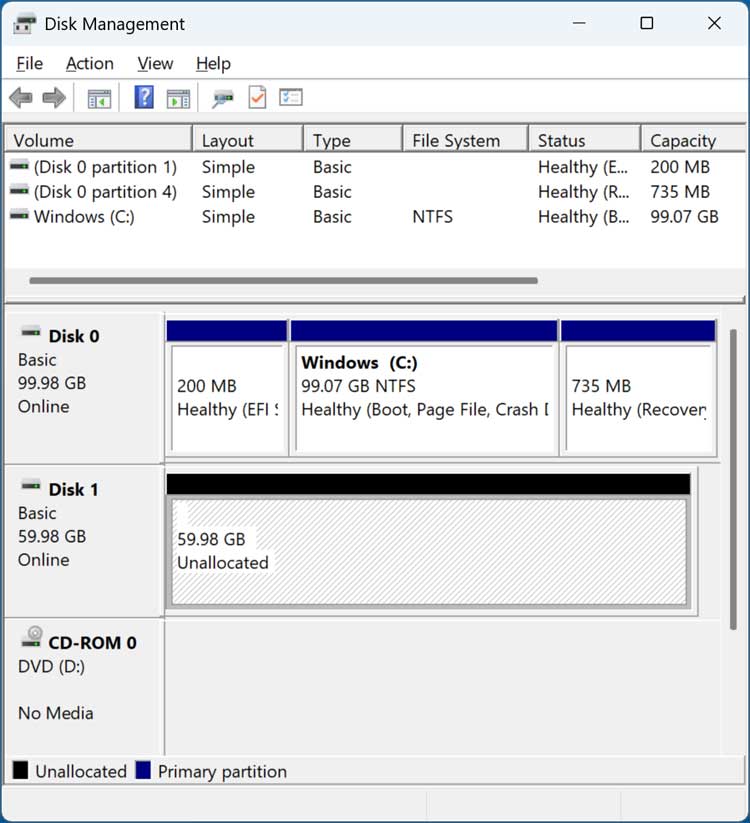
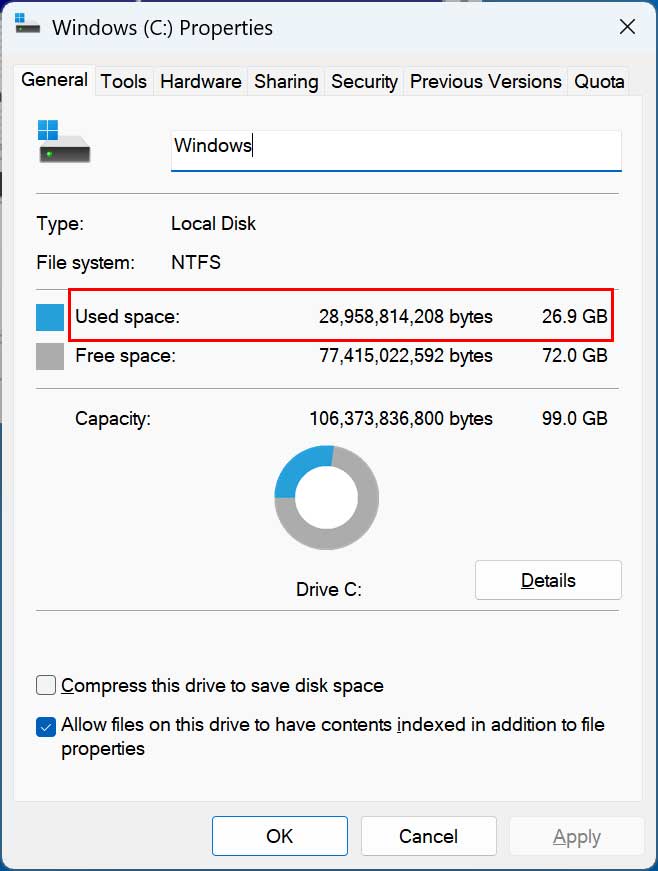
If we right click on the C drive and select Properties, we can see that the used space is 26.9 GB which is less than the 60 GB we have for the new drive. We will also need to take into account the 200 MB EFI system partition and the 735 MB recovery partition since those will need to be cloned as well.
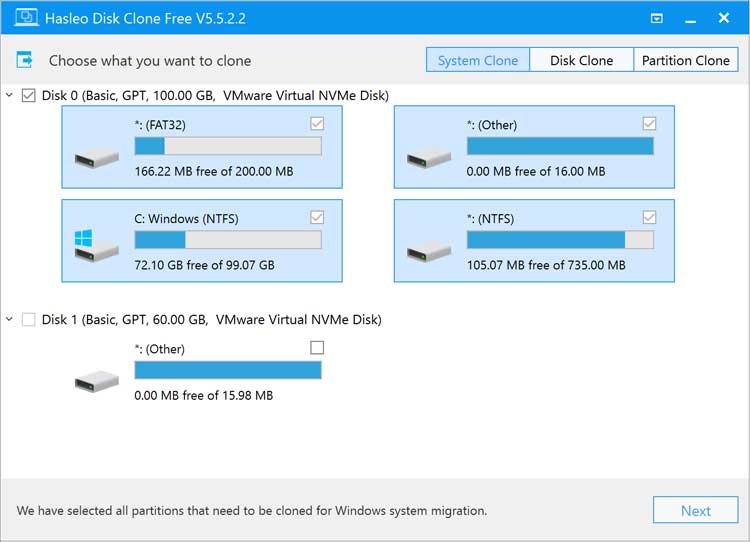
Once you install and run the software, simply go to the System Clone section and choose the drive you want to clone. It should select your Windows drive automatically for you. Just be sure that all the Windows partitions are selected.
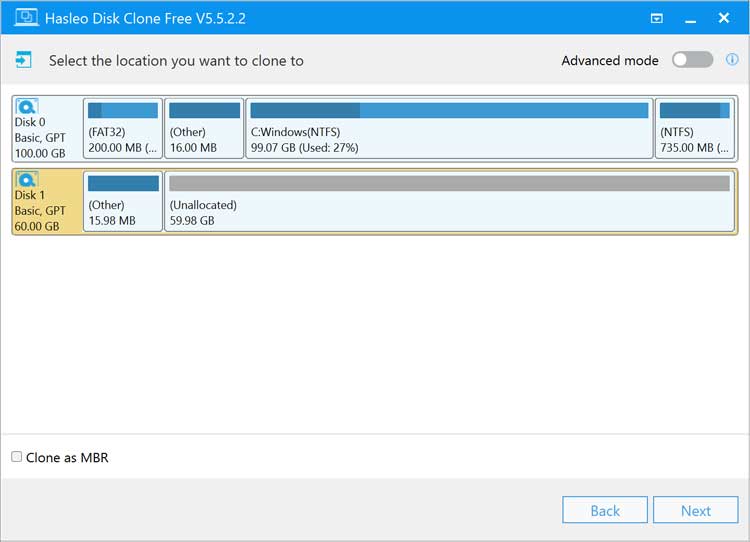
Then you will need to choose the destination drive, which in our case is the new 60 GB drive with the unallocated space. The Clone as MBR option is there if you are working with an older computer or older version of Windows that uses MBR rather than GPT.
After clicking the Next button, we will be at the review section and here we will change the Disk alignment to 1M. Modern drives, both SSDs and advanced-format HDDs benefit from 1MB alignment because it ensures partitions are perfectly aligned with 4K physical sectors and larger block sizes. This alignment avoids performance degradation and maximizes speed and lifespan for SSDs. We will leave Sector by sector clone partition blank because if you check this, the software will try to copy every single block from your large HDD to your smaller SSD. Since the target is physically smaller, the clone will fail because it runs out of space to put those empty sectors.
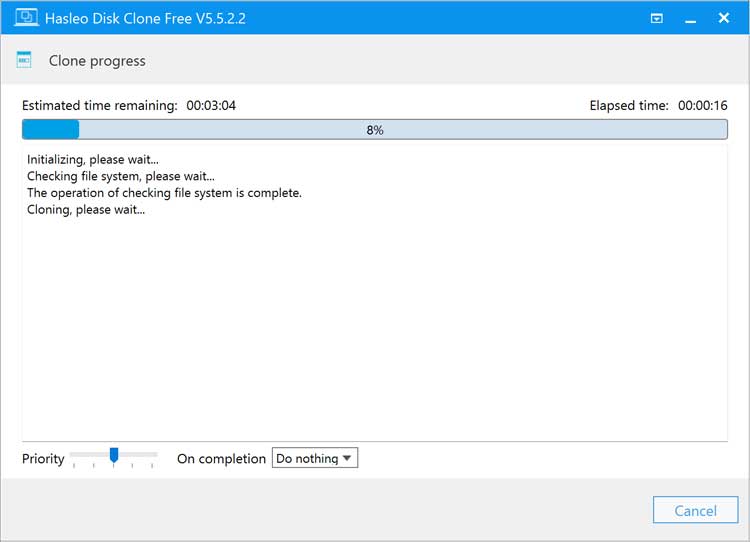
Now that we have all the settings configured, we will click the Proceed button to begin the cloning process.

You will then get a message telling you that all data on the destination disk will be destroyed and you can click the Yes button to continue. The cloning process will take several minutes and how long it takes will be determined by your hard drive speed and size. At the bottom of the screen, you have the On completion options which allow you to have the computer restarted, shut down, put to sleep and so on after the cloning is complete.
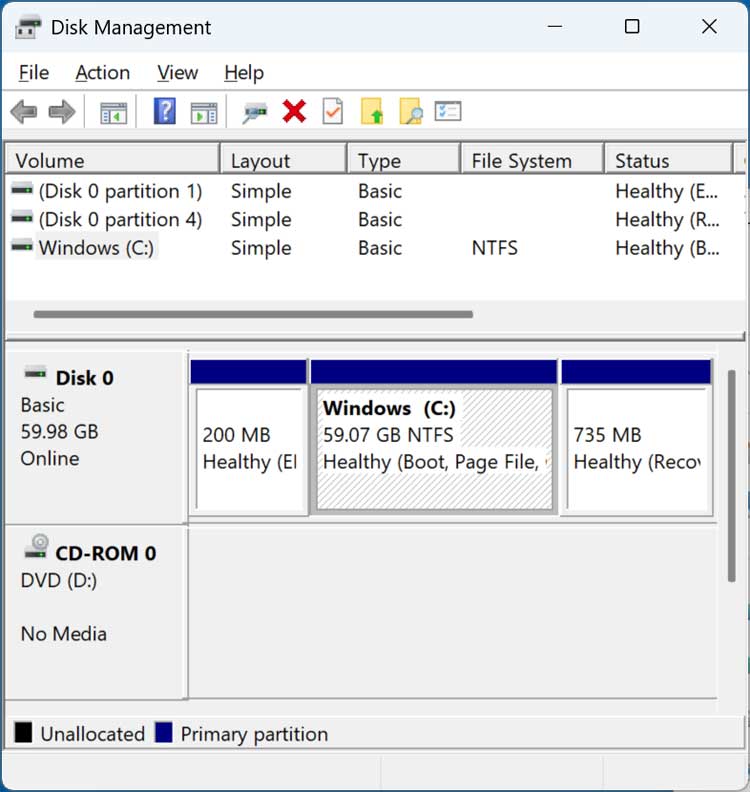
After the clone is complete, we can open Disk Management again and see that our drive has been cloned to the smaller hard drive and that the Windows partition went from 100 GB to 60 GB.
We will now shut down the computer, remove the old drive and then start it back up.
Then when we go back into Disk Management, we can see that we only have the 60 GB drive installed.
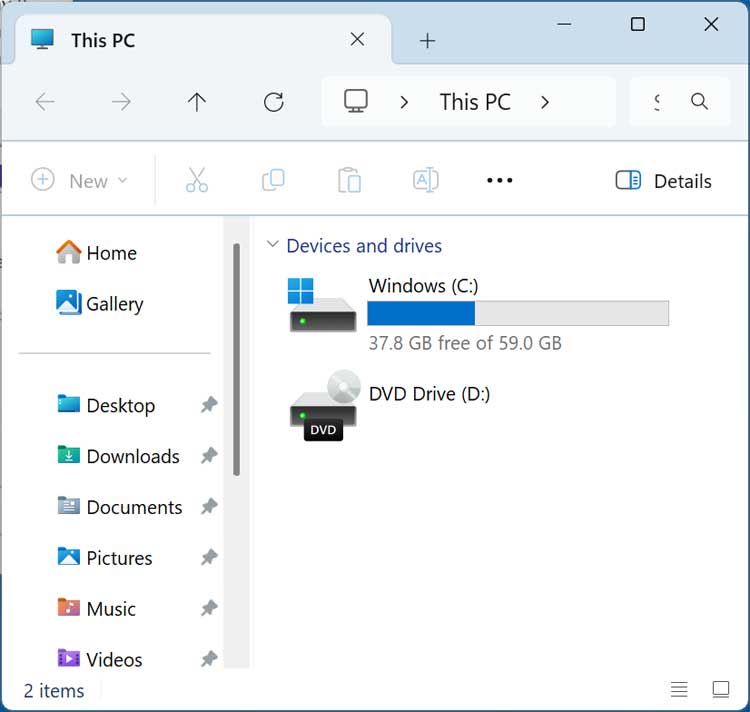
If we open File Explorer, we can also see that the 60 GB is the only drive in the computer and it has 37.8 GB free of 60 GB.
For additional training resources, check out our online IT training courses.
Check out our extensive IT book series.