The practice of installing Microsoft Windows on your own computer is fairly common these days. Many people like to do it themselves to “freshen up” their computer or if it crashes so bad its not repairable. Plus, if you have built your own computer, you will need to install an operating system such as Windows or Linux on it in order to use it.
To install Windows, you will need to create some type of installation media to boot your computer with. For most OS installations, this will be done with a flash drive. But if you want to take that extra step and customize your Windows installation media, you can use a tool such as AnyBurn to do so. In this article, we will show you how to create a bootable Windows flash drive with a local account and bypass the Windows 11 requirements at the same time.

Of course, you can just create a regular Windows bootable flash drive that does not bypass the system requirements and will require you to add a Microsoft account during the installation process. And of course, you can always add another local user account later if you need to.
To begin, you will need to download and install the AnyBurn app which can be found on their website here.
Then when you run AnyBurn, you will see that it has a variety of tools you can use to do things such as create music CDs, copy disks, rip CDs and so on. For a full review of the other AnyBurn app features, check out this video.
The feature we will be using to create a bootable Windows flash drive with a local account and to bypass the Windows requirements is called Create bootable USB drive.
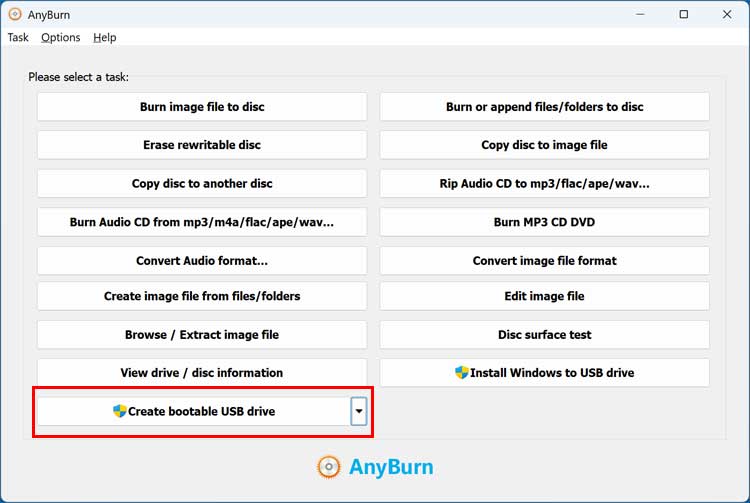
Once you click this button, you will then be told that you need to run AnyBurn as an administrator so you will need to click the OK button and then the Yes button at the UAC prompt.
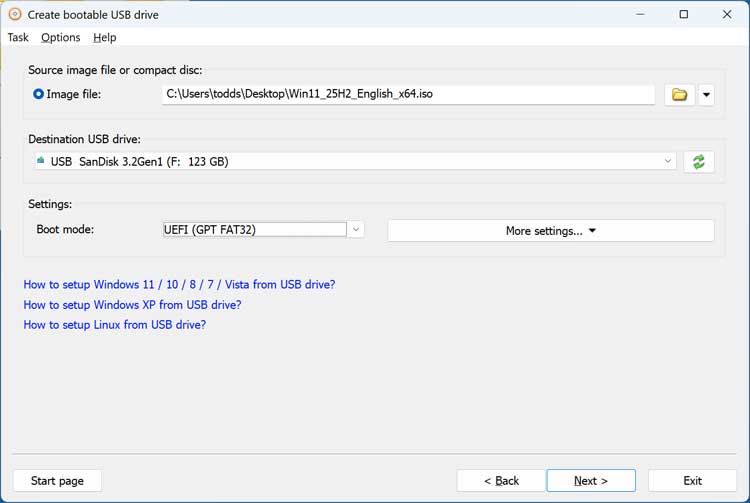
Next, you will need to select the Windows 11 ISO image file that we have downloaded from the Microsoft Website. Where it says destination USB drive, we will choose the drive that we want to use for our bootable Windows flash drive.
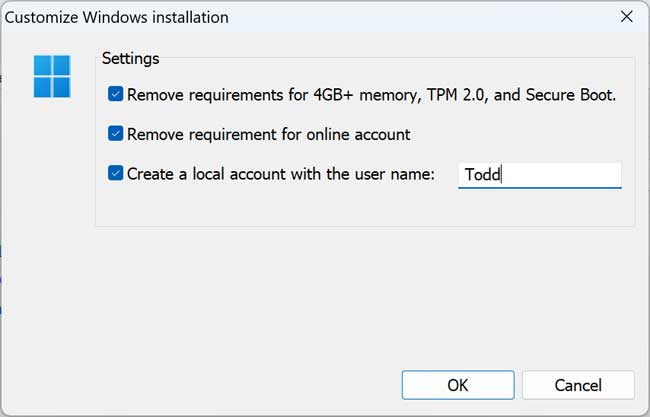
Then we will be prompted to customize the Windows installation. If you do not want to create a custom Windows flash drive, you can uncheck the boxes here. Otherwise, you can choose to have AnyBurn remove the memory, TPM and Secure Boot requirements as well as the requirement for a Microsoft online account. If you want to have a local account created automatically, you can check the third box that says Create a local account with the user name and then type in the name of your choice.
In the Settings section, you will have three choices, and you should choose UEFI (GPT FAT32) for Windows 11. Here is what each choice will do when it comes to configuring your flash drive.
BIOS & UEFI-CSM (MGR FAT32)
- Purpose: This mode creates a bootable USB that works on older systems using Legacy BIOS and on newer systems that support UEFI with Compatibility Support Module (CSM).
- Partition Style: MBR (Master Boot Record)
- File System: FAT32
- Use Case: Ideal if you want the USB to boot on both older PCs and newer ones that still allow legacy boot. Great for maximum compatibility.
UEFI (GPT FAT32)
- Purpose: This mode is for systems that use pure UEFI booting without legacy support.
- Partition Style: GPT (GUID Partition Table)
- File System: FAT32
- Use Case: Recommended for modern PCs with UEFI firmware and Secure Boot enabled. This is the standard for Windows 11 installations on newer hardware.
DD Write
- Purpose: This writes the ISO image to the USB in raw disk image mode, sector by sector.
- Behavior: The USB becomes an exact copy of the ISO, similar to using dd on Linux.
- Use Case: Useful for Linux ISOs or special bootable images that require exact replication. Not recommended for Windows installation media, because it won’t create the proper boot structure for Windows setup.
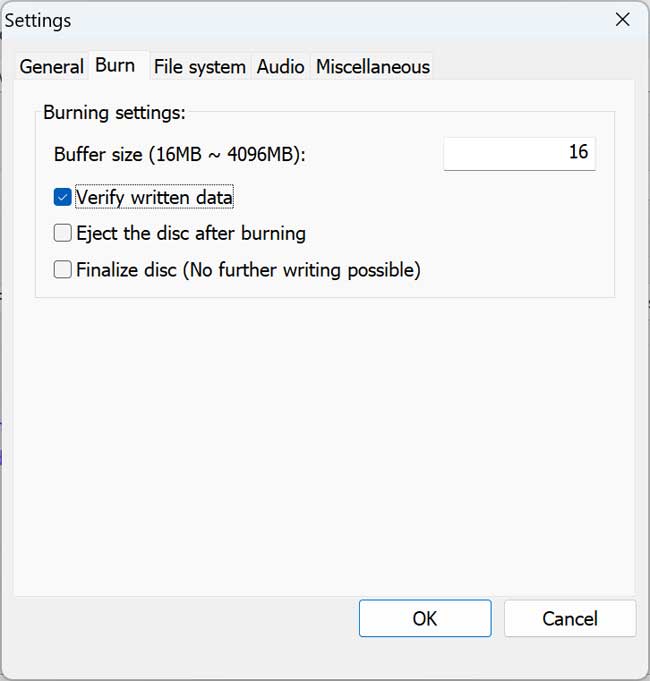
One thing you may want to do before starting the writing process is go into the settings from the main screen and then to the Burn tab. Then from here, uncheck the box that says Verify written data, otherwise the creation process will take much longer.
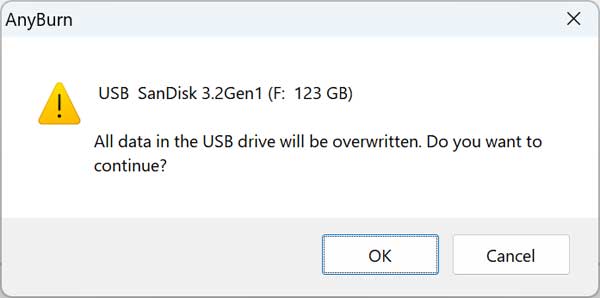
When you click the Next button, you will be informed that all the data on the flash drive will be overwritten so make sure you do not need anything on it and have selected the correct drive if you have more than one.
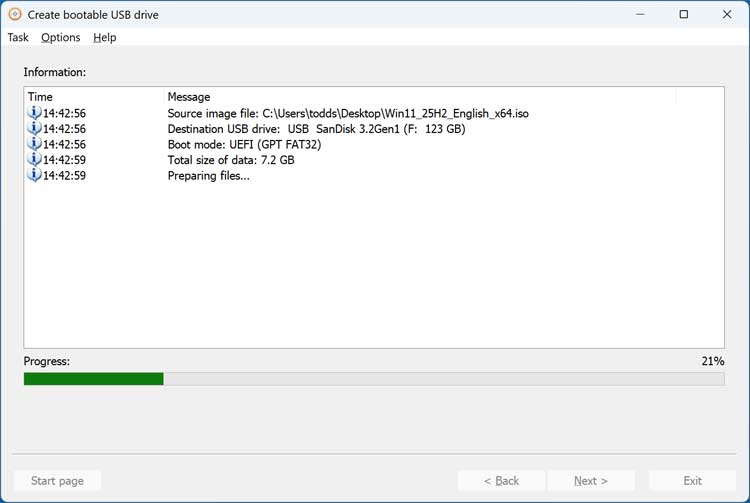
The flash drive creation process will take several minutes and you will be informed when the process is complete.
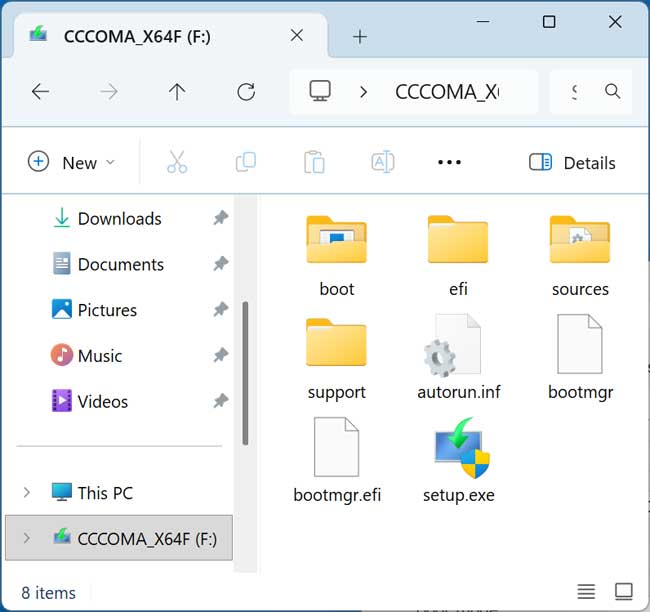
You can then look at the contents of your newly created Windows flash drive and see that it looks like any other Windows flash drive.
Then you can boot your computer with it and start the Windows installation. Even if you chose to bypass the system requirements and create a local account, the installation process will be almost identical except you will not need to sign in with your Microsoft account.
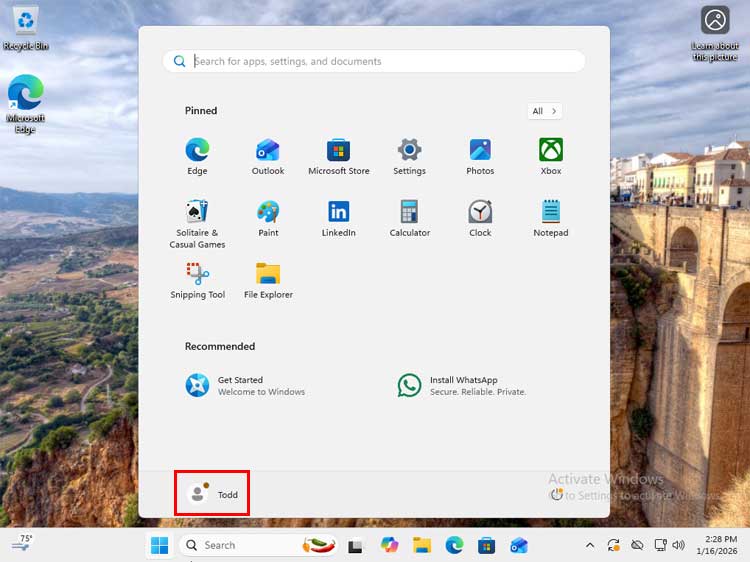
Then you will be logged in automatically with your local account since it will not have a password assigned to it. You can go into the user account settings and assign one if you wish.
For additional training resources, check out our online IT training courses.
Check out our extensive IT book series.