Update, here is an easier method to save your File Explorer searches you may want to check out.
Searching for files and folders has never been as easy as it should be when using the File Explorer file manager app that comes with Windows. File Explorer works fine for managing your files and folders, but the search feature can be a bit slow at times.
If you find yourself performing the same file searches on a regular basis, there is an easy way to make a shortcut to that specific search, so you perform it again with the exact same settings. In this article, we will be showing you how to save time by saving File Explorer searches to reuse in Windows.

To perform a search for files or folders in File Explorer, simply navigate to the folder or drive you want to search within. Then in the upper right hand corner, type in you search word or words that you want to search for. Once you start your search, you will then see the Search options tool appear in the toolbar.
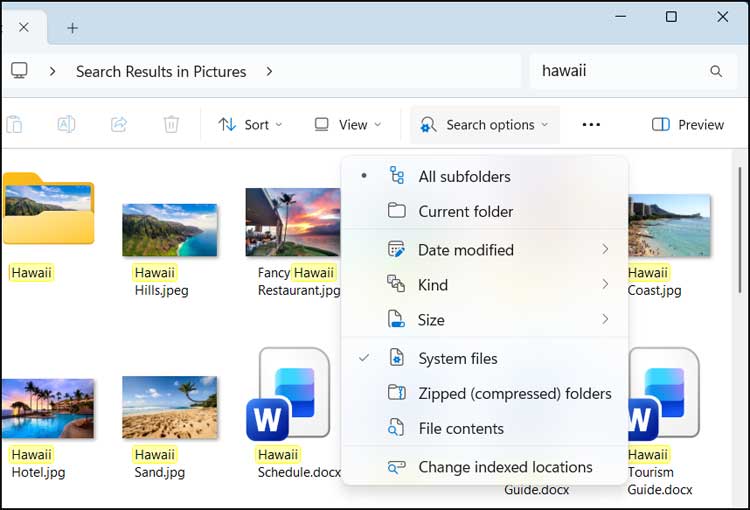
You can then click on this button to bring up the various search options that you can use to fine tune your search results. You can do things such as have the search performed on the current folder or have it include subfolders. Then you can narrow down the results by date modified, type of file, and the size of the files.
As you add these search filters, you will see that the search box adds them to your search word which helps you know what criteria you are using for your search.

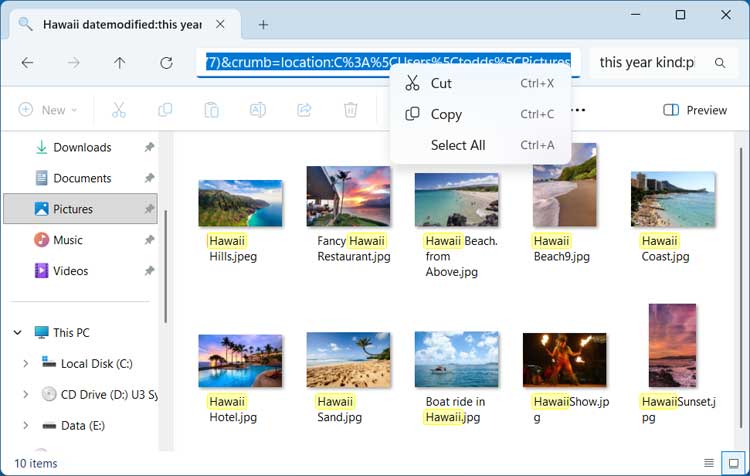
To save your search to use later, you can simply click in the address bar of File Explorer to highlight the text after you have your search settings configured. Then you can copy the text to use for the shortcut you will be making next. The key here is to copy this text before you close File Explorer or click out of the search results.
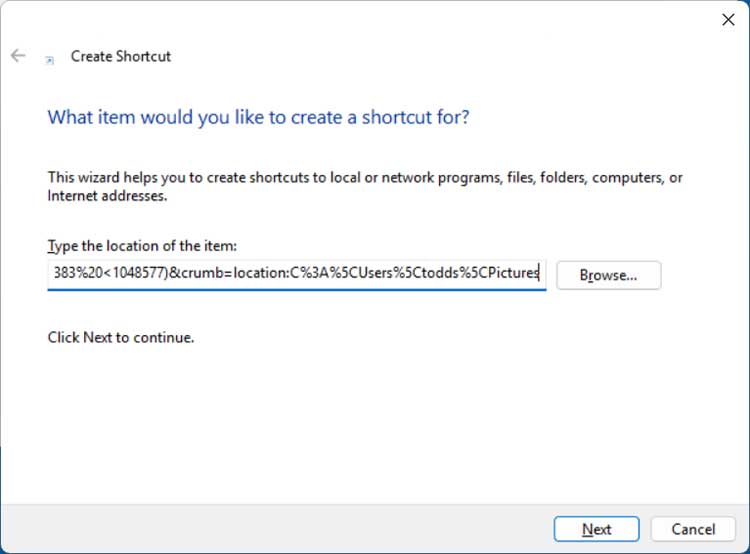
The next step involves making a shortcut to your search settings just like you would to make a shortcut to a program. The first thing you will need to do is decide where you want this shortcut to be placed. You can always move it to another location after you create it or even pin it to your taskbar or Start menu.
For our example, we will create a shortcut to our search results on the desktop by right clicking a black area of the desktop and choosing New > Shortcut. In the box that says Type the location of the item, you will want to paste in the text from File Explorer and click the Next button.
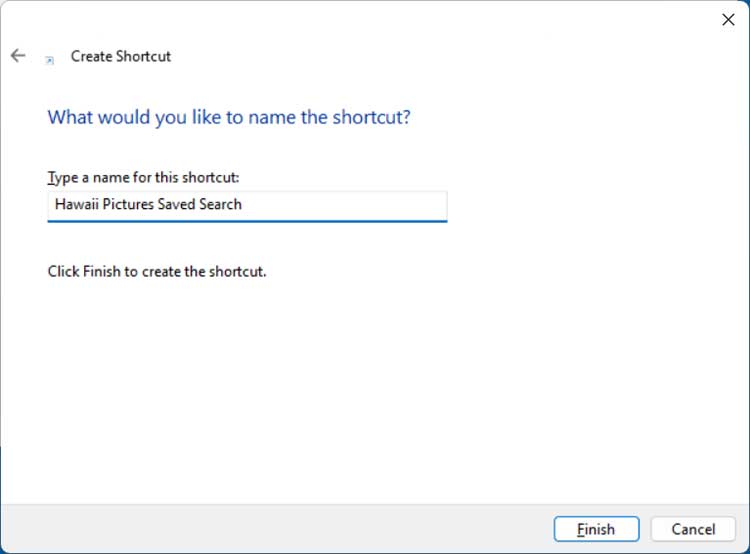
Then you can name the shortcut anything you like and click the Finish button.
Windows will create the shortcut to your search and use a generic File Explorer icon as seen in the image below.

If you want to change the icon, you can right click the shortcut and choose Properties. Then you will need to click the Change Icon button.
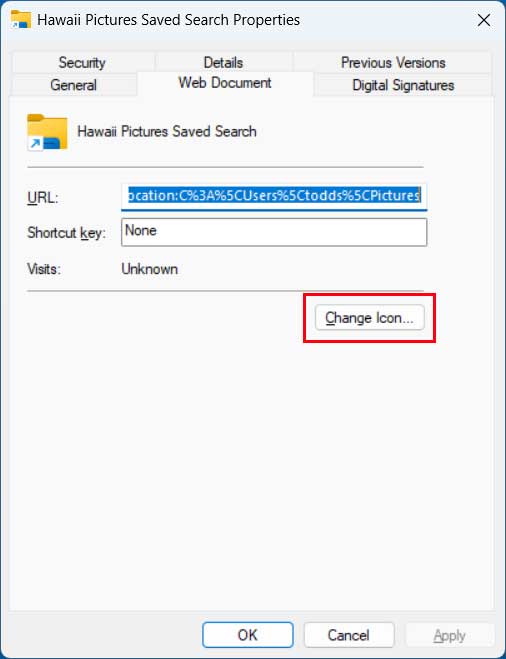
Then you can browse to a folder that has icon files or if you have your own icon files you can use one of them. There are also many websites that have free icon files (.ico) that you can download.

Now every time you double click this search shortcut, it will open File Explorer and perform the exact same search on the same folder with the same settings so you do not need to redo everything each time.
For additional training resources, check out our online IT training courses.
Check out our extensive IT book series.