Last Updated on April 19, 2026
If you are the type who likes to work on your own computer and do things such as install Windows, upgrade your hardware or even build your own computer from scratch, then you need to be ready to tackle the potential problems that come with managing your own PC.
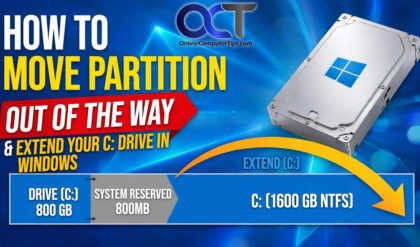
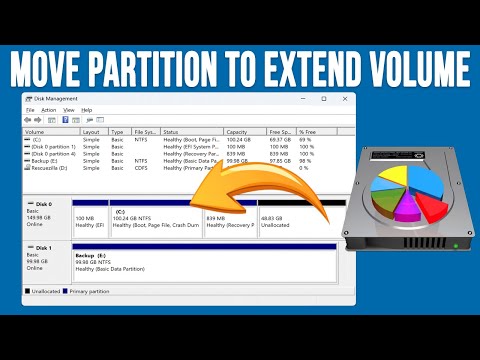
One issue you may come across when trying to expand a volume on your hard drive to use the unallocated space is when you have another partition in the way preventing you from doing so. If the source volume and the unallocated space are not side by side (contiguous), then the Extend Volume option in Disk Management will be greyed out. In this article, we will be showing you how to move a partition out of the way to extend a hard drive volume in Windows.
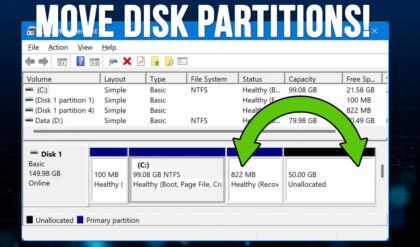
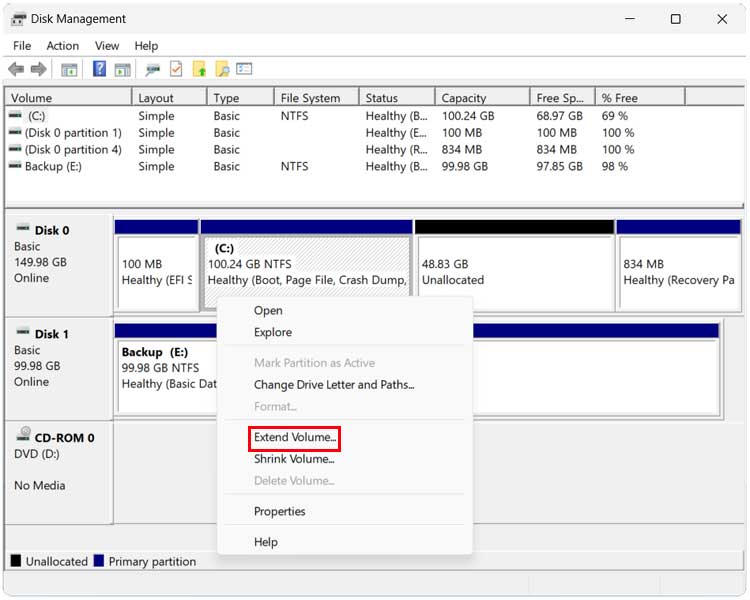
The image below shows the C drive on the computer, then a recovery partition next to that and finally the unallocated space that we want to use to extend the capacity of the Windows C drive. But as you can see, when we right click the C drive, the Extend Volume option is greyed out.
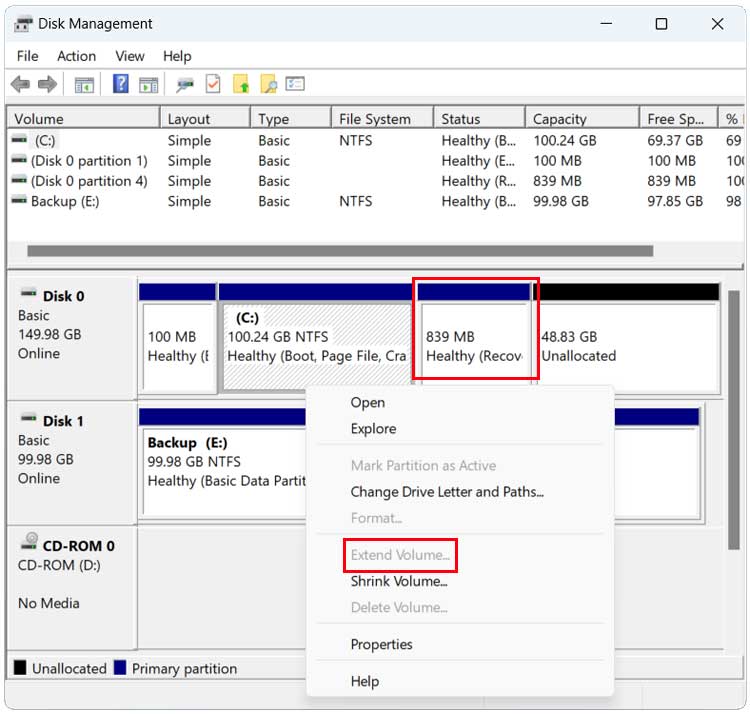
To get around this problem, we will need to move the recovery partition over to the right of the unallocated space so the C drive and unallocated space will be next to each other.
To do this, we will be using the Rescuezilla tool which includes the Linux GParted tool. GParted is a free, open source tool for managing disk partitions. It lets you create, resize, move, delete, and format partitions on your hard drive or USB drive. You can download Rescuezilla ISO image file from their website here. You should perform a backup of your personal files before using an app like this.
You can use one of the many media creation apps to create your bootable flash drive or CD with the Rescuezilla software ready to go.
Once you boot to the Rescuezilla tool, you will need to select your language from the list and will have 10 seconds to do so before it chooses the default which should be correct in most cases. Pressing an arrow key will stop the countdown timer.
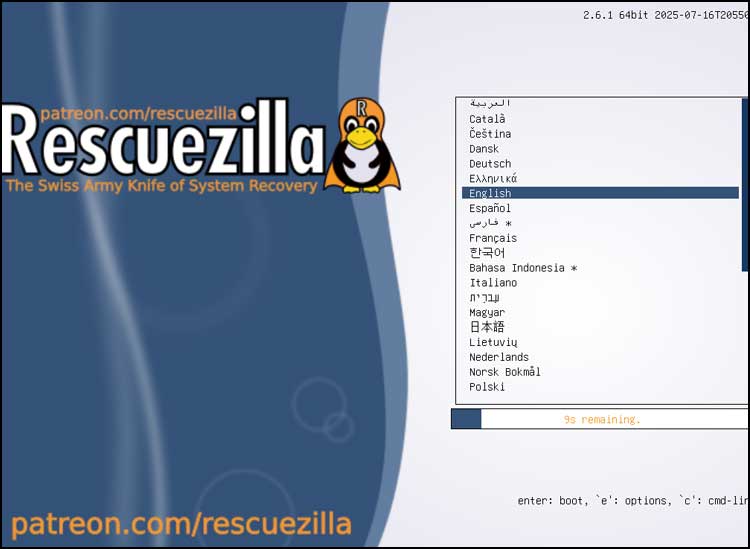
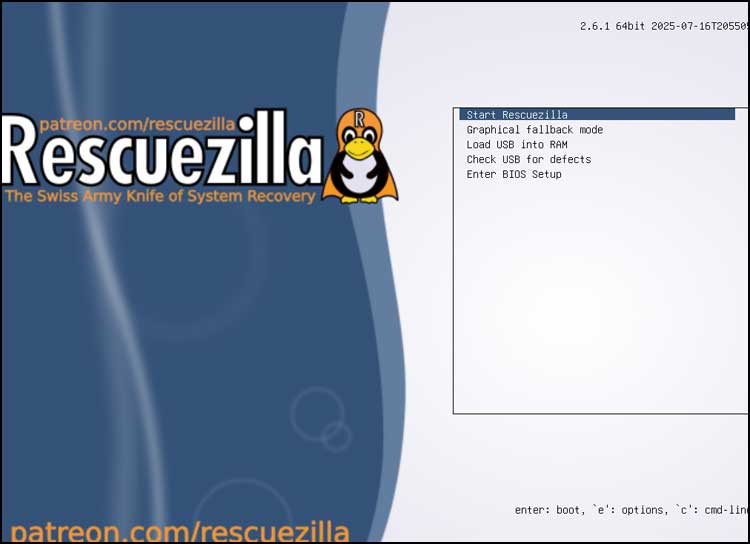
Then choose Start Rescuezilla and press enter on your keyboard.
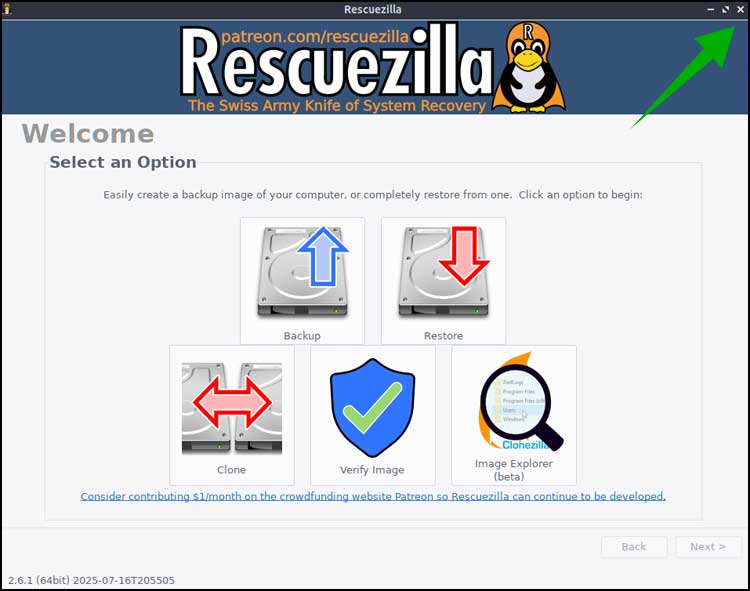
The Rescuezilla tool will then open and you can close it by clicking on the X at the upper right hand corner.
Then you can double click the GParted icon on the desktop. You can also get to it from the menu when clicking on the “start button” at the lower left corner of the screen and then by going to Other.
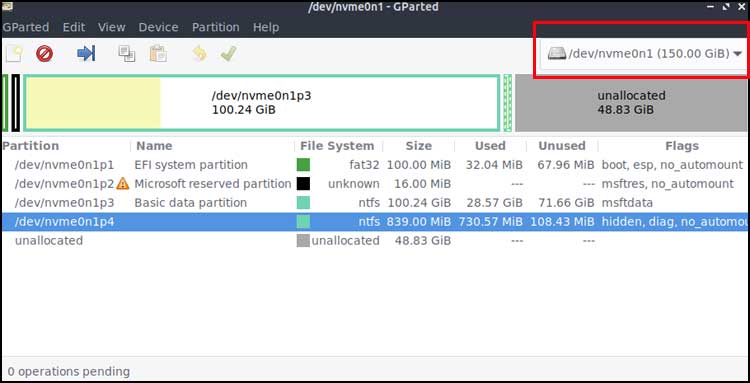
You will then see an interface that is laid out similar to how Disk Management appears. If you have more than one hard drive and it’s not shown here, you can select the correct one from the dropdown at the upper right.
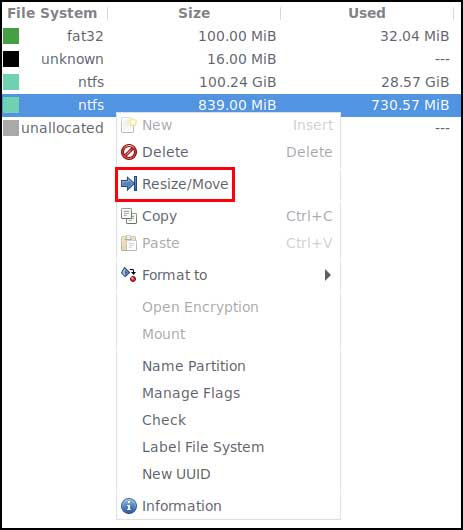
Next, you can find the partition you want to move, right click on it and choose Resize/Move.
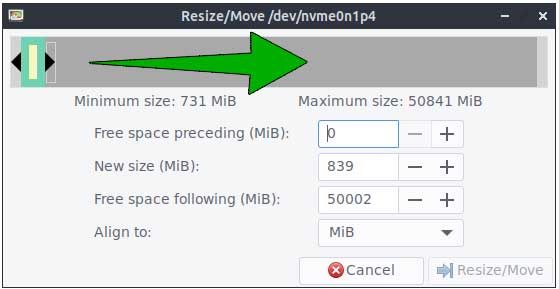
You can then slide the partition icon over to the right side of the grey bar and then click the Resize/Move button.
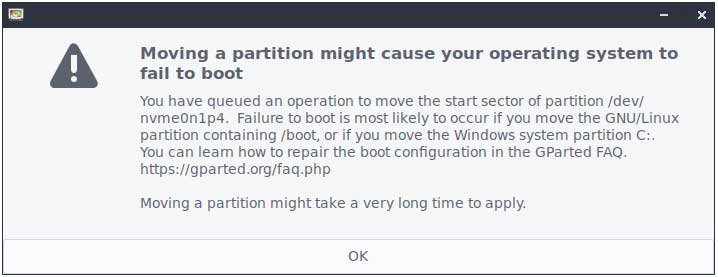
You will then be shown a warning message telling you that moving a partition might cause your operating system to fail to boot and you can click the OK button here.
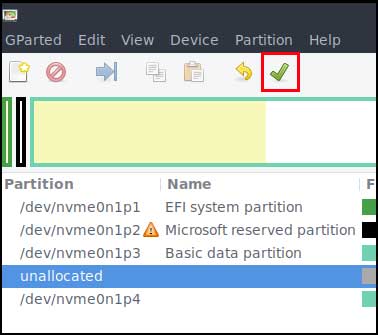
You will then need to click the green checkmark icon to apply the changes.
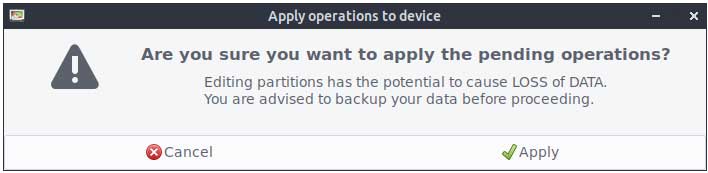
You will then see another message asking you to confirm the changes. You can click the Apply button here.
There is a chance that you will receive an error after applying the changes.
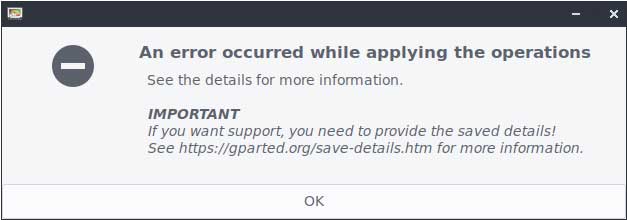
The message may tell you that you need to shrink the partition that you are moving as seen below.
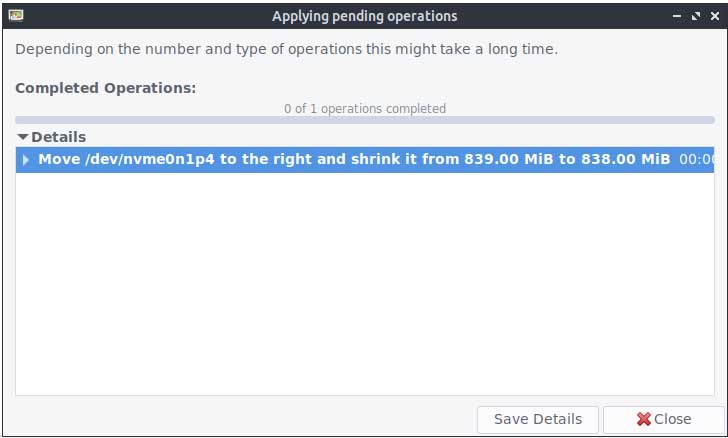
This can happen when moving a partition all the way to the right and can happen for several reasons including:
- Alignment requirements: Modern drives (especially SSDs) and operating systems prefer partitions to start at specific boundaries (like 1 MiB or cylinder boundaries). Shrinking the partition gives GParted flexibility to align it properly.
- Filesystem constraints: Some filesystems need a bit of breathing room at the end to store metadata or journal data. If you move the partition without shrinking, it might overlap or corrupt that space.
- Unallocated buffer: GParted sometimes reserves a tiny buffer between partitions to avoid overlap or rounding errors during resizing.
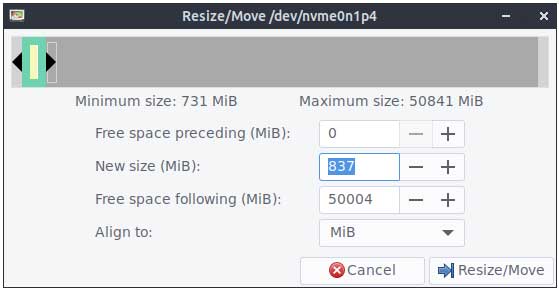
To get around this, you can try the process again and then reduce the size by one or two MB and click on Resize/Move once again.
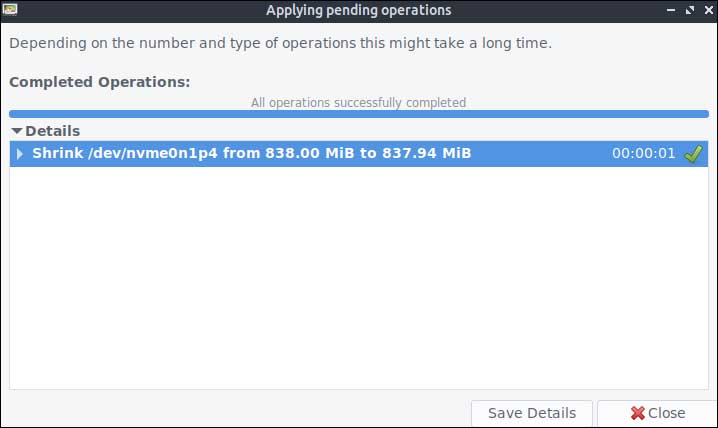
The move operation should then be successful.
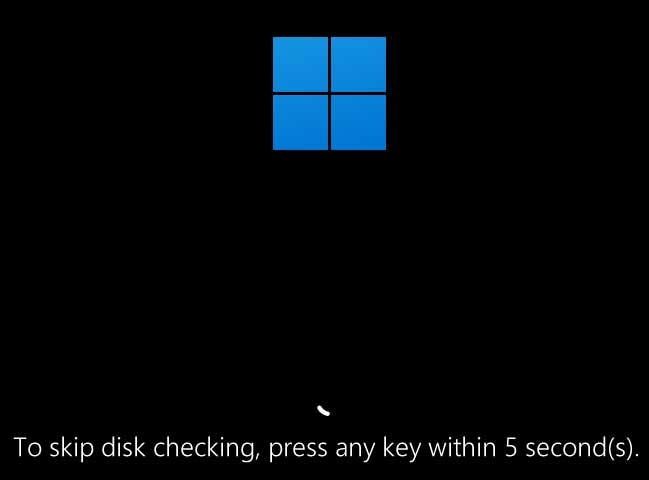
Now we will reboot the computer by clicking on the “start button” at the lower left and choosing the shutdown > reboot option. You may see a message saying that your disk needs to be checked for errors. You can either let the check happen or press a key to stop it.
Now you can go back into Disk Management and right click your volume and have the ability to extend the disk with the unallocated space.
One other method you can use to do this from within Windows is to use the free NIUBI Partition Manager app.
For additional training resources, check out our online IT training courses.
Check out our extensive IT book series.