Last Updated on March 17, 2026
Remotely controlling computers over the network or the internet has been common practice for many years. In fact, there are multiple apps that are available to make these types of connections so you can offer remote support to others or unattended access to your own computer.
Google has their own remote access tool called Chrome Remote Desktop that you can configure and use for free, as long you have a Google account. So, if you have a Gmail email address or Android smartphone, you will definitely have a Google account. In this article, we will be showing you how to configure Chrome Remote Desktop for unattended access and remote support.

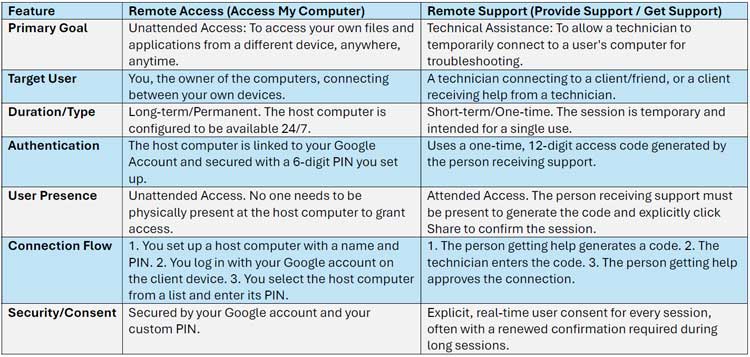
There is a difference between remote access and remote support when it comes to Chrome Remote Desktop. Remote access is when you connect to and control another computer over the internet or network without needing to have someone there to allow you in. Remote support on the other hand requires someone to be on the remote computer to give you the ID required for you to be able to access that computer.
The chart below shows the differences between remote unattended access and remote support. One important difference between the two is that if you want to use the unattended access feature, you will need to be logged into both computers with the same Google account.
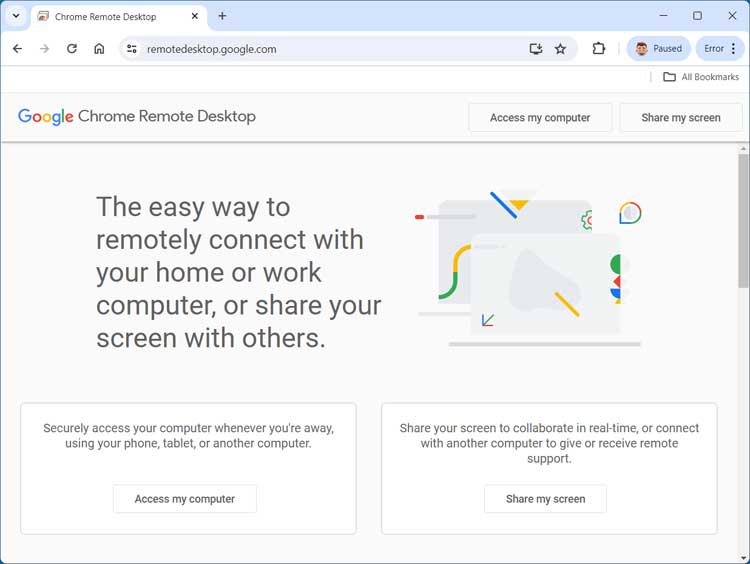
To begin, you will need to go to the Chrome Remote Desktop website and log in with your Google account if you are not already logged in. You will then see the option to access your computer or share your screen.
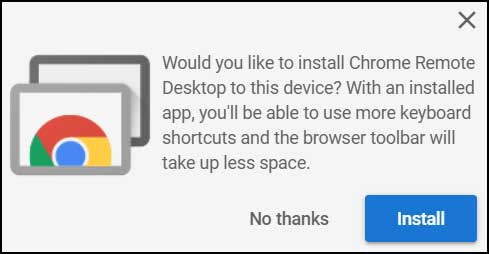
Whichever one you choose, you will need to install the Chrome Remote Desktop app on your computer. You may see a popup asking you if you want to install it.
You may also see another section of the page with a blue down arrow that you can click on to download the Remote Desktop app.
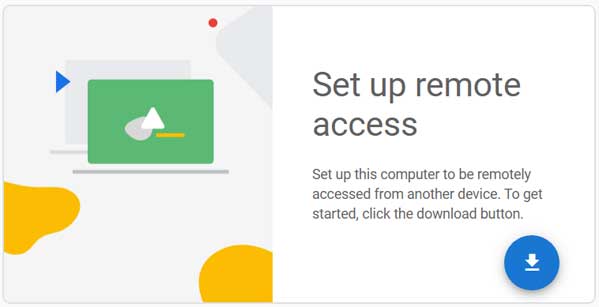
It will then download a file named chromeremotedesktophost.msi (for Windows) that you can double click on to install the app, or you can do the same by clicking on the Accept and Install button. You can also use Chrome Remote Desktop for macOS and Linux computers.

You may then be prompted to turn on remote access for your computer.

You will then be prompted to choose a name for this computer if you do not want to use the actual Windows computer name itself. You will then need to enter a PIN that will be used to access this computer.
Getting Remote Support
Once you have Chrome Remote Desktop configured, you can then use it to get remote support from someone else or connect to another person’s computer to give them support.
To do so, click on the Remote Support option at the left side of the page and then you would go to the Share this screen option to get support or the Connect to another computer option to connect to someone else’s computer.
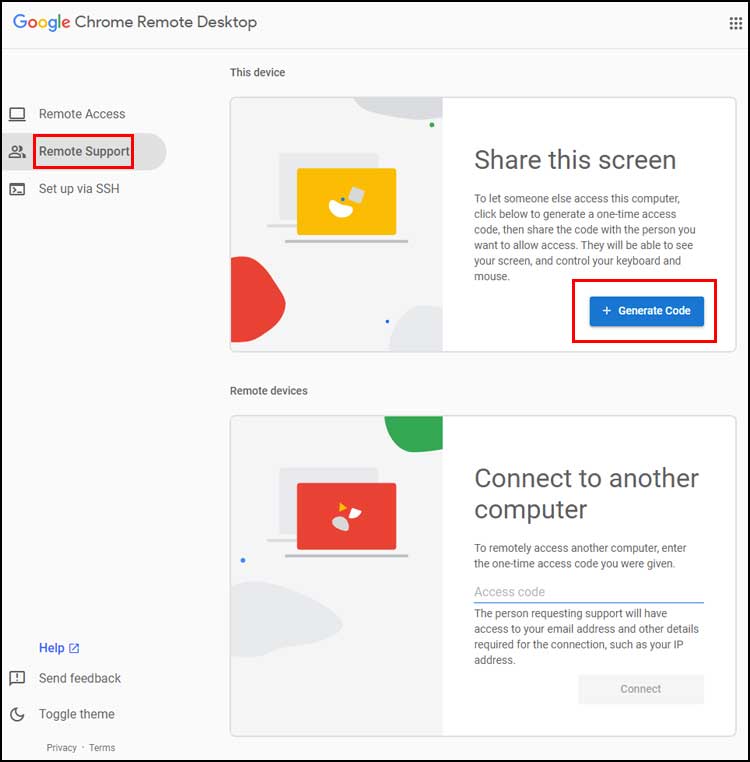
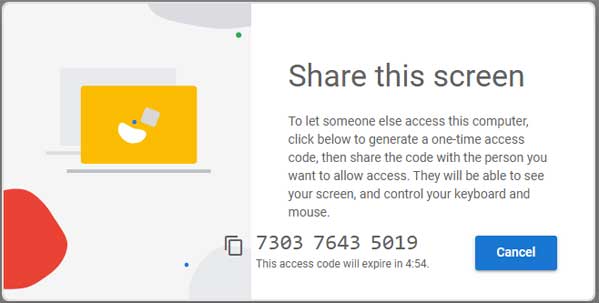
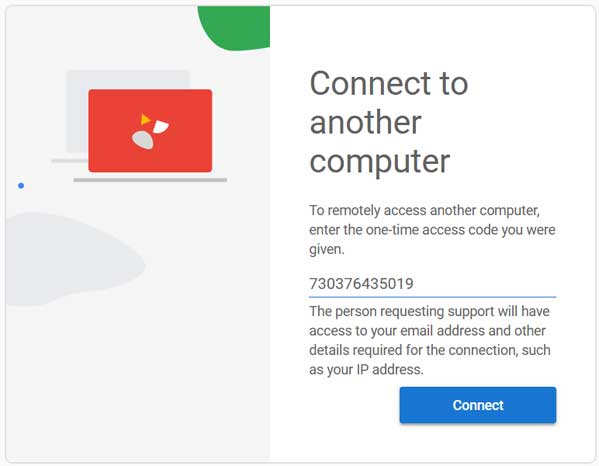
If you are the one getting support, you would click on the Generate Code button. and you will then be shown an access code that you need to give to the person offering help within 5 minutes before it expires.
Then that person would enter the code on their computer in the Connect to another computer section and then click the Connect button.
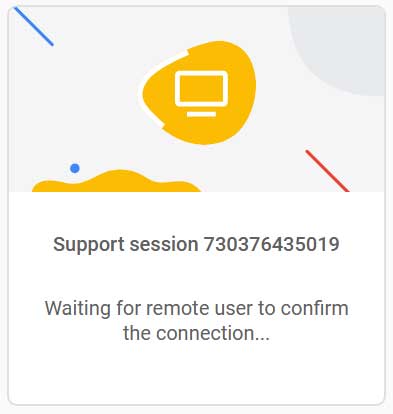
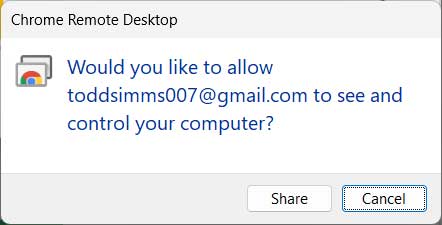
Then the user receiving support will need to approve the connection before the person offering support will be connected.
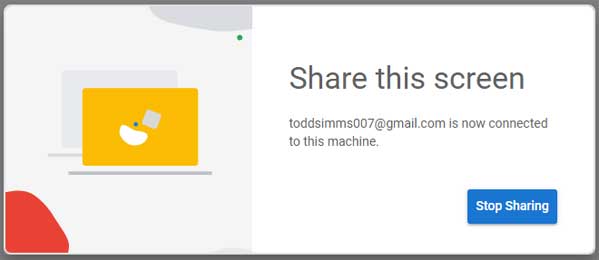
You will then see that your screen is being shared and have the ability to stop the sharing via the Remote Desktop website or from the bar at the bottom of your screen over the taskbar.

Once connected to the remote computer, you will be able to use it as if you were sitting right in front of it.

If you click on the arrow to the right of the screen in the remote session, you will have several options for things such as how the remote desktop fits on your screen, video quality, and input controls such as sending Ctrl+Alt+Del to the other computer.
Setting Up Unattended Remote Access
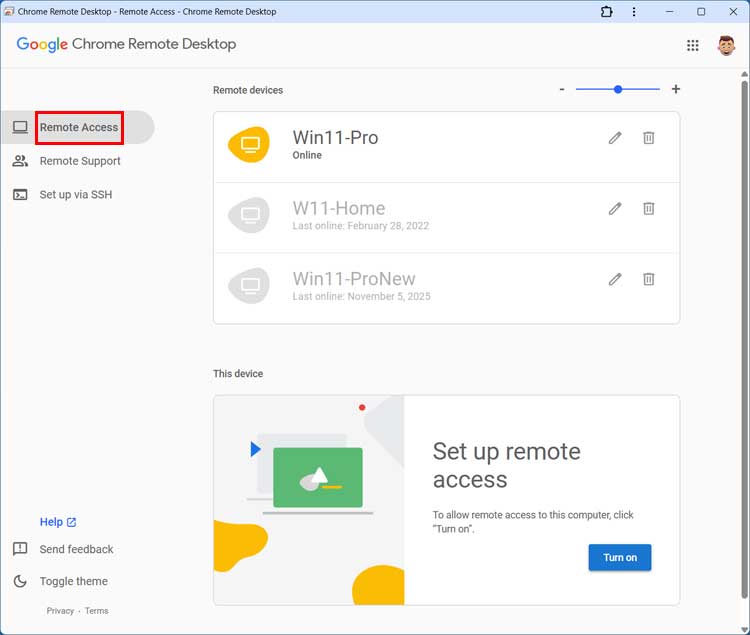
The process of connecting to a remote computer for unattended access is very similar to the process of providing remote assistance. When you click on the Remote Access section on the webpage, you will see any remote computers that you have configured for remote access. If they are online, you will see that they appear in a different color (usually yellow) and then you can simply click on the one you want to connect to.
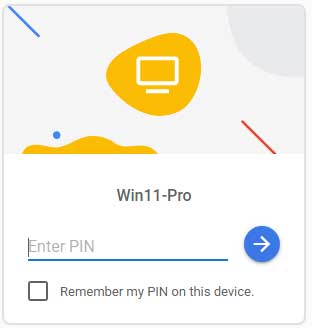
You will then need to enter the PIN that you configured for that remote computer to be able to connect.
Once the connection is made, it will look the same as it did when you connected to another person’s computer to provide remote support.
Another option for Windows users is the built in Quick Assist app that you can use to provide remote support to others.
For additional training resources, check out our online IT training courses.
Check out our extensive IT book series.