
Last Updated on July 9, 2026
If you have been using Windows 10 for some time and then made the switch to Windows 11, you might have noticed that there are several things that are different when it comes to how your perform common tasks. For example, you can’t right click on the taskbar to perform common tasks such as opening Task Manager.
One of the more frustrating changes with Windows 11 is the right click context menu change.

The image below shows the right click option when clicking on a Word document. Your right click menu choices will most likely look different depending on what software you have installed on your computer.
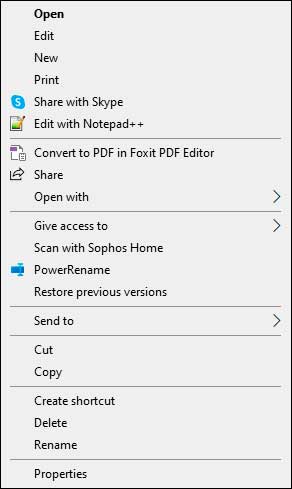
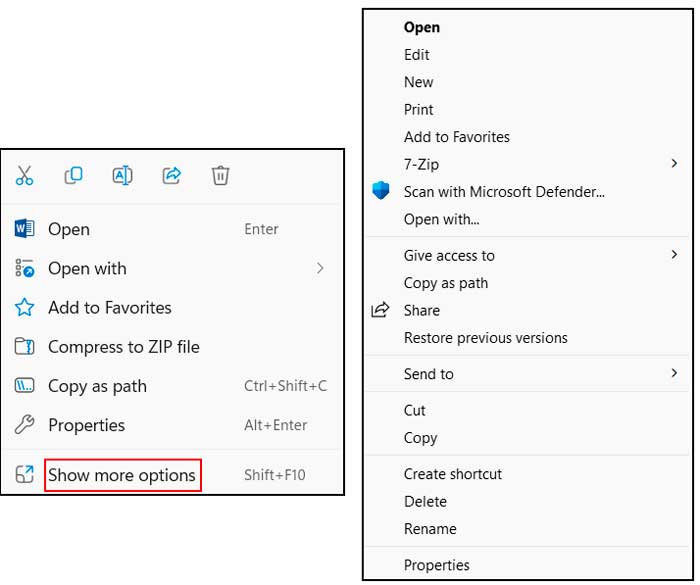
Now instead of having everything displayed all in one place like you can see in the Windows 10 right click menu options, for Windows 11 you will have to click on Show more options first to get to the rest of your right click choices.
Hopefully Microsoft will change this back to the way it used to be since many people don’t seem to like having to take the extra step. Plus having icons for common items such as cut, copy and paste makes it harder to use since you will need to make sure you are clicking on the right icon since there are no labels on them.
But if you want to change your right click context menu back to the Windows 10 style, it is easy to do with a simple registry edit. If you have never used the Windows registry editor before, just be careful because adding or removing the wrong thing can cause your computer to malfunction or stop working altogether.
Modifying the Registry to Restore the Classic Menu
1. Open the Registry Editor
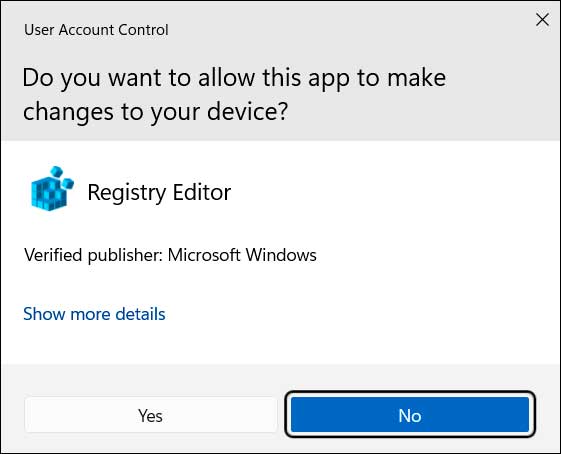
The first thing you need to do is click on the Start button or the search icon. Type regedit into the search box and select the Registry Editor app. You will then need to say yes to the User Account Control prompt to allow access to the app itself.
2. Navigate to the CLSID Key
Next you will need to navigate to the following location within the registry editor. The easiest way is to just copy and paste the text below in the address bar and press enter to be taken right to the proper area.
Computer\HKEY_CURRENT_USER\Software\Classes\CLSID
3. Create a New Registry Key
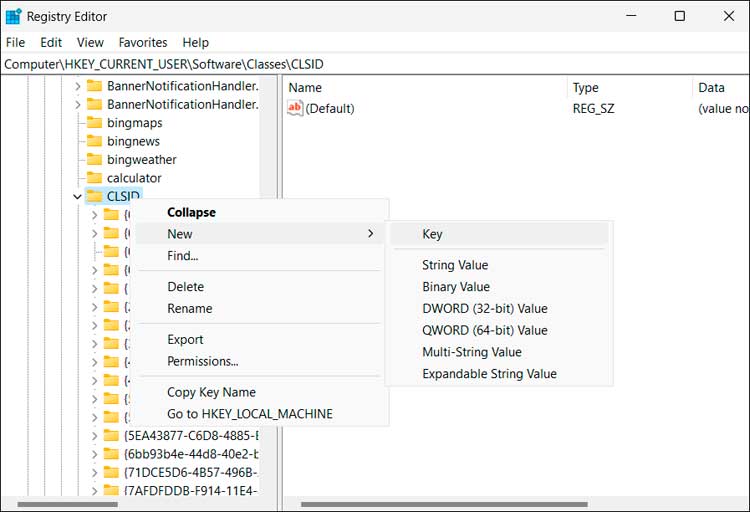
Then you will need to right click on the CLSID folder icon on the left side of the screen. Choose New > Key from the context menu. A new folder will appear ready for you to name it.
4. Name the New Key
Then you can name this new key using the text below. Copy and paste it rather than typing it to ensure accuracy.
{86ca1aa0-34aa-4e8b-a509-50c905bae2a2}
5. Create a Subkey
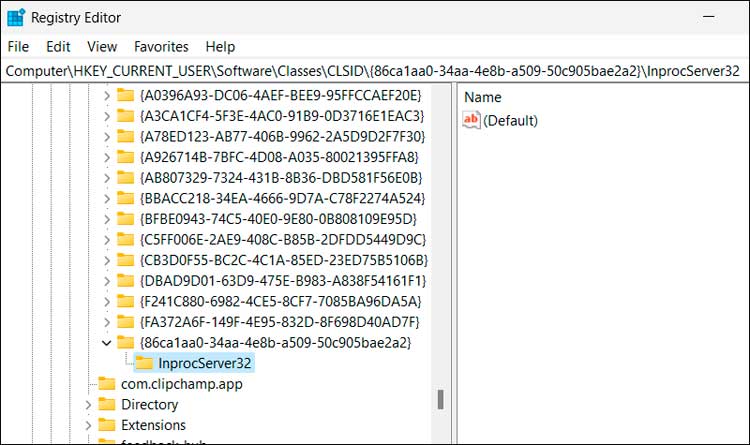
Then right click this key you just made and create another new key inside of it. Name this secondary key exactly InprocServer32. Your configuration should now look similar to the image below.
6. Edit the Default String Value
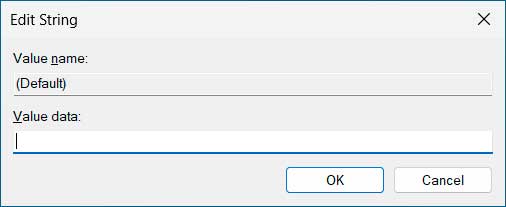
You will now see a string value named Default in the right pane. Double click on Default to open it. Click on OK without changing any values to set the data to blank instead of “value not set”.
7. Restart Windows Explorer
Finally you will need to restart Windows Explorer if you know how using the Task Manager. You can also simply restart your computer. After you do this, you will now be able to right click on items and have the simple one screen right click context menu for your Windows 11 computer.
Using the Command Prompt Alternative
1. Open an Administrative Command Prompt
You can also bypass the manual registry editor entirely. Search for cmd in your start menu. Right click it and choose run as administrator.
2. Execute the Registry Command
Copy the following text and paste it directly into the administrative command prompt. Press enter to run it and get the exact same results.
reg add “HKCU\Software\Classes\CLSID{86ca1aa0-34aa-4e8b-a509-50c905bae2a2}\InprocServer32” /f /ve
3. Reboot Your Computer
You will still need to manually restart your computer or restart the Windows Explorer process. The changes will take effect immediately upon the next boot.
For additional training resources, check out our online IT training courses.
Check out our extensive IT book series.


