
Last Updated on May 7, 2026
If you have ever installed Windows, you know that Microsoft requires you to use and existing or new Microsoft account to login with during the Windows installation process. But many people would rather use a local account with Windows in general and end up having to use their Microsoft account to login and then create a local account afterwards.
Another issue that you may run into is that you are trying to install Windows and do not have an active network or internet connection during the process. When this happens, you cannot finish the installation since your computer will not be able to get online to sign in with your Microsoft account. In this article, we will be showing you how to install Windows with a local account or with no internet connection.

If your goal is to install windows using a local account, then you will need to make sure your computer does not have an active internet connection. If you are using wireless, you can remove your USB wireless adapter or turn off your wireless router. If you are using Ethernet, you can simply unplug the network cable from your computer.
1. Reach the Network Connection Screen
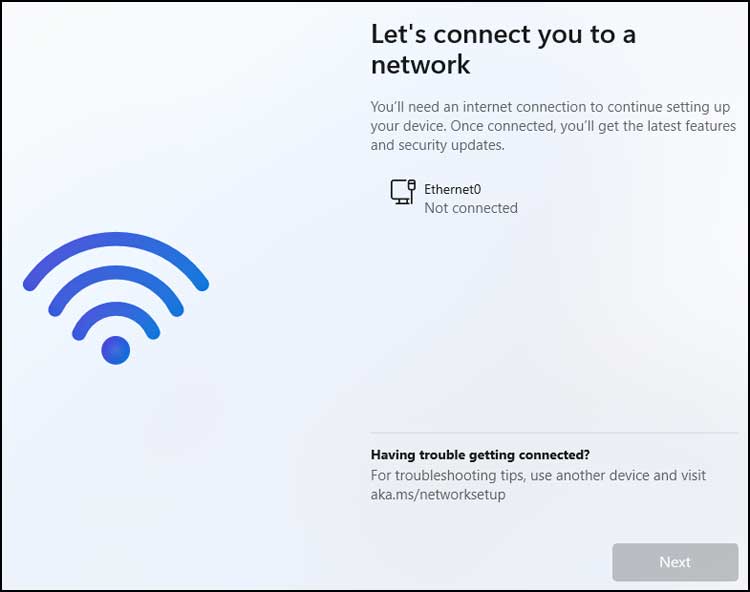
When you attempt to install Windows from scratch without an active internet connection, it will eventually stop the setup process and give you a warning message. The screen will say it can’t find an active internet connection and will prompt you to connect to a network. By default, you will not be able to go any further or click the “Next” button until you get the computer online to continue the process.
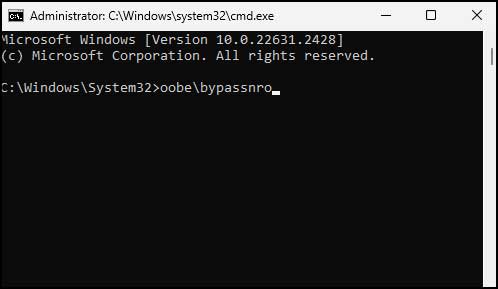
When you are completely stuck at this point in the Windows installation, you can press the Shift+F10 keys on your keyboard simultaneously to open a hidden command prompt window. This hidden terminal allows you to execute advanced system commands during the setup phase. Then you will need to carefully type oobe\bypassnro at the prompt and press enter on your keyboard to run the bypass script.
3. Restart and Bypass the Network Requirement
If pressing enter doesn’t seem to do anything at first, press the backspace key to erase what you have typed and then try typing it again slowly. Once you successfully press enter and the command registers, your computer will then immediately restart itself. After your computer reboots, it will automatically continue with the Windows installation process right where it left off.
4. Select the I Don’t Have Internet Option
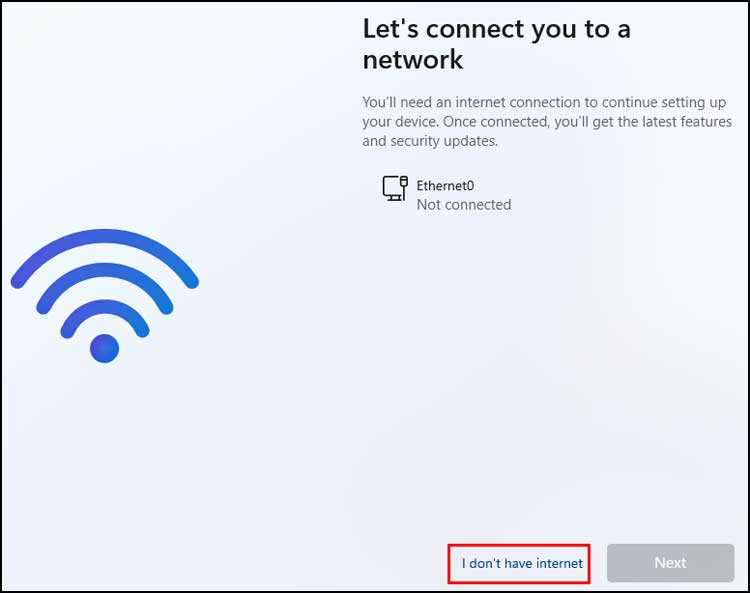
Once the setup wizard loads back up, you will then get to a very similar network connection screen as you saw during the first installation attempt. However, because of the command you just ran, this time you will have a brand new option available to click on. Look near the bottom of the screen and click on the new link that clearly says I don’t have internet.
5. Continue with Limited Setup
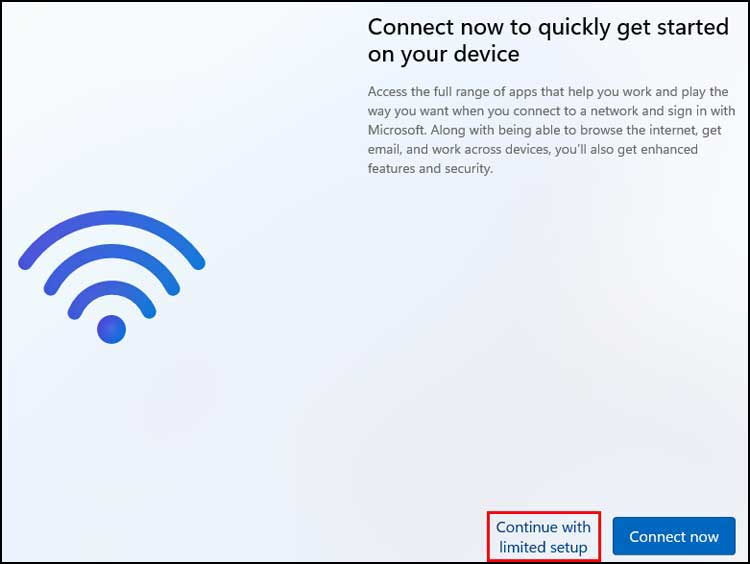
Once you click on the “I don’t have internet” link, you will then be taken to a nag screen that says “Connect now to quickly get started on your device.” Microsoft really wants you to connect, but you need to ignore their prompt to sign in. At the bottom right corner of this specific screen will be another small text link that you will need to click on that says Continue with limited setup.
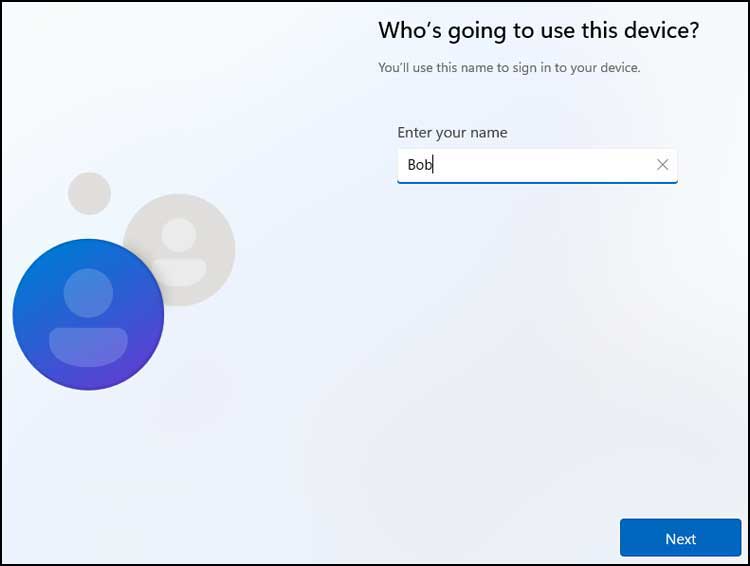
6. Enter Your Local Account Name
Now you will finally be able to type in the exact name you want to use for your brand new local account. You can use your first name, a nickname, or a generic term like “Admin” or “User” if you prefer. This account will automatically be created as a powerful local administrator account, giving you full control over the newly installed operating system.
7. Create a Local Password
Next, you will need to enter a secure password for this new local account and also type it again to confirm it on the next screen. Because this is a local account and not a Microsoft web account, there are no strict password restrictions you need to worry about. You do not have to use capital letters, numbers, or special characters unless you genuinely want to.

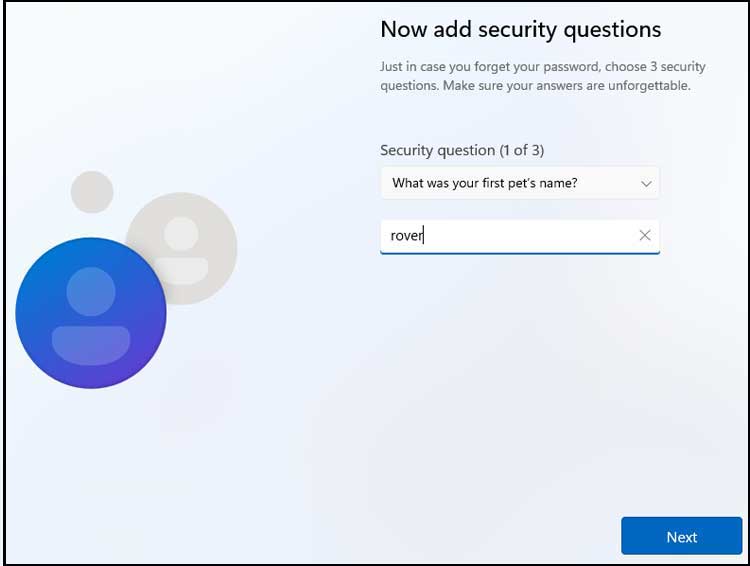
8. Setup Your Security Questions
Next, Windows will force you to create and provide answers for three separate security questions. This is a built-in safety net just in case you ever get locked out of your account and cannot remember your local password. FYI, once you are in Windows, you can also manually create a Windows password reset boot disk that can be used with local accounts in case you forget your password entirely.
9. Wait for the Profile Configuration
After you finish answering the final security question, Windows will then begin to configure the user profile for this new local user account. The screen will display a message saying “This might take a few minutes” while it builds your desktop environment in the background. Be sure not to turn off your PC during this critical finalization stage.

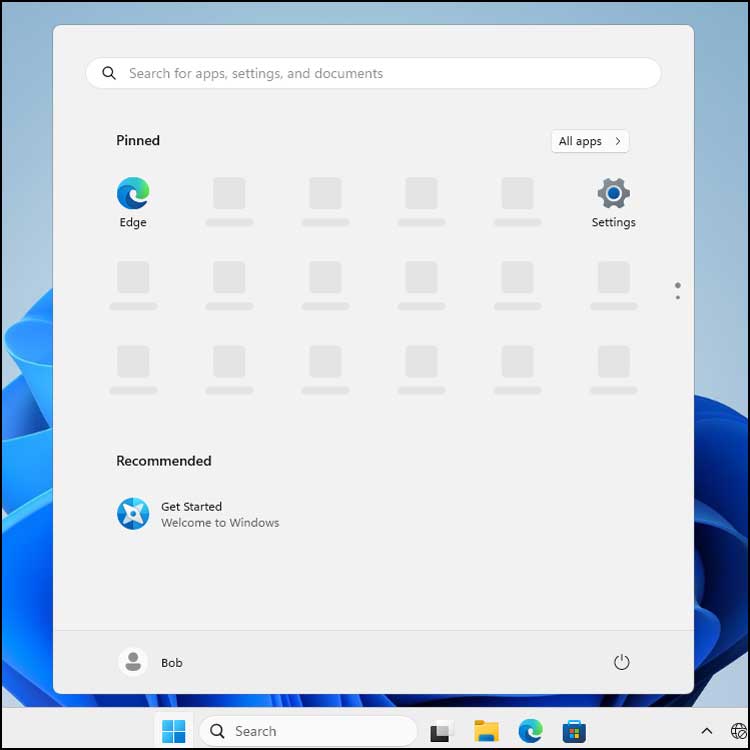
10. Notice the Greyed Out Applications
You will then be fully logged into the Windows desktop environment for the very first time. However, when you click on the Start button, you will quickly notice that many of the standard icons for your default apps will be greyed out. This is perfectly normal behavior, because you do not have an active internet connection on the computer to download the necessary app icons and data.
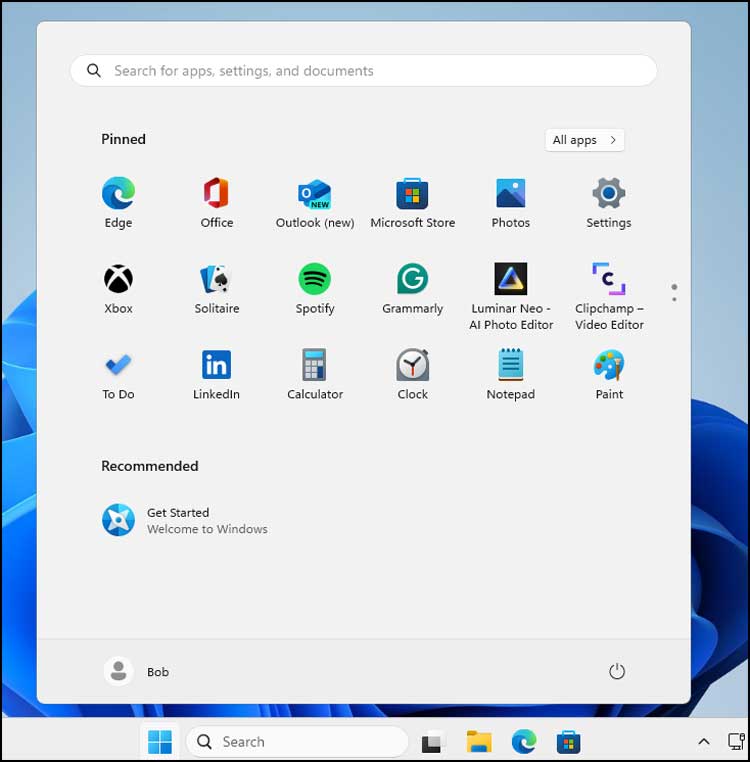
11. Restore Your Internet Connection
You can now safely restore your internet connection since Windows is completely installed using a local account. Go ahead and plug your Ethernet cable back in or reconnect your USB wireless adapter to get the machine online. Once you do this, you will see that the greyed out icons on the Start menu are now automatically downloading and returning back to normal.
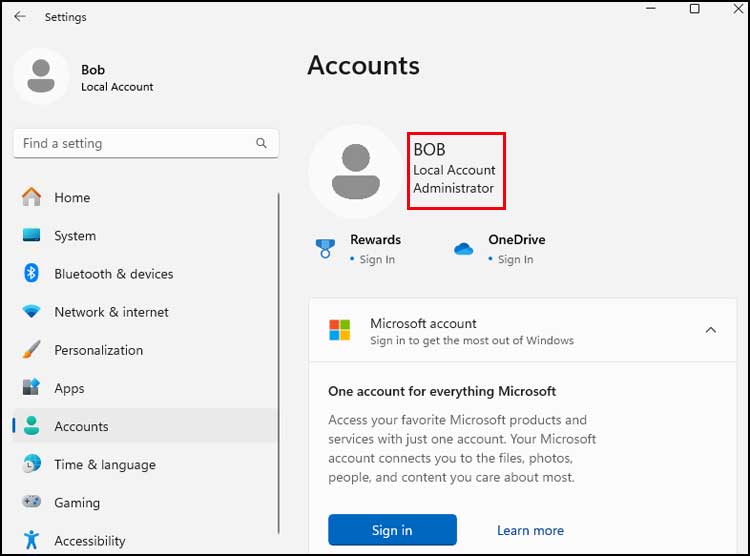
12. Verify Your Account Status
If you want to double-check that everything worked perfectly, you can easily verify your account type in the system settings. If you go to the main Windows settings and then navigate to the Accounts section, you will see your new local account listed prominently. You will also see that it is correctly configured as an administrator, meaning you have full system rights.
If you decide that you want to use your Microsoft account, you can then add it to your Windows installation. You can also convert your new local account to a Microsoft account as well.
For additional training resources, check out our online IT training courses.
Check out our extensive IT book series.


