Most Windows power users know how to do things such as create a bootable USB flash drive to install operating systems such as Windows 11 or Linux. These flash drives are also used to make bootable drives that can be used to run repair tools when your computer won’t start.
So rather than create a flash drive for each OS or tool you need to use on a regular basis, you can instead use the Universal USB Installer to create a multi OS and system tool bootable flash drive toolkit. This way you can have all the operating systems, cloning tools and repair kits you need all on one flash drive. Another similar tool you can use to create multi OS and system tool bootable flash drives is called Ventoy.
To create this multi OS and system tool flash drive, we will be using the free Universal USB Installer software that can be downloaded from their website here.

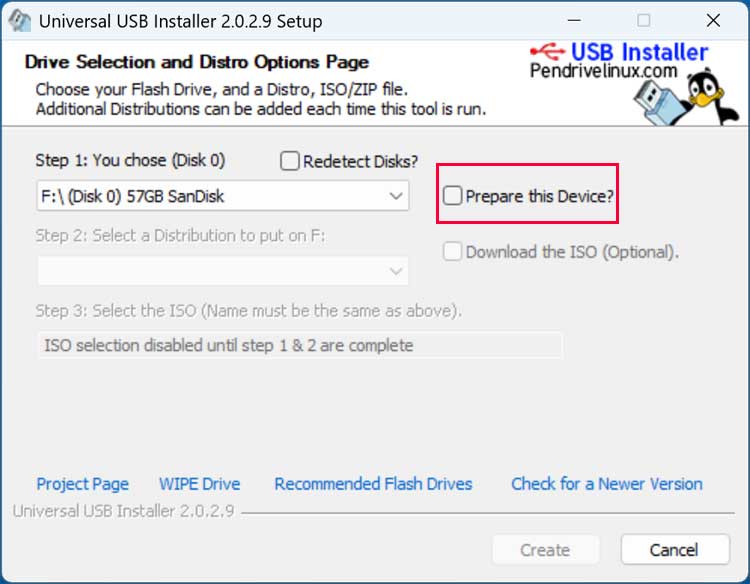
Once you run the app, you will need to select the flash drive that you want to use to store your images. If you have more than one, make sure to select the correct one so you do not end up losing any data.
Then you will need to check the box that says Prepare this Device to have the flash drive configured for use with Universal USB Installer.
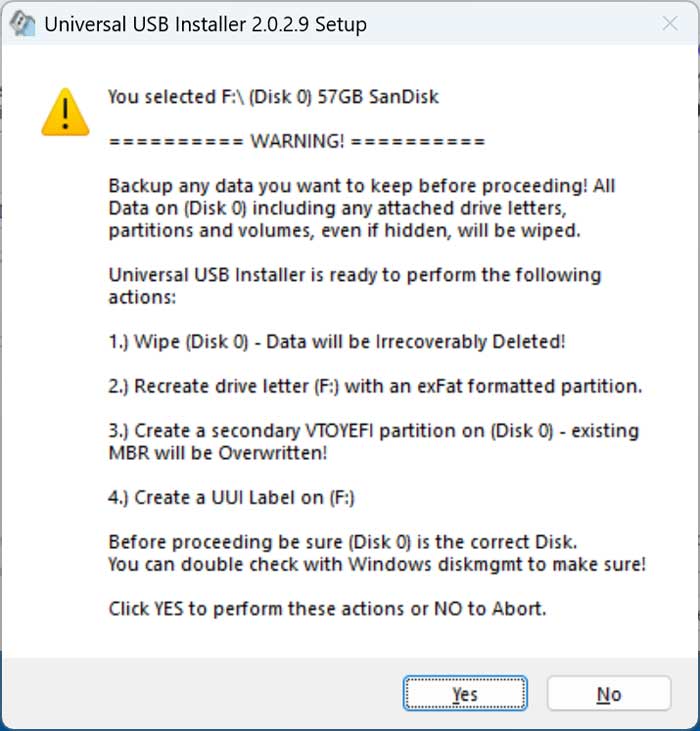
You will receive a warning telling you that the entire drive will be wiped and to back up any data you need from this flash drive.
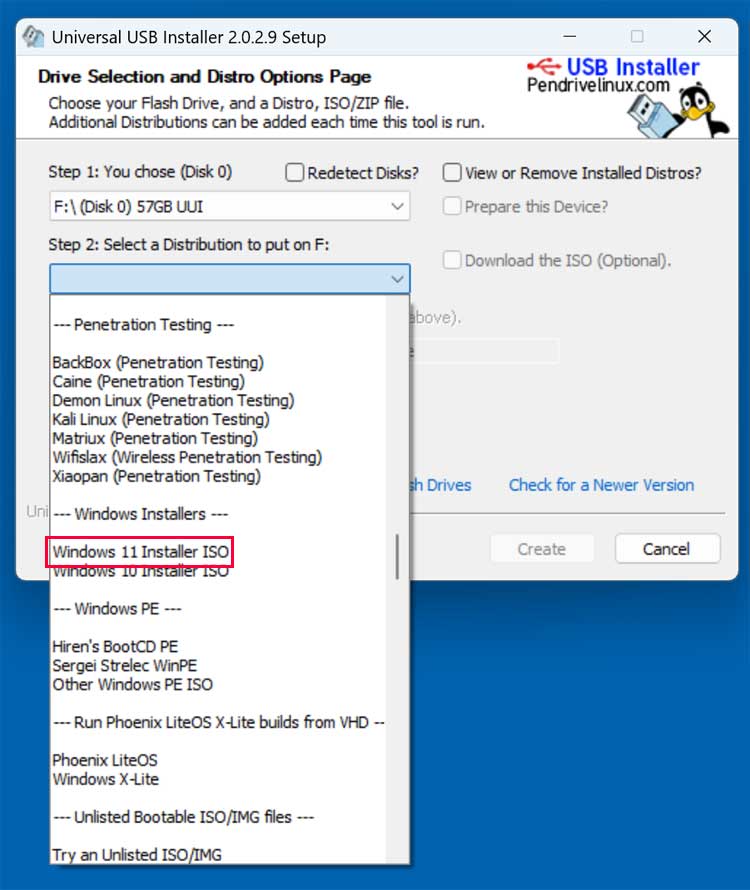
Once the flash drive has been configured, you can then choose the distributions that you want to add to it from Step 2. You can click on the dropdown menu and navigate to the OS or system tool you want to add to your flash drive. We will first add a Windows 11 OS ISO image file to ours.
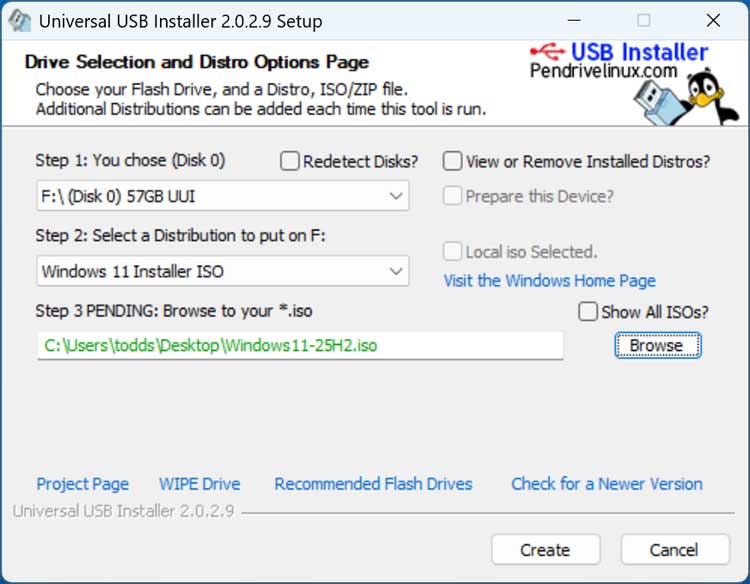
Then you will need to browse to the location where you have the ISO image file stored on your computer and then click the Create button.
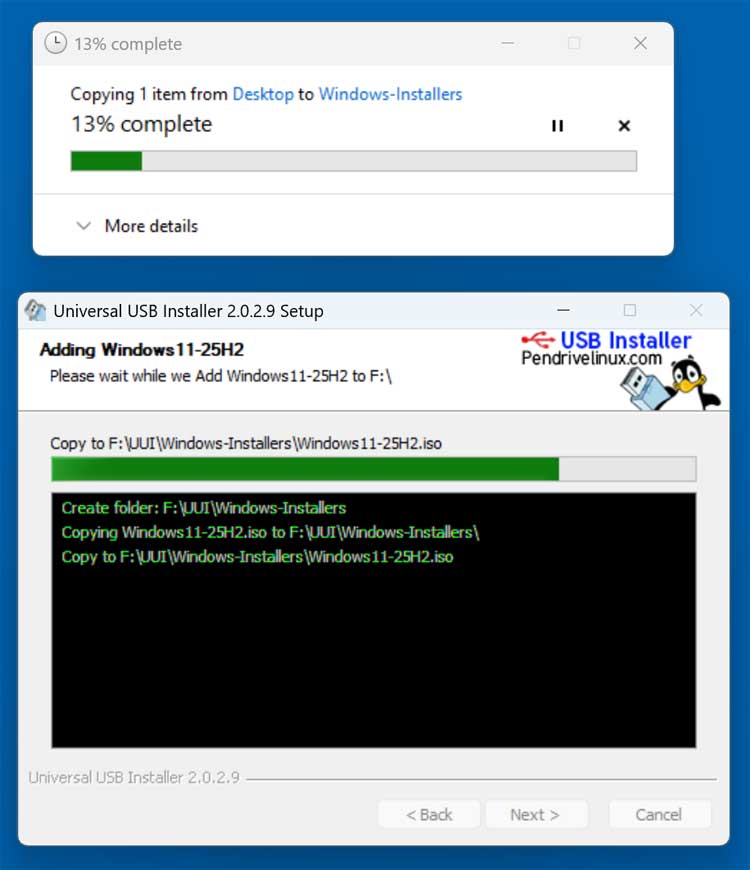
The app will then copy the ISO image file to the flash drive and place it in a folder that corresponds to the type of distribution it is used for.
Then click the Next button after the ISO image has been copied over. You will then be asked if you want to add more ISOs/Distros to your flash drive.
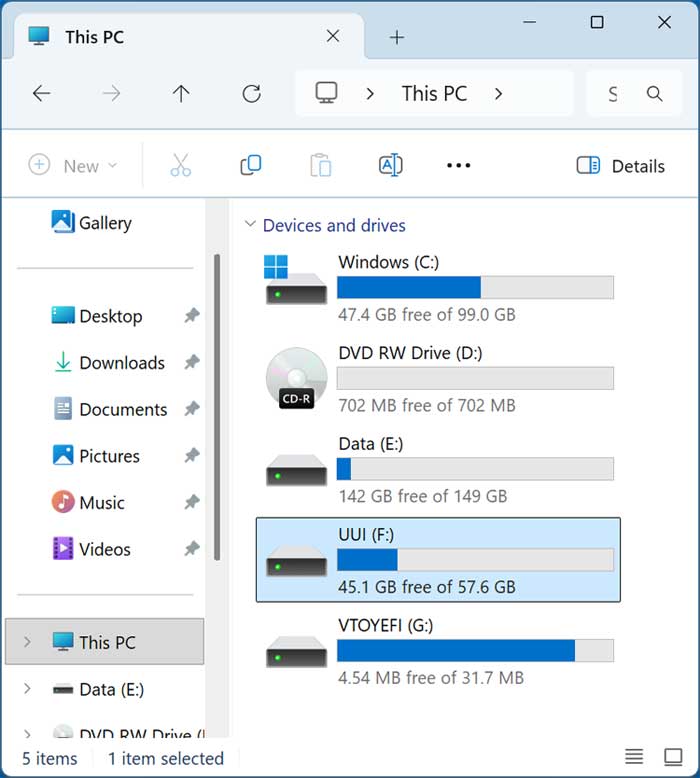
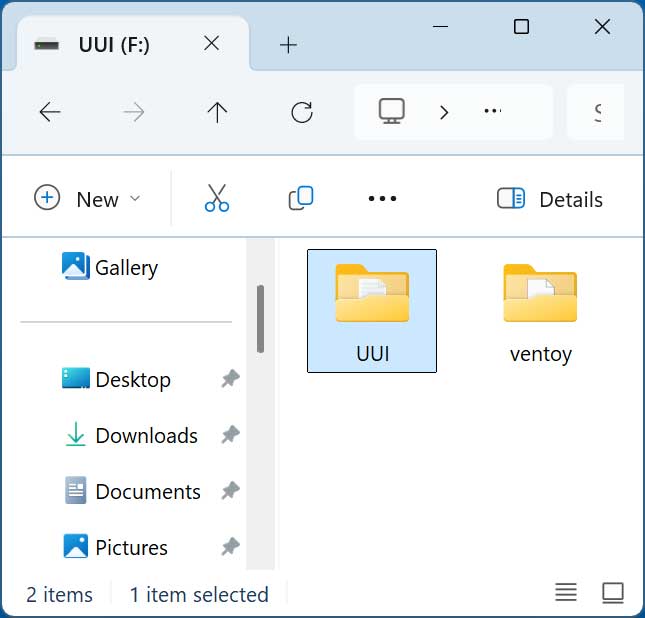
After you have added your ISO files, you can then open the flash drive in File Explorer, and you will see that there are UUI and VTOYEFI partitions created on your drive.
If you open the UUI partition, you will then see a UUI folder.
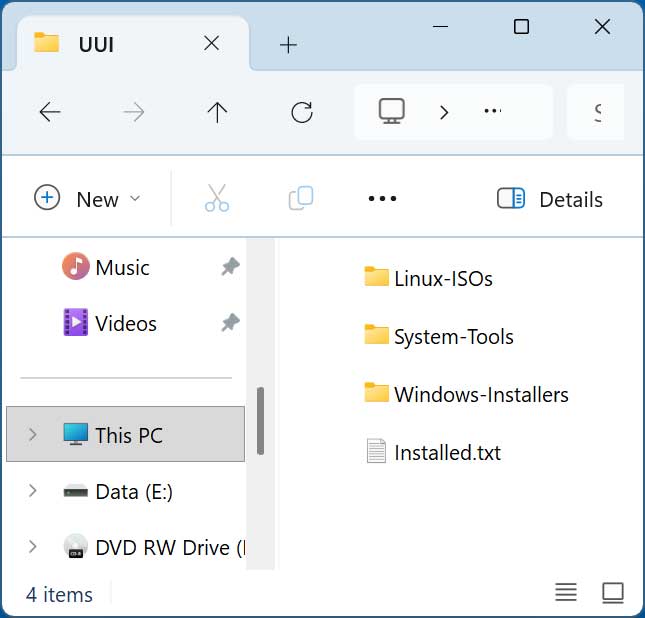
When you open this UUI folder, you will subfolders for the ISO/Distributions that you have added to your flash drive. The installed.txt file will show you a listing of everything you have added to the drive.
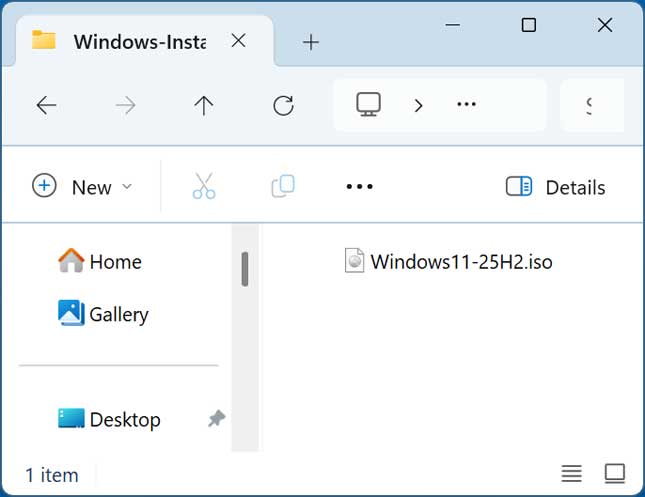
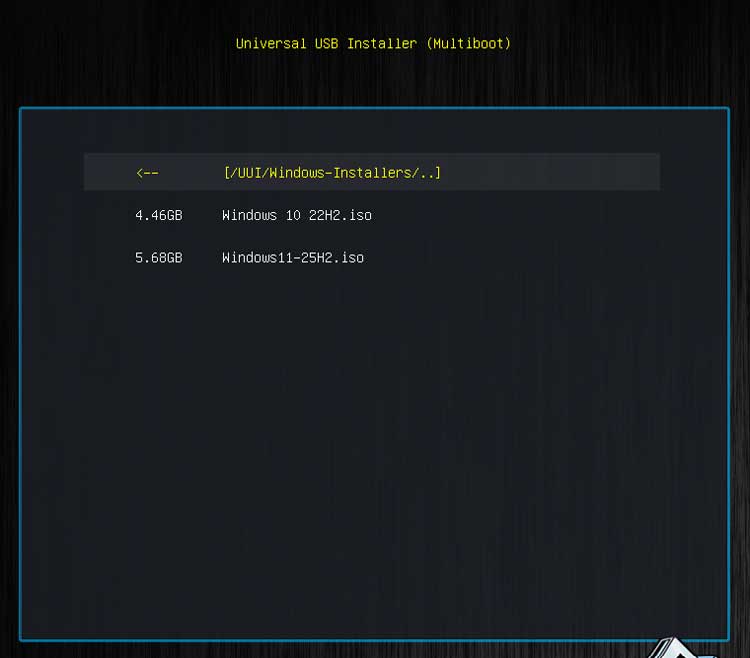
If we were to open the Windows-Installers folder, we would see our Windows 11 ISO file located there. Since we already have this folder created, we can add another Windows ISO folder such as a Windows 10 image that will then be added to our boot options without having to go through the wizard again.
We will now boot the computer with the flash drive to show you how it works. We have added two Windows ISO images, one Fedora Linux ISO file and also a Clonezilla ISO file which can be found under System-Tools.
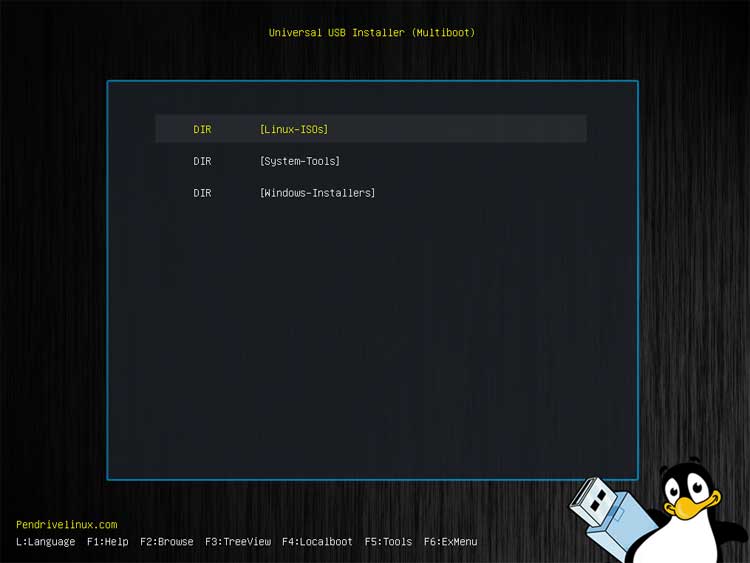
If we were to go into Windows-Installers, we would then see the Windows 10 and Windows 11 images and can then choose either one to start the Windows setup process.
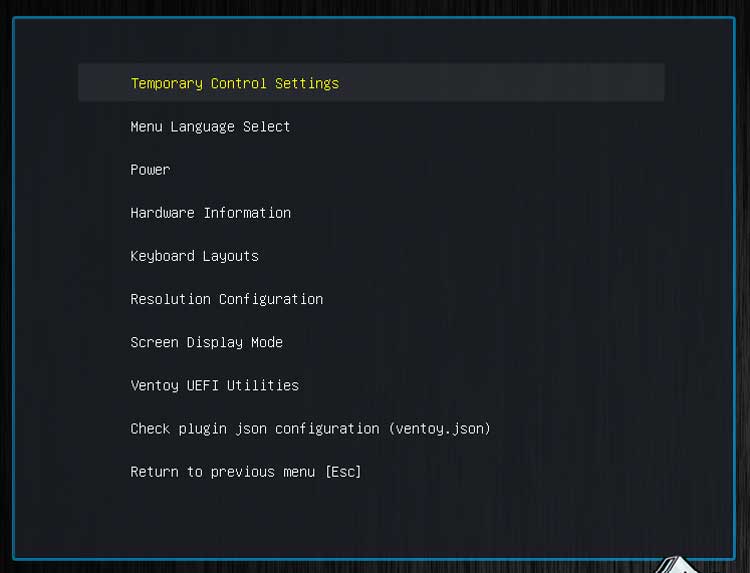
At the bottom of the screen, you have some additional options such as pressing F4 to boot back into the locally installed operating system or F5 to view additional tools available for use.
For additional training resources, check out our online IT training courses.
Check out our extensive IT book series.