PDF (Portable Document Format) files are a file format developed by Adobe that is designed to present documents consistently across different devices, operating systems, and software applications. You have most likely opened some, received some as email attachments or even created your own. You can even print to PDF files using the Microsoft Print to PDF printer that comes preinstalled in Windows.
When it comes to opening PDF files, most people choose to use the free version of Adobe Acrobat to do so even though it’s not the best tool for PDF editing. Since you can create PDF files from just about anything, it makes sense that you will end up with some PDF files that contain images. Acrobat is not meant to be an image editor like Photoshop, but it can still be done. In this article, we will be showing you how to edit images in PDF files using the Adobe Acrobat free version.

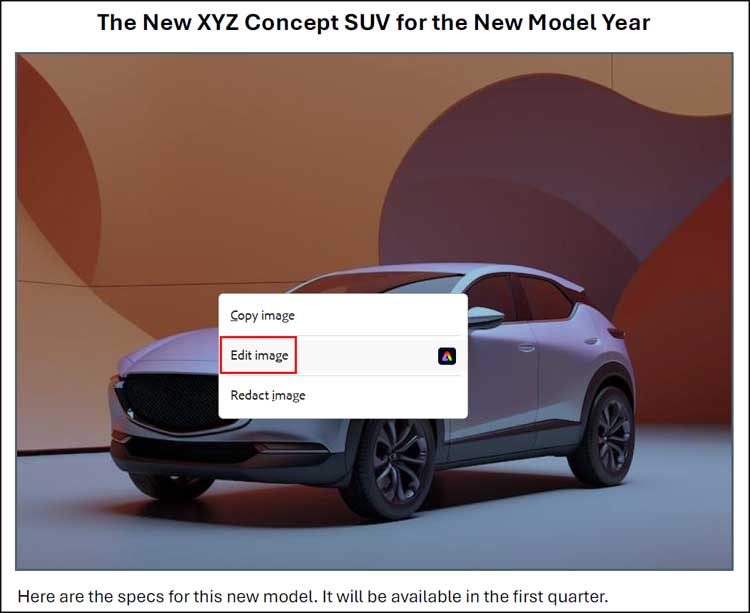
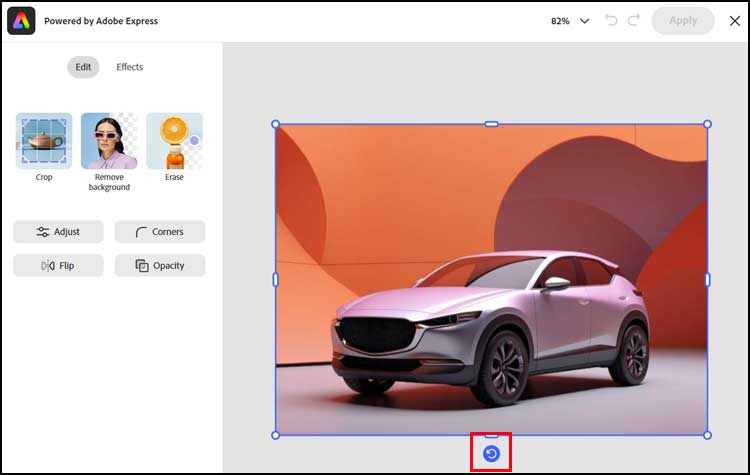
To edit images in PDF files using Adobe Acrobat free, simply open the PDF you want to work with. Then find the image you want to edit, right click it and choose Edit image.
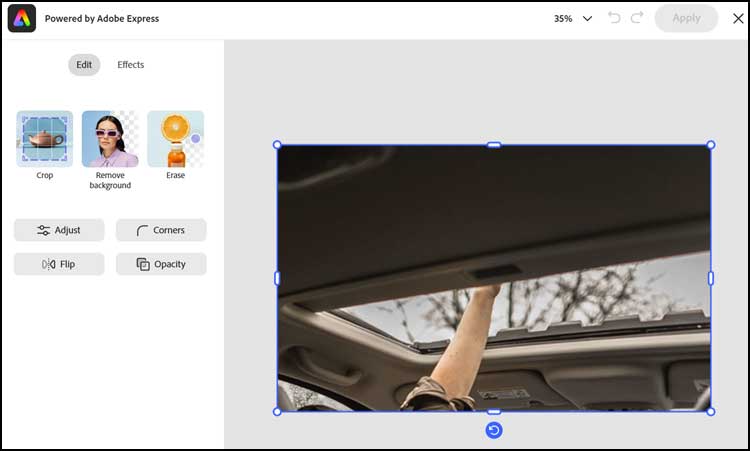
It will then open the image editor options as seen below. One thing you will notice too is the rotate image option below the picture. You can click on this and free rotate the image to any angle you wish.
The image below shows the options you would have if you were using the Adobe Acrobat Professional edition.
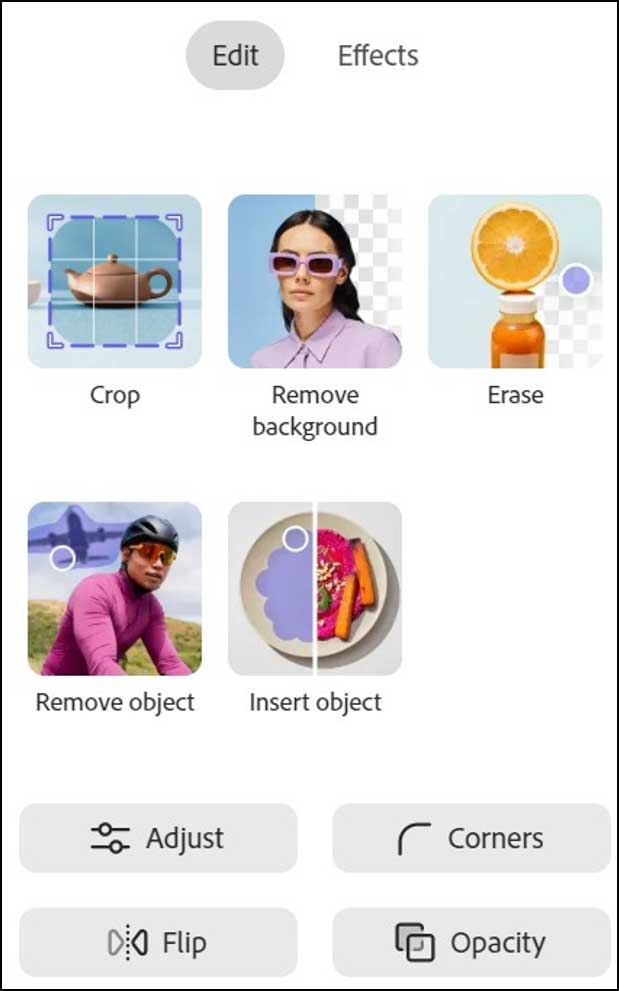
We will now go through each one of these editing options so you can see what they all do.
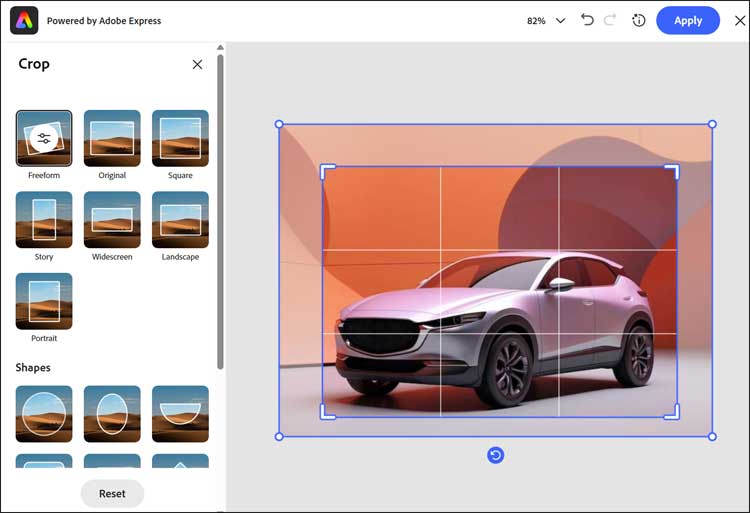
Crop
We will start with the crop feature. Here you can manually crop your image by dragging from the sides or corner of the picture or you can choose one of the preconfigured crop shapes off to the left.
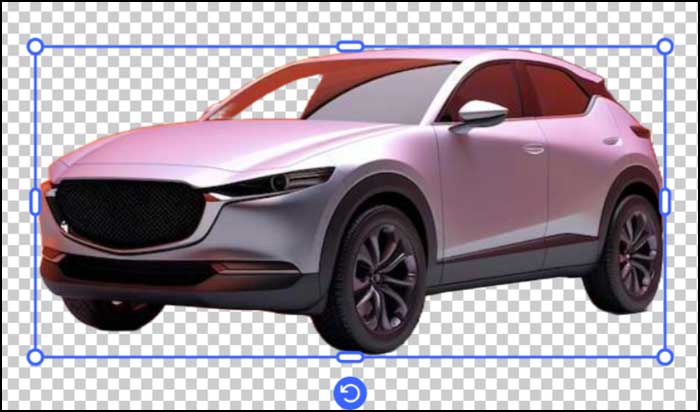
Remove Background
This feature will create a transparent background for your image by removing the background and leaving the main part of the picture. It will determine which part is the background on its own so don’t expect it to be perfect.
Erase
If you want to manually remove the background from an image, you can try out the erase feature. This lets you select which parts of the image are to be removed by clicking on them with your mouse.
As you can see in the image below, you may run into an issue where it will erase part of the image that you do not want to have removed. This can happen when the part you want to keep is a similar color or shade to the part you want to remove.
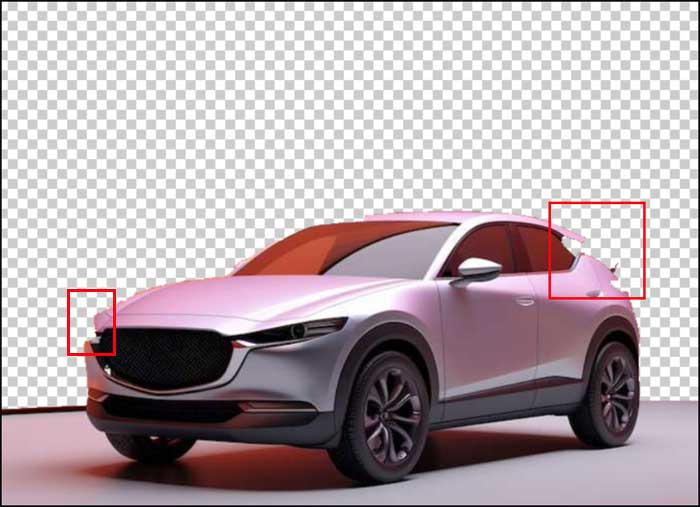
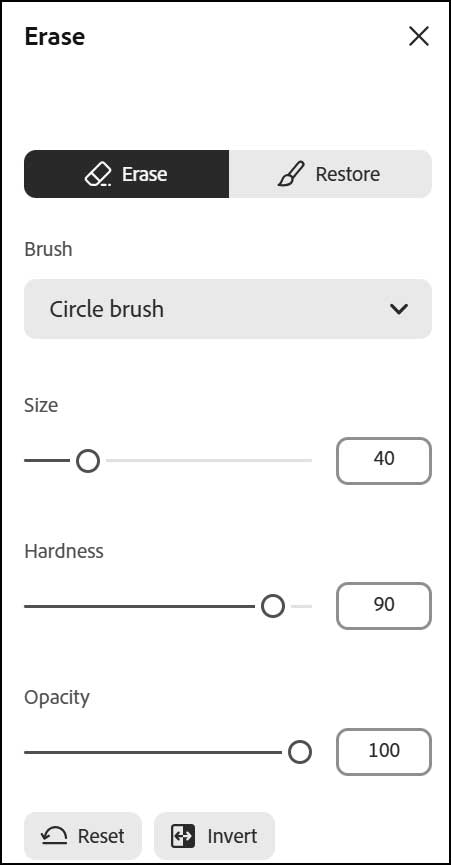
To get around this issue, you can try to use manual brush erase tool. You can even use this tool to restore sections that you have previously erased.
Adjust
The adjustments section is where you can edit attributes such as brightness, contrast and shadows. There are also tools here you can use to sharpen and blur your image.

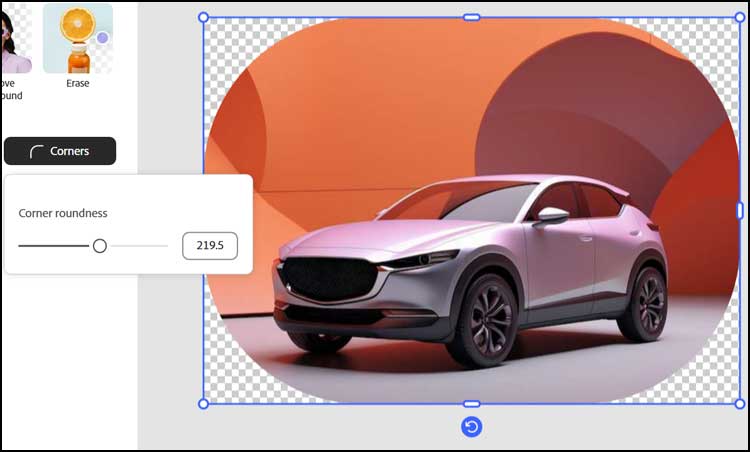
Corners
Most of the time, the images in your PDF files will be square or rectangle. If you want to make the corners rounded, you can do so with this tool. All you need to do is drag the corner roundness slider to the desired setting and then click the Apply button.
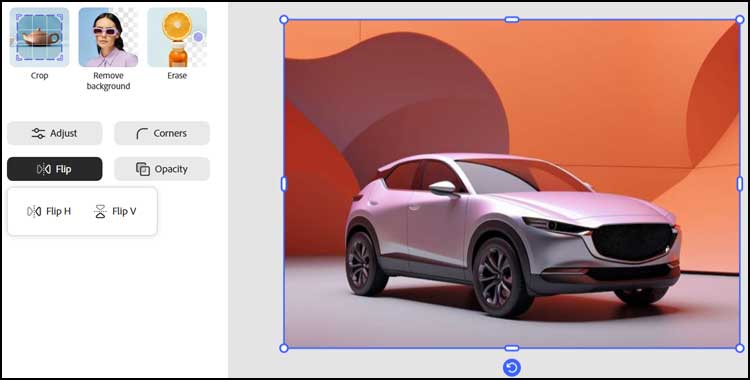
Flip
The flip setting is used to either flip your image horizontally or vertically. You can click on the Flip H or Flip V buttons as much as you want until you get the desired result.
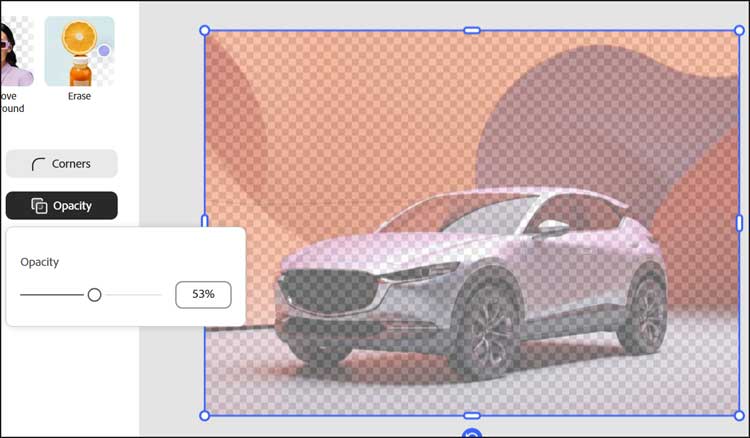
Opacity
This tool is used to make your image appear more “see through” which gives it a transparent affect.
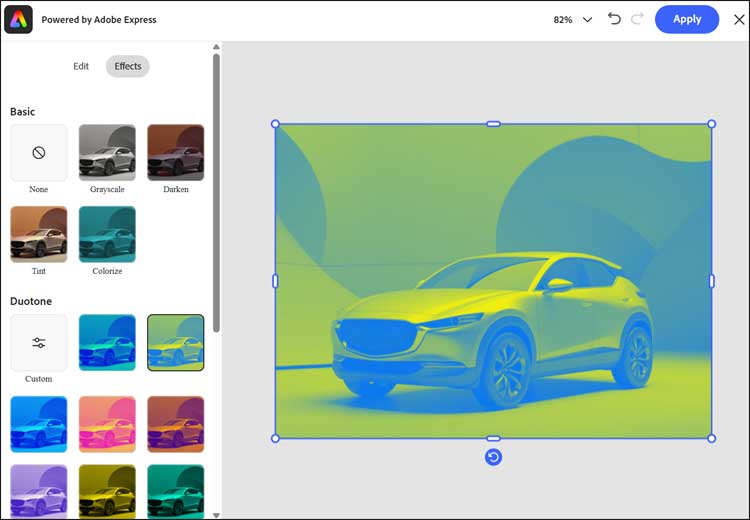
Effects
This section provides you with many options that you can use to add a custom effect or filter to your image. You can even make colored images greyscale or simply darken your image.
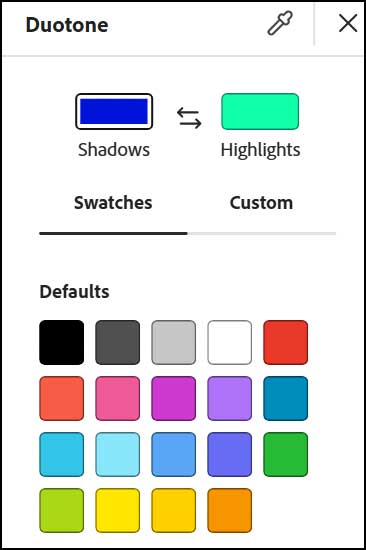
If you click the Custom option under Duotone, you can then create your own custom colors for your effect.
One issue you may run into when editing images in PDF files using Adobe Acrobat is that for taller images, it may split them into more than one section. When this happens, you will need to make the same adjustments for each section, so they match.
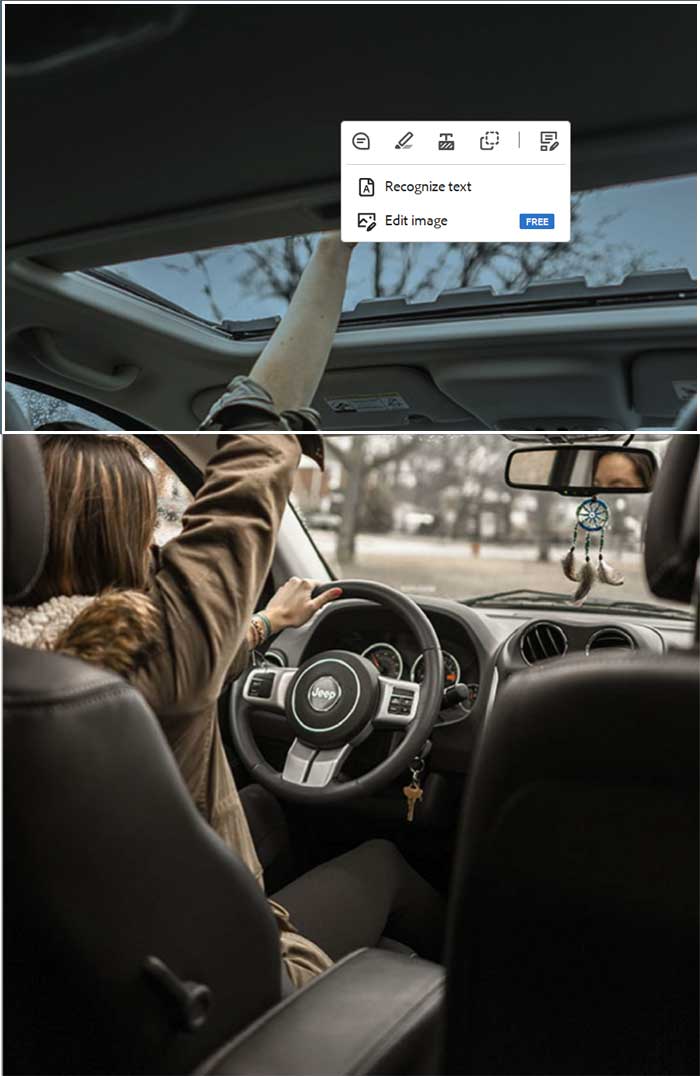
The problem with this is that if you need to do things like rotate, flip, or add rounded corners, it may not work out as desired.
For additional training resources, check out our online IT training courses.
Check out our extensive IT book series.