Last Updated on May 17, 2026
When working with your Microsoft Word documents, you may find that you have some text or images that you do not want to be shown when printing or sharing on your screen for example. Of course, you can delete the text or images and then add them back later or save the Word document with a different name after deleting the text, but this is not a practical solution.
A more effective way to hide and unhide text and images in Microsoft Word is to use the Hidden feature from the Font group. Using this option will allow you to hide text and images without actually deleting them.

1. Select the Text to Hide
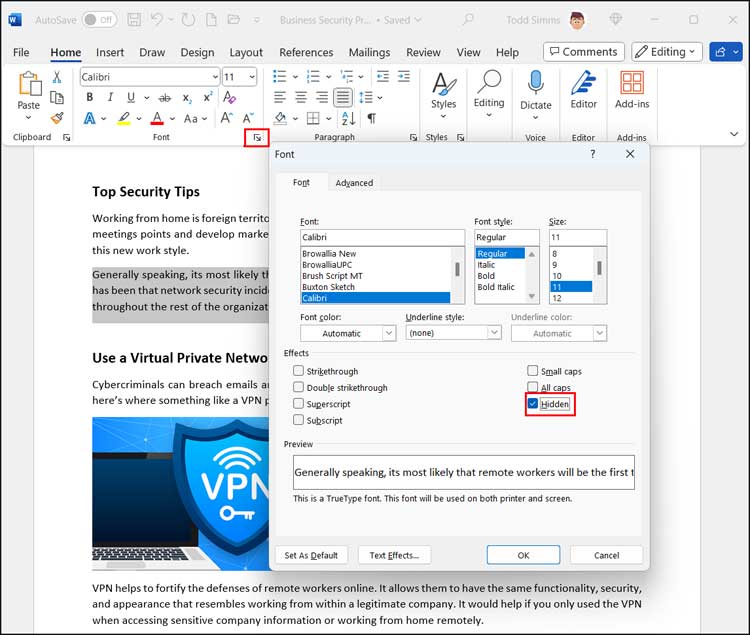
Start by locating the specific sentences you want to conceal from your readers. Simply select the target text by highlighting it with your mouse cursor. Navigate up to the main ribbon and click on the Home tab. Look for the small expansion arrow in the bottom corner of the Font group to open the advanced properties menu. Check the box labeled Hidden under the effects section and click the OK button.
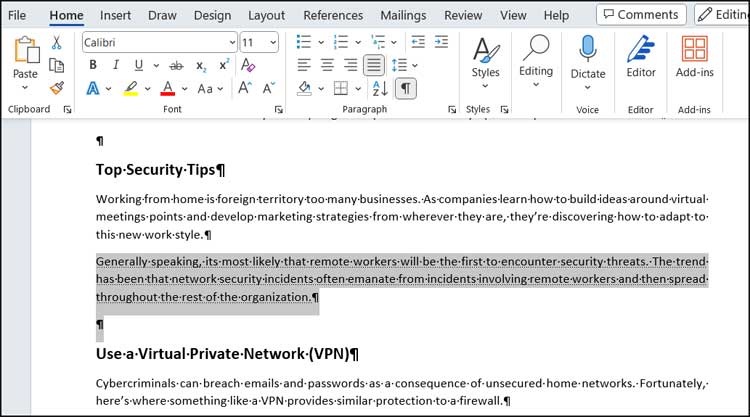
2. Locate the Hidden Text Area
You will immediately see your selected text disappear from the page. The document will shift up and leave no real indication of where you originally had your text. To manually unhide the text without special tools, you need to place your mouse where the text used to reside. Highlight a large blank bit of that section as seen in the image below. Go back to the Font group menu and simply uncheck the Hidden box to restore it.

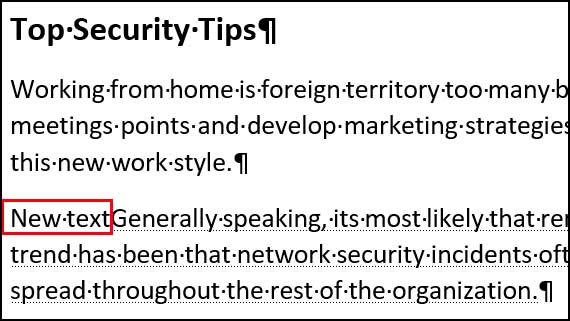
3. Reveal Hidden Formatting Marks
Guessing where your invisible text lives can be incredibly frustrating. An easier way to see your hidden text and safely restore it is to click on the paragraph marker button. You will find this icon located right inside the Paragraph group on the Home tab. Clicking this button reveals all document formatting and instantly shows your hidden text with a distinct dotted underline.
4. Restore the Dotted Text
Now you can clearly see exactly what is missing from the standard view. Simply highlight this newly revealed dotted text with your cursor. Open the Font properties menu again and uncheck the Hidden checkbox. Turn off the paragraph marker button to return to your normal clean document view.
5. Avoid Typing Over Hidden Content
One critical thing you should know about this Word feature involves document editing behavior. Starting to type exactly where you have hidden text triggers an automatic reveal. The software will instantly unhide your secret text and start adding your new keystrokes right in front of it. Keep this in mind when editing templates containing invisible data.
6. Apply Hidden Formatting to Images
Hiding images or graphical charts in Microsoft Word follows the exact same initial process. You highlight the picture and check the hidden box in the font menu. You will find it significantly harder to manually unhide them later using the blind selection method. You will absolutely need to use the show paragraph markers method to reveal the hidden anchor point.
7. Reveal and Restore the Image
The hidden image inside your Word document will show a specific paragraph marker right next to it once you click the paragraph button. Select the image directly by clicking its bounding box. Go straight back to the Font group menu. Uncheck the Hidden checkbox to make your graphic permanently visible to the reader again.

As you can see, its fairly easy to hide and unhide text and images in Microsoft Word and there are a couple of ways to do so.
Here is another article showing how to extract images from Word documents.
For additional training resources, check out our online IT training courses.
Check out our extensive IT book series.