Last Updated on April 21, 2026
There are many reasons to clone your Windows or OS hard drive to another drive. You may be running out of space and would rather migrate your system drive to a larger drive rather than delete files or uninstall programs to make more room. Or you may have an issue with a failing hard drive and you want to transfer everything over to a new drive before it fails completely.
Fortunately, the process of cloning your new hard drive is too complicated but you will need some computer knowledge to do so. Plus, you should always make a backup of your files before trying any procedure like this. In this article, we will be showing you how to clone your OS hard for free using Rescuezilla.

To use Rescuezilla to clone your OS hard drive, you will first need to download the software and create a bootable flash drive or CD on your computer. This can be done on any computer and doesn’t have to be created on the PC you will be using it with. To create a bootable USB flash drive, you can use a free app such as Rufus to do so.
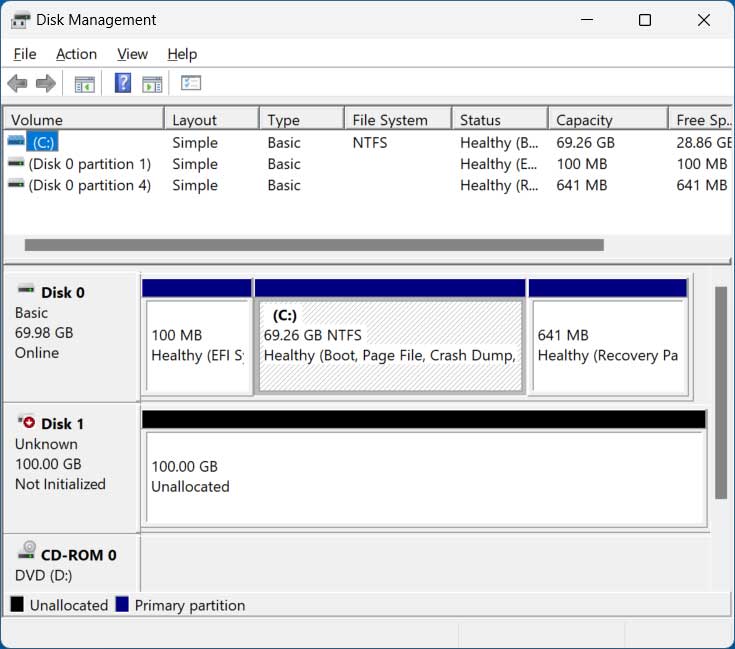
In our example, we have Windows installed on the C drive which is 70GB in size. We also have a 100GB hard drive attached to the computer that we will use to clone the OS drive to. The image below shows how they both look in the Windows Disk Management tool.
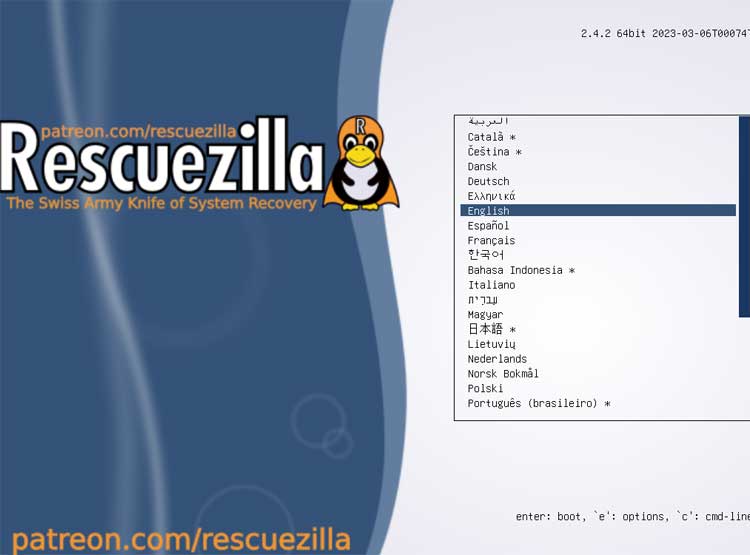
Once you download Rescuezilla and create your bootable flash drive or CD, you can boot your computer with it and you should then see the Rescuezilla start screen where you will need to select your language to continue.
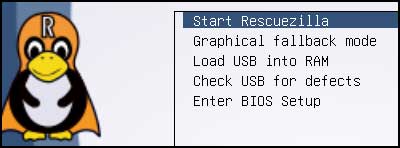
Next, you will need to choose the Start Rescuezilla option.
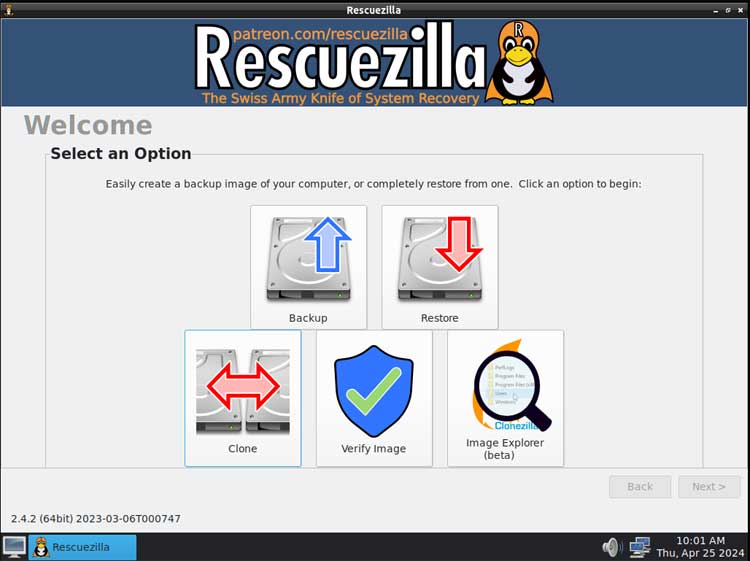
On the options screen, you will then need to click on the Clone option.
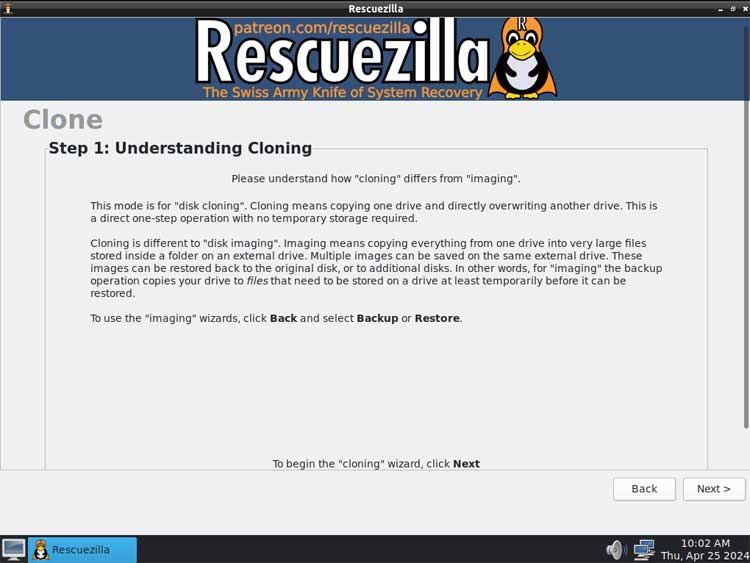
You will then be shown an overview of cloning and how it differs from imaging.
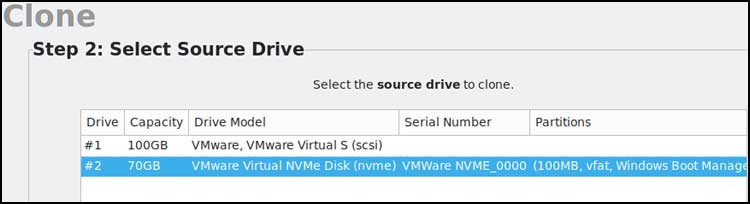
After clicking the Next button, you will then need to choose your source drive. This will be the drive that already has your operating system installed on it. It may or may not show up at the top of the list.
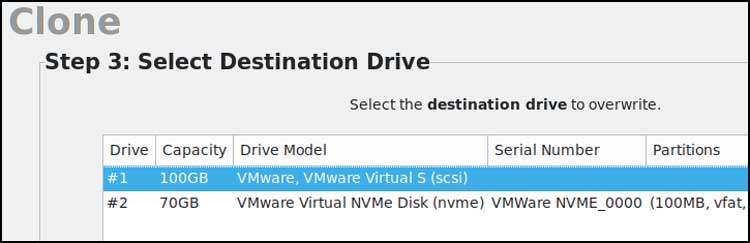
Next, you will need to select the destination disk which is where the data will be copied to.
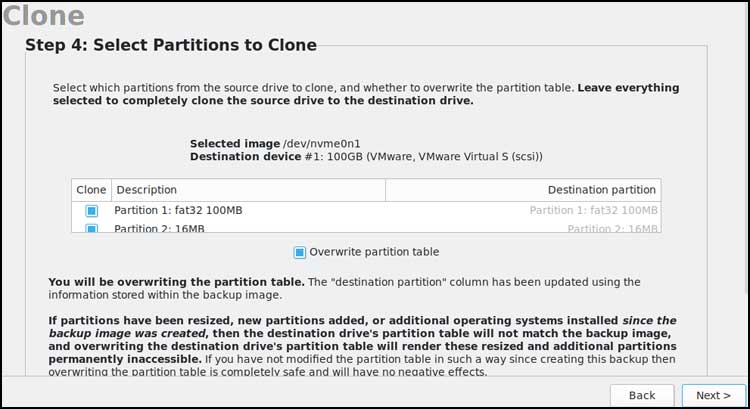
You will then be shown a summary of what partitions will be cloned and they should all be selected by default. If there are any you do not wish to clone, simply uncheck the box next to the partition number. Just be aware that if you deselect a partition that is needed by the operating system that your computer might not boot with the cloned drive.
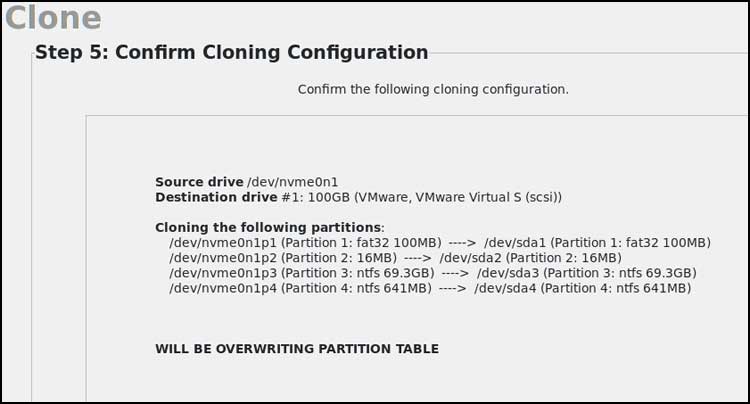
You will then be shown a summary of what drive, and partitions will be cloned during the process. Don’t be alarmed that they are labeled using a Linux disk format.
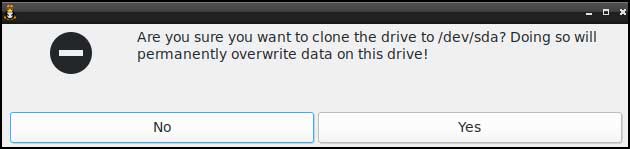
Finally, you will need to confirm that the destination drive will be overwritten with the data from the source drive.
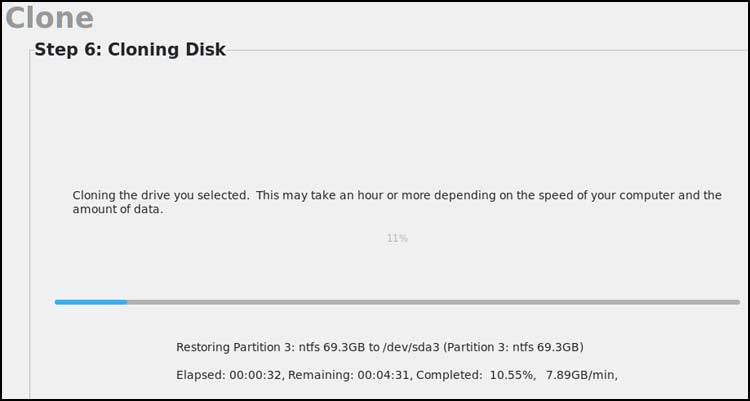
After you click the Yes button, the cloning process will begin and will take several minutes.
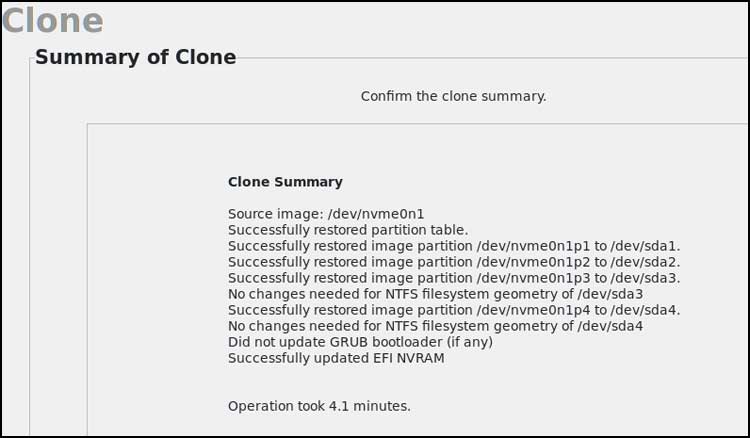
When the cloning process is complete, you will be shown a summary and you should look this over for any errors.
You can now shut down your computer by clicking on the Rescuezilla button at the lower left of the screen and choosing Shutdown.
Now you can either remove the old drive or change the boot order of your computer to boot with the new drive if you plan on leaving the old\source drive connected to your computer.
We will now shut down the computer and remove the old hard drive. When we boot back up and go to Disk Management, we can now see the new 100GB drive with its 70GB Windows partition.
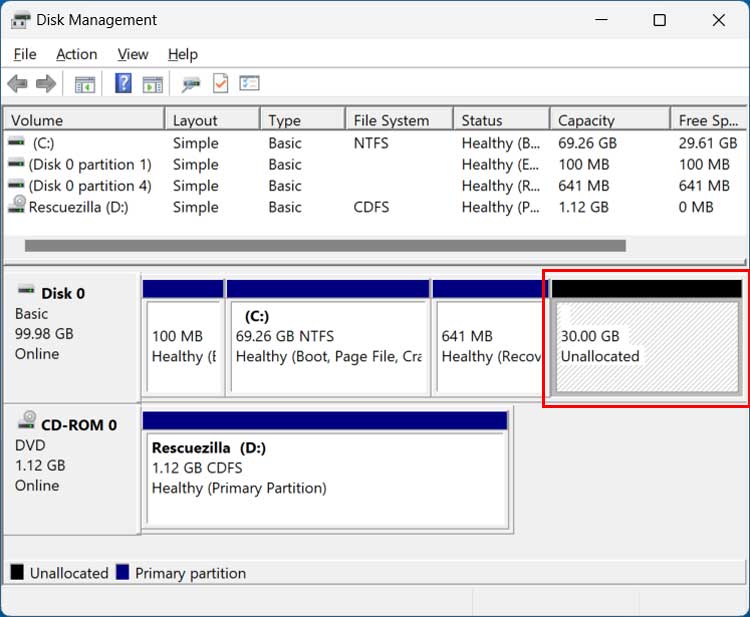
Since the new drive was larger than the original drive, there is leftover space that can be used if desired. The only problem is that you might have a partition such as the recovery partition between the OS drive and the unallocated space which will prevent you from extending the OS drive.
To extend the C drive using the extra unallocated space, you can use another free program to do so by following the steps in this article.
For additional training resources, check out our online IT training courses.
Check out our extensive IT book series.