Being able to remotely control other computers over the network or the internet has been a common procedure used by technology professionals and even home users for many years. People like to do this to offer support for remote users or control their work PC from home or even get into servers in the datacenter.
As you may know, the Remote Desktop Client that many people like to use for remote connections does not work with Windows 11 Home Edition without the use of third party tools. There is a Windows tool called Quick Assist that will work with Windows Home, but it can be a little unreliable. So, in this article, we will be showing you how to use the NoMachine free remote desktop app that you can use for Windows, Linux, macOS, Android & iOS to connect to your remote devices.

The NoMachine remote desktop client is free to use on your local area network. But if you want to use it over the internet, you will need to use something like a VPN or configure your router for incoming remote connections. They do have a subscription plan where you can join the NoMachine network to connect to your computers over the internet using their servers. Regardless of which method you use, you will need to download their software from their website.
On the computer you will be connecting to, it will need to run as a service on that PC (for Windows) and the computer you are connecting from just needs to have the NoMachine client installed to be able to connect to the remote computer. For our example, we will be connecting to a remote computer on the same network.
Once we open the NoMachine client on the source computer, it will search for other computers running NoMachine on the network. If it doesn’t find any, you will be shown a message saying no computers were found on your local network. If that is the case, you can do a search for the computer name or IP address of the remote computer. You may also need to check any firewall settings to be sure it is not being blocked.
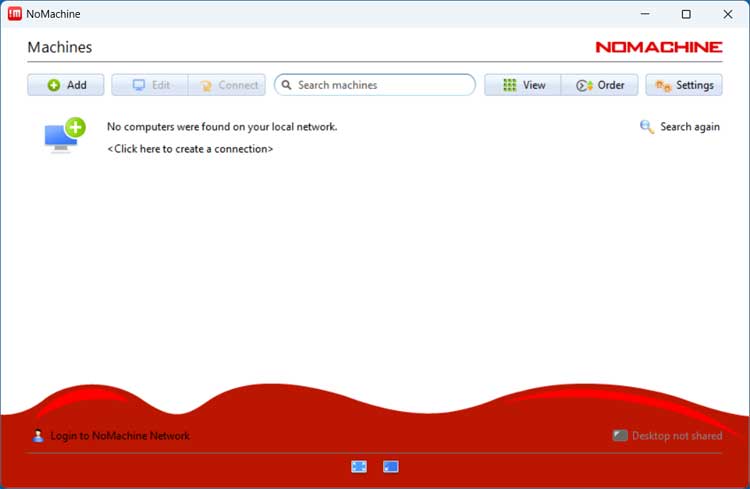
Once you are sure the remote computer is online and running NoMachine, you can click the Search again button to have it check your network once more.
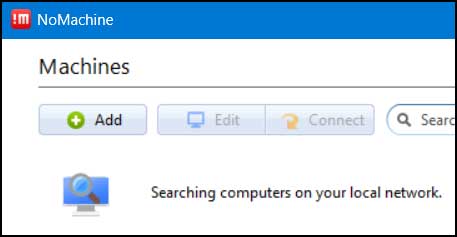
When the NoMachine client finds the remote computer, it will be shown in your client with its computer name and operating system displayed.

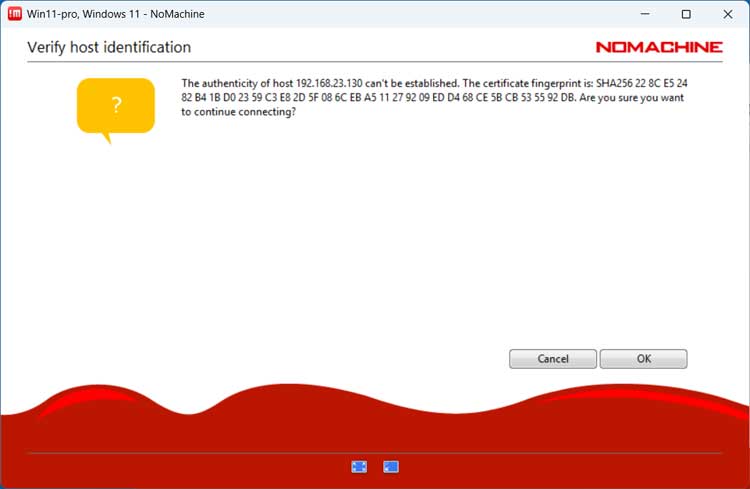
You will most likely see a verify host identification method saying the authenticity of host (IP address) can’t be established. This essentially means your client computer cannot verify that the computer you are connecting to is the genuine server you expect and usually only happens the first time you connect to that particular computer.
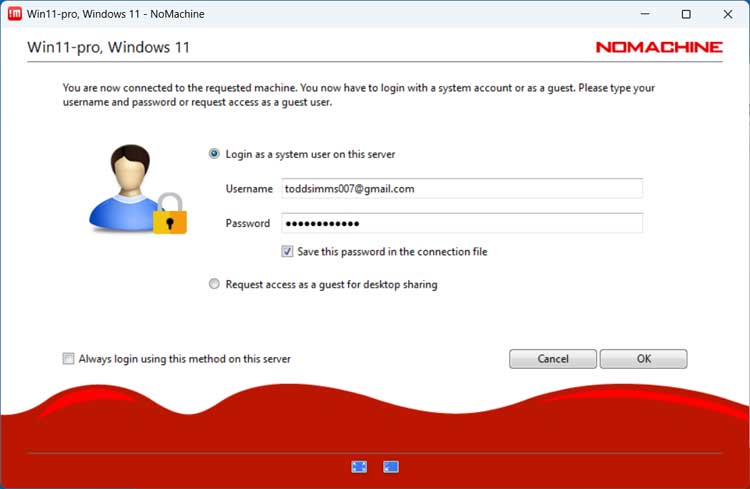
Next, you will have the option to login with your user credentials or requires access as a guest for desktop sharing. If you use the second option, someone will need to be on the remote computer to be able to grant you access.
If you do use the guest access option, you will be able to send them a message explaining who you are so they can decide if they want to allow you access or not.
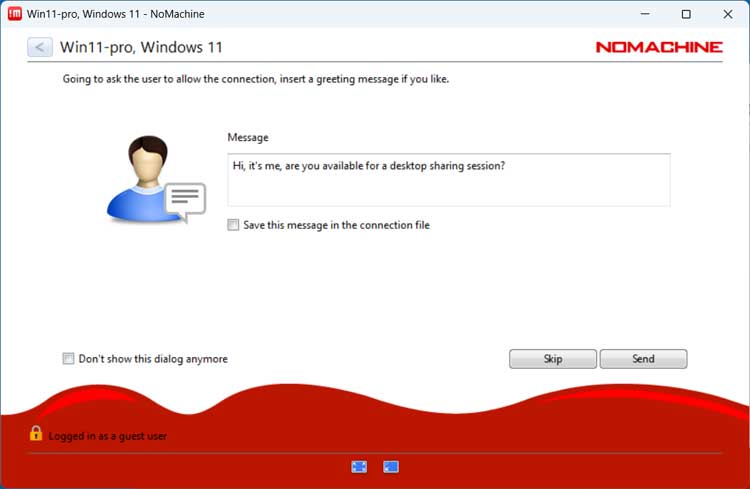
The remote computer will then see a popup notification from the source computer with your preconfigured message asking for permission to connect.
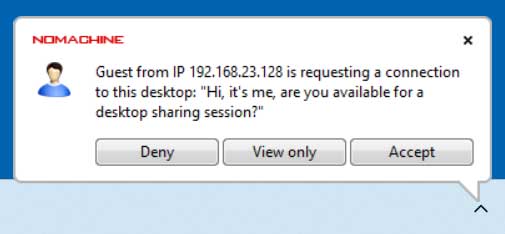
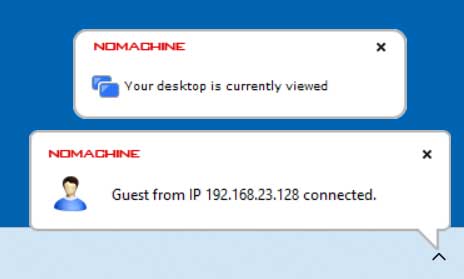
Once the remote user clicks the Accept button, they will then see that their computer is being connected to. They can also click the View only button if they just want to grant the remote user viewer access with no ability to control their computer.
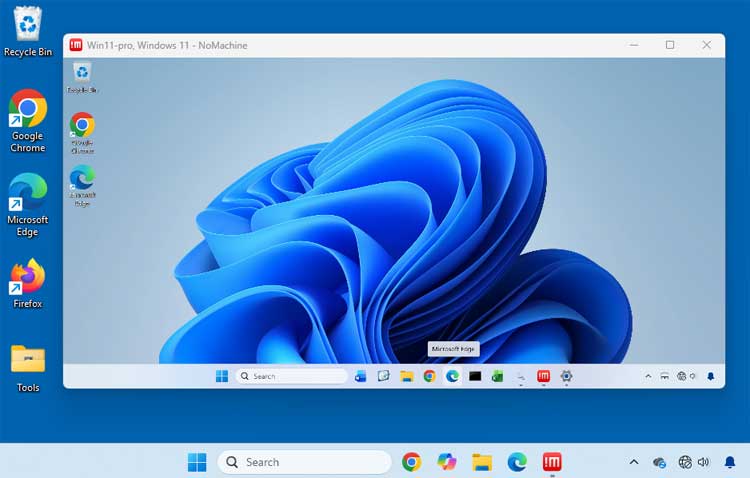
Once you are connected, you will see the remote computer in a console window on your desktop and can control it as if you were sitting in front of it. You can close the session and disconnect at any time by clicking on the X on the console window.
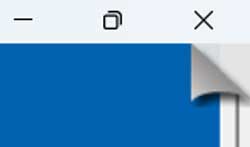
To get to the NoMachine options for the remote session, you can hover your mouse over the upper right corner of the console window until it makes a page turn animation. Then you can click in that area to get to the available options.
As you can see in the image below, there are options for input, devices, display, audio, mic in, recording and connection.
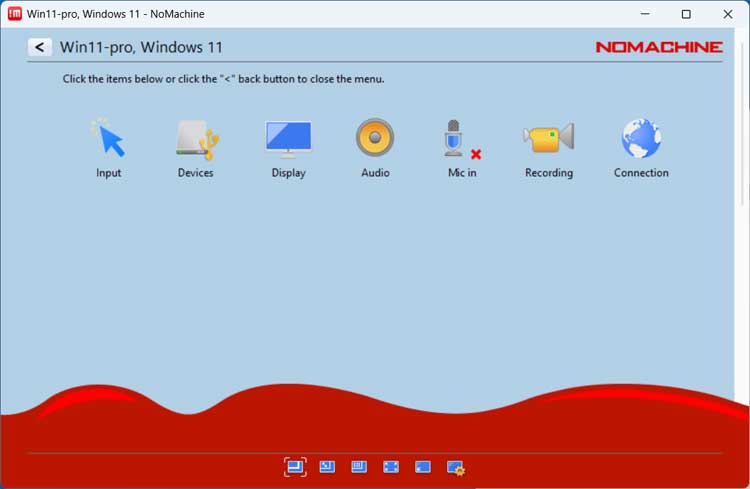
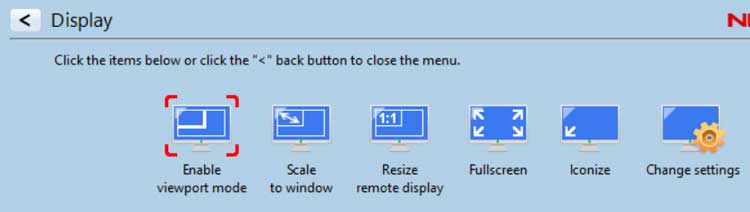
The Display options will allow you to do things such as go full screen or scale the remote desktop to your window size.
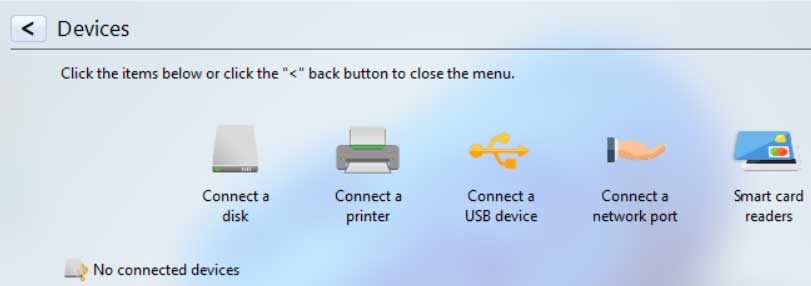
If you want to connect a remote device such as a hard drive or printer, you can do so from the Devices options.
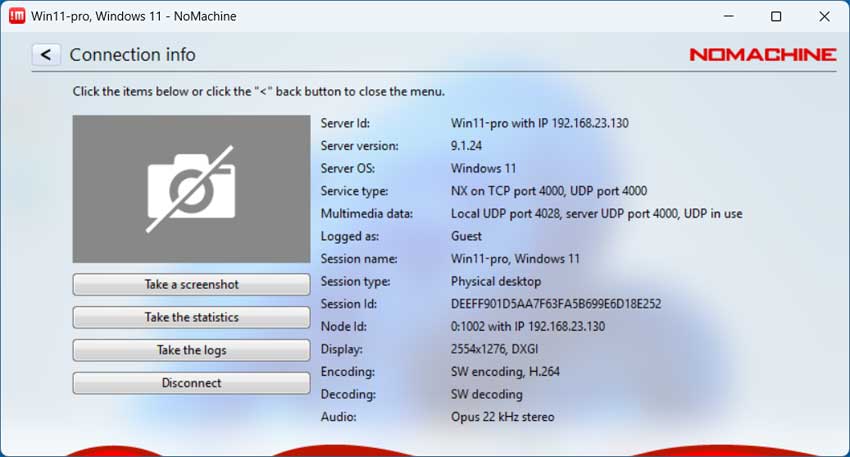
The Connection option will show details about your connection such as the server ID/IP address, OS, login name, screen resolution and more.
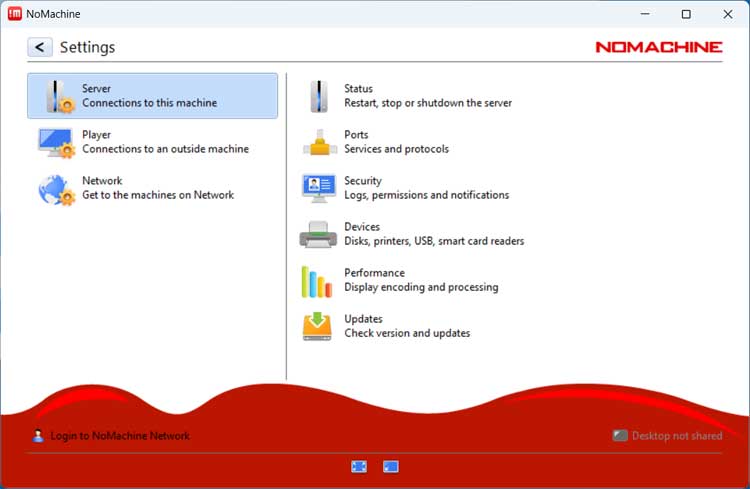
There are also settings for the NoMachine program itself as seen in the image below.
In summary, the NoMachine remote desktop app for Windows, Linux, macOS, Android and iOS is a great tool to use for remote connections over your local area network (LAN) and also over the internet if needed.
For additional training resources, check out our online IT training courses.
Check out our extensive IT book series.