
Last Updated on May 14, 2026
Taking screenshots of items on your screen is a fairly common thing to do. You may have the need to capture something from a website or an error within a program you are working on so you can send it to support. Or maybe you just want to crop out a part of an image and then save it to your computer.
Windows has a built in screen capture tool called the Snipping Tool and it has been around since Windows 10 and has been updated for Windows 11. Microsoft added the ability to capture video recordings along with image captures. But now you can actually copy text from an image using the Windows Snipping Tool OCR feature. OCR stands for optical character recognition by the way.

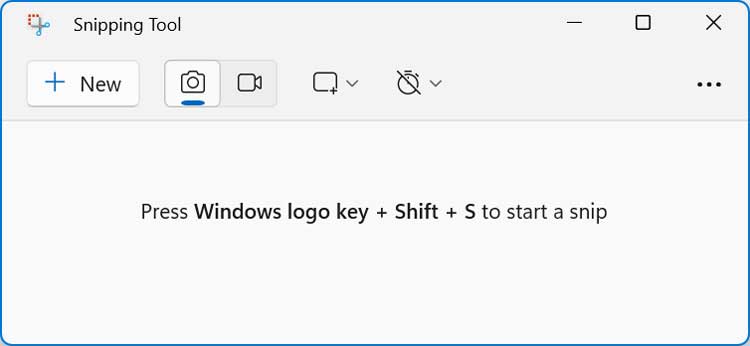
1. Open the Snipping Tool Application
The easiest way to open the Snipping Tool is to simply do a search for it using your taskbar, but you can also locate it under your installed apps within the Windows Start Menu. Once you open the Snipping Tool application, go directly to the image or document you want to actively copy or capture text from. Bring the Snipping Tool interface in front of that specific image and click on the New button to begin your screen capture.
2. Select Your Desired Snip Shape
After clicking the New button, the screen will dim slightly and you can then choose to draw a rectangular box exactly around the section you wish to capture. You can also choose the free form tool to trace an irregular shape, select a specific active window, or just grab the entire screen. Picking the right capture method makes sure you only grab the specific words you actually want the software to read.

3. Activate the Text Actions Feature
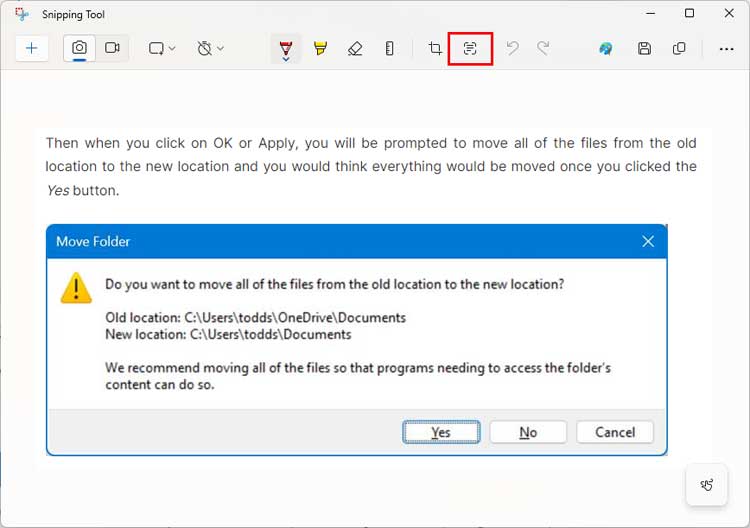
The example provided below shows a standard screen capture from a webpage displaying actual text from the page as well as an embedded image containing words. To actively copy the text from the image using the Snipping Tool OCR feature, you will need to look at the top toolbar menu. Find and click on the Text Actions button so the application can begin scanning the pixels for recognizable characters.
4. Copy the Recognized Text
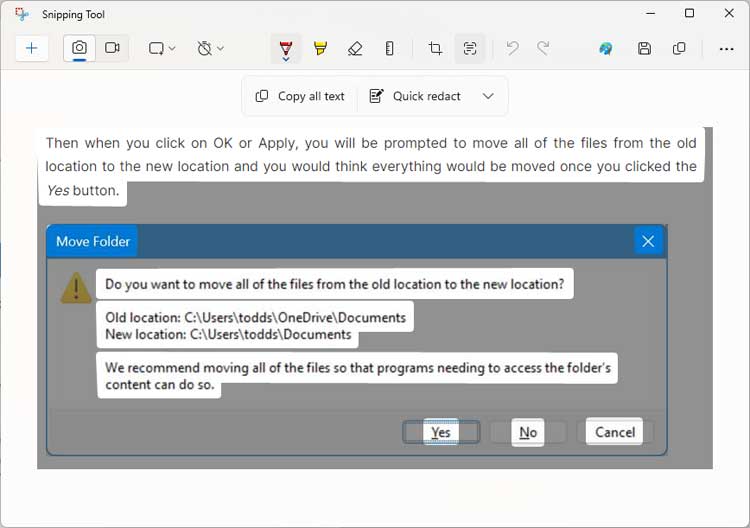
The internal Snipping Tool OCR engine will instantly process the image and highlight all of the readable text within your screenshot. You will then see a new button appear at the very top of the window that specifically says Copy all text. When you click this button, the program automatically copies every single highlighted word directly to your computer clipboard. As you can see in the example image below, the optical character recognition also captured the raw text from the window title bar and the interface buttons.
5. Paste and Edit Your Captured Text
Now you can open up a blank document and paste the contents of your clipboard to see exactly what the computer recognized. Here is what the raw text looks like after it is pasted into another app such as Microsoft Word or standard Notepad. In this specific case, you will absolutely need to do some manual editing to remove the extra interface text that was accidentally copied along with the main message.
Then when you click on OK or Apply, you will be prompted to move all of the files from the old location to the new location and you would think everything would be moved once you clicked the Yes button.
Move Folder
Do you want to move all of the files from the old location to the new location?
Old location: C:\Users\todds\OneDrive\Documents
New location: C:\Users\todds\Documents
We recommend moving all of the files so that programs needing to access the folder’s
content can do so.
X
Yes
No
Cancel
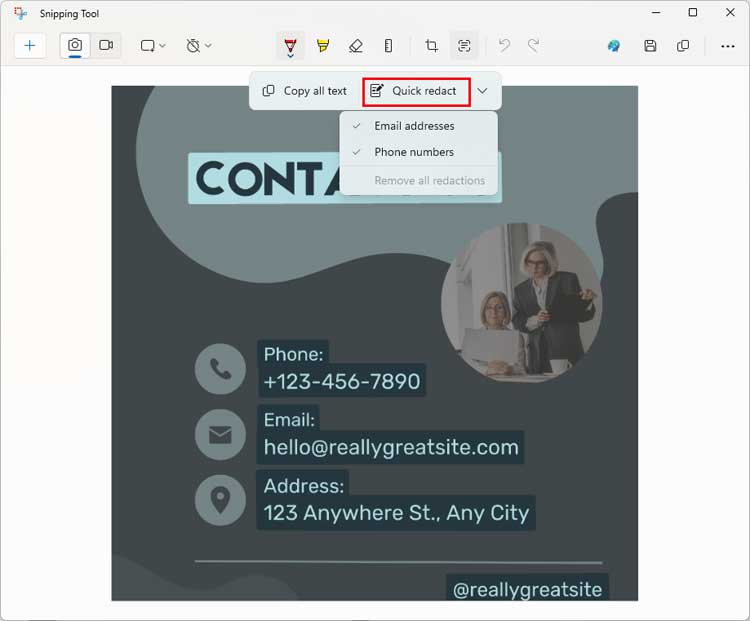
6. Use the Quick Redact Feature
The Windows Snipping Tool OCR feature also has the brilliant ability to automatically redact email addresses and phone numbers so they are never shown in your final screenshot. To use this privacy feature, capture your screenshot normally and then click directly on the Quick redact button located right next to the copy button. You can also use the small dropdown arrow next to that button to manually include or exclude specific email addresses or phone numbers from being blacked out.
7. Verify Your Redacted Information
Once you hit the redaction option, the software will place solid black bars over any sensitive contact information it detects in the image. The screenshot example below clearly shows how the image looks after securely redacting the phone number and email address that was present in the original graphic. When you paste this newly redacted text into another document, the software intelligently replaces those specific hidden elements with the word REDACTED in brackets.
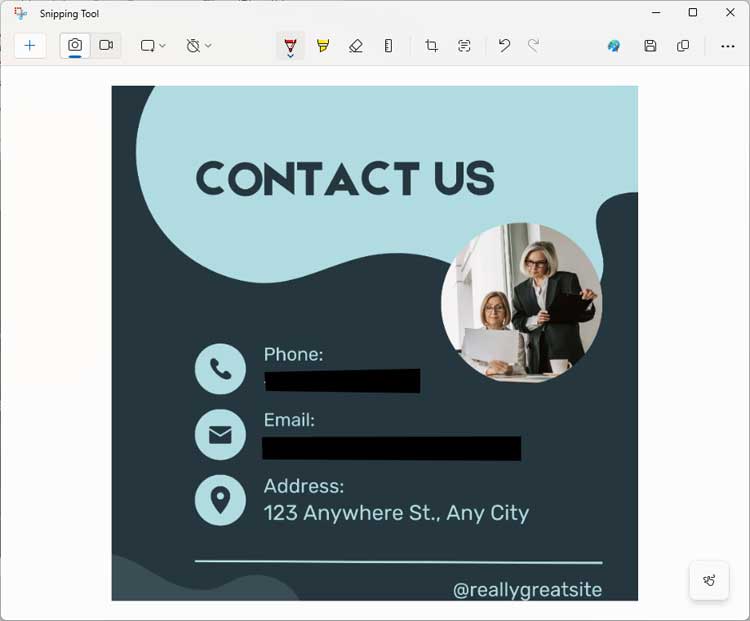
Here is how the pasted text would look after redacting the email address and phone number.
CONTACT US
Phone:
[REDACTED]
Email:
[REDACTED]
Address:
123 Anywhere St., Any City
@reallygreatsite
Copying text from an image using the native Windows Snipping Tool OCR feature is a very simple process. It completely eliminates the need to purchase a third party optical character recognition application. You can use this built in tool daily to extract valuable text from frozen screens and protected documents.
For additional training resources, check out our online IT training courses.
Check out our extensive IT book series.


