
Last Updated on March 13, 2026
You may or may not know that when you create a user account on a computer running Microsoft Windows, that it requires you to use a Microsoft account to do so. Sure, you can configure a local account to log in with, but you will first need to sign in with a Microsoft account before doing so.
Once you sign in the first time, Windows will ask you to create a PIN number that you can then use to sign in with instead of the password tied to your Microsoft account. This PIN is only associated with one device and is backed up for recovery with your Microsoft account. So you can have a different PIN on each of your computers if you have more than one.
If you would rather use your password than a PIN, its easy to change the setting back so you can log in with your password. In this article, we will be showing you how to remove the Windows Hello PIN so you can login with your password.

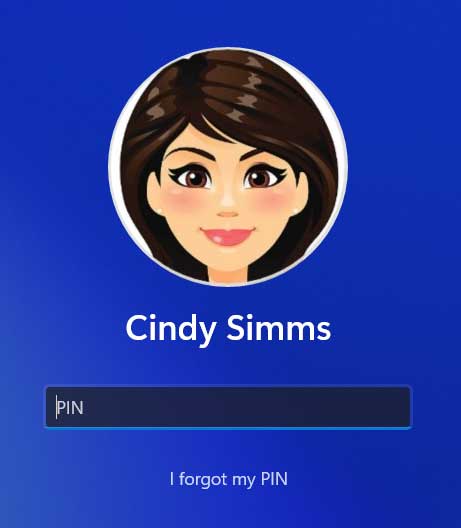
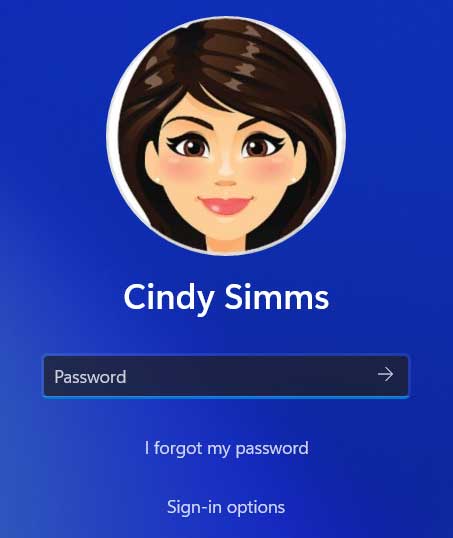
When you start your computer, you normally see the login screen with your profile picture if you have one. You will also see a box to enter your PIN number. This is the default behavior for all new Windows 11 installations.
Disabling the Windows Hello PIN Requirement
1. Open the Sign-in Options Menu
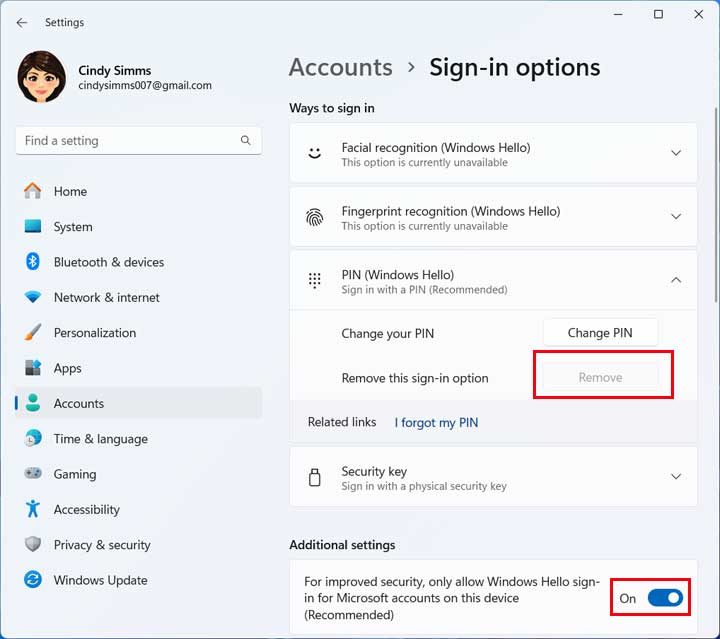
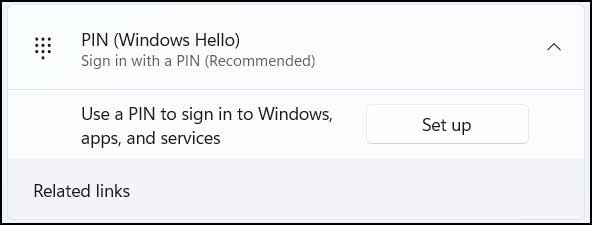
To remove or change the Windows Hello PIN so you can log in with your password, you will need to open the Windows Settings app. Navigate to the Accounts section on the left side menu. Then go to the Sign-in options section and find the PIN (Windows Hello) option. These steps will be very similar for Windows 10 computers.
2. Fix the Grayed Out Remove Button
One thing you might notice is that the button for Remove this sign-in option is greyed out and unclickable. This is because the option that says “For improved security, only allow Windows Hello sign-in for Microsoft accounts on this device” is enabled by default.
3. Disable the Security Toggle
You will need to disable this strict security option first. Look for the toggle switch directly below the PIN settings. Move the slider so it says Off. The Remove button will instantly become clickable.
4. Confirm the PIN Removal
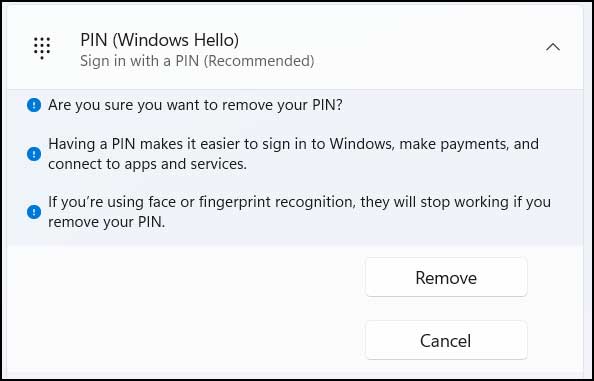
Click the Remove button to initiate the process. You will then get a confirmation box asking if you are sure you want to remove your PIN. It also tells you that if you are using face or fingerprint recognition, that this will stop working if you remove your PIN. Click Remove again to proceed.
5. Verify Your Microsoft Account Password
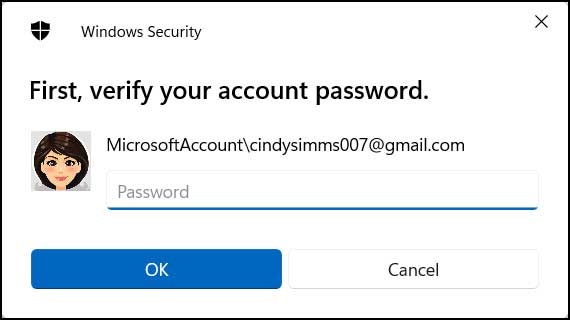
Once you click the Remove button, Windows needs to verify your identity. You will then need to enter the master password associated with your Microsoft account to continue. Type it into the box and click OK.
Logging In With Your Password
1. Restart Your Computer
Now the next time you log into your computer, the login screen will look slightly different. You will be prompted for the password you have configured with your Microsoft account rather than your PIN. You can also click the Sign-in options link to choose between different authentication methods if you have them configured.
2. Re-enable the PIN Feature
If you want to start using a PIN rather than a password again, you can easily reverse this process. Go back to the Accounts section in the Windows Settings. Add your PIN number back or create a brand new one by clicking the Set up button.
For additional training resources, check out our online IT training courses.
Check out our extensive IT book series.






