Last Updated on July 9, 2026
If you are the type who likes to troubleshoot their own computer problems, then I am sure you have used the Windows Device Manager at some point. It is the go-to utility to check for hardware errors, revert drivers, update drives, remove hardware, and so on.
While you were in there, you might have noticed that some of the names used for your hardware were kind of generic, which might have made things a little more difficult to find. Windows uses its own information for the hardware names, and these default labels don’t always make things easy to recognize.
If you would like to change the display name of your hardware as it is shown in Device Manager, you will not be able to do so via the Device Manager console itself. But that doesn’t mean it can’t be done!
If you have ever used the Windows Registry Editor, then you know that it’s a commonly used tool to change many types of Windows settings and configuration options. Fortunately, it can also be used to permanently change Device Manager hardware names as well.

Why Rename Devices in Device Manager?
By default, Windows assigns display names to hardware based on the .INF driver file provided directly by the manufacturer. While functional, this becomes incredibly confusing if you utilize multiple identical peripherals.
For example, if you have two identical USB microphones, three generic “HID Keyboard Device” entries, or dual monitors of the exact same model, telling them apart is nearly impossible.
Renaming these devices doesn’t just clean up your system interface visually. It actually ensures you are selecting the correct hardware in third-party productivity applications like OBS Studio, DAW (Digital Audio Workstation) software, or custom gaming overlays.
Finding the Registry Key for Your Hardware
1. Locate the Device Properties
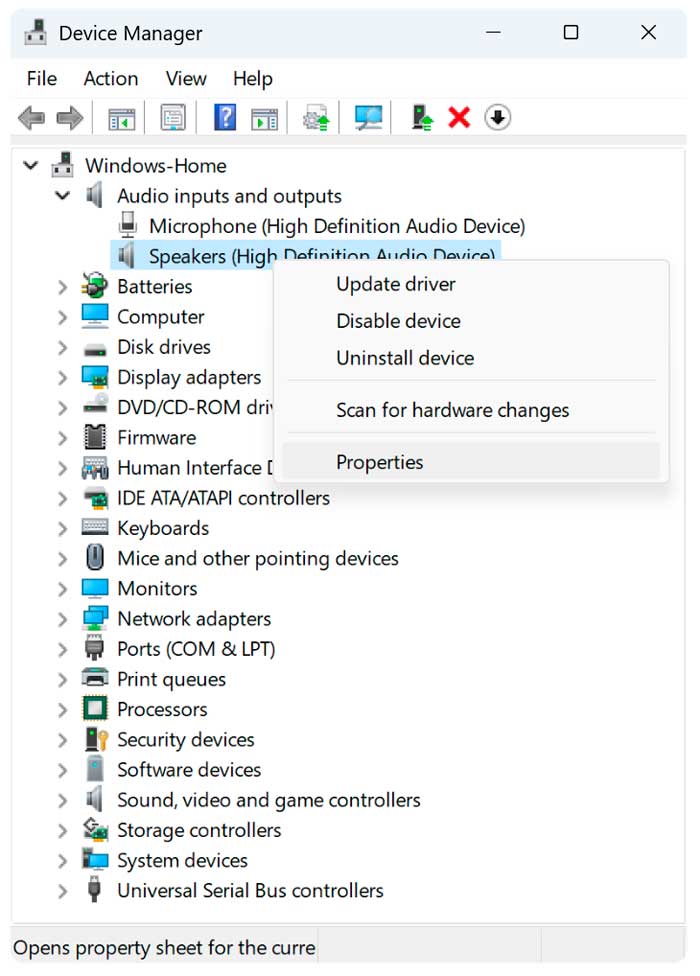
The first thing you will need to do is go into Device Manager and physically find the hardware item you wish to rename. Once you find it, simply right-click on the device and choose the Properties option from the context menu.
2. Copy the Driver Key Value
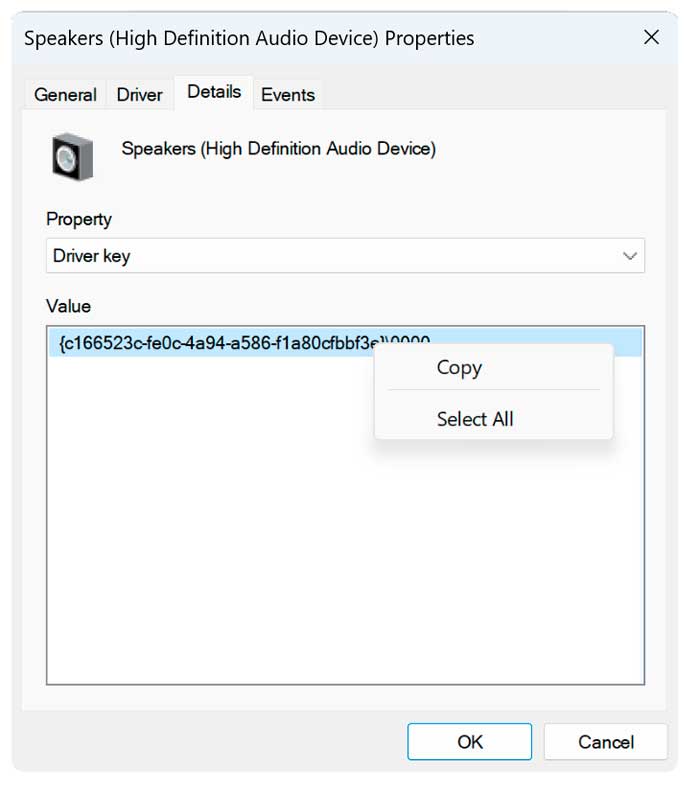
Under the Properties window, click on the Details tab at the top. Under the Property drop-down list, find the option that says Driver key. You should then see a long string value in the box below; right-click on this text and choose Copy.
Important: Back Up Your Registry Hive First
Because we are modifying the HKEY_LOCAL_MACHINE\SYSTEM hive, it is critical to create a backup before making any changes. The Enum folder controls how Windows interacts with your physical hardware, so a mistake here can cause devices to stop working.
3. Export the Registry Hive
Start by opening the Registry Editor (regedit) from your Windows search bar. Click on File and then Export in the top menu to bring up the backup dialogue window.
4. Save the Backup File
Choose a safe location on your computer, such as your desktop or documents folder. Ensure the Export Range at the bottom is set to “All”, and save the file as RegistryBackup. If a hardware item stops responding after your edit, you can simply double-click this backup file to safely restore the original driver pathways.
Edit the Registry for the Hardware Name
5. Navigate to the Enum Folder
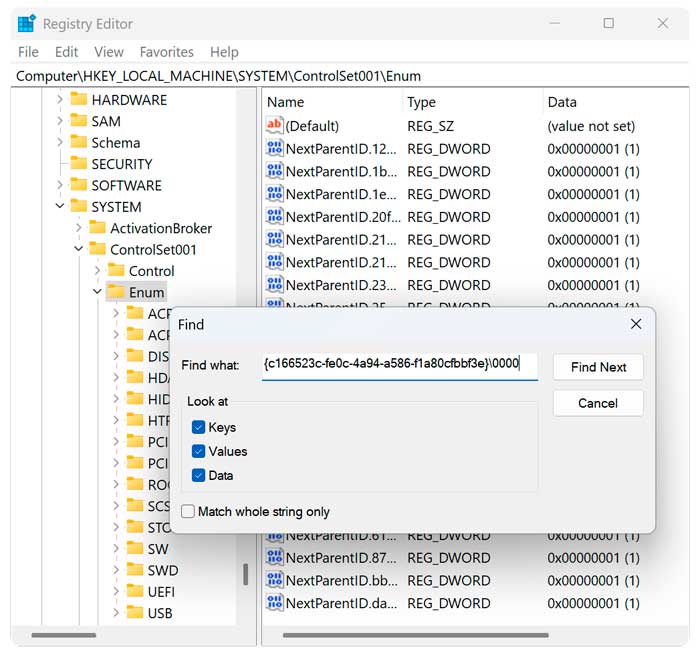
Next, you will need to open the registry editor by typing regedit in the search or run box. You can manually navigate to the following key, or you can copy and paste the path below into the address bar at the top of the registry editor and press enter to be taken there directly.
Computer\HKEY_LOCAL_MACHINE\SYSTEM\ControlSet001\Enum
6. Search for the Copied Key
Now you will need to find the folder named Enum on the left pane. Right-click it and choose Find. In the “Find what” box, paste in the Driver key value that you copied earlier from Device Manager and click on Find next.
7. Modify the FriendlyName Value
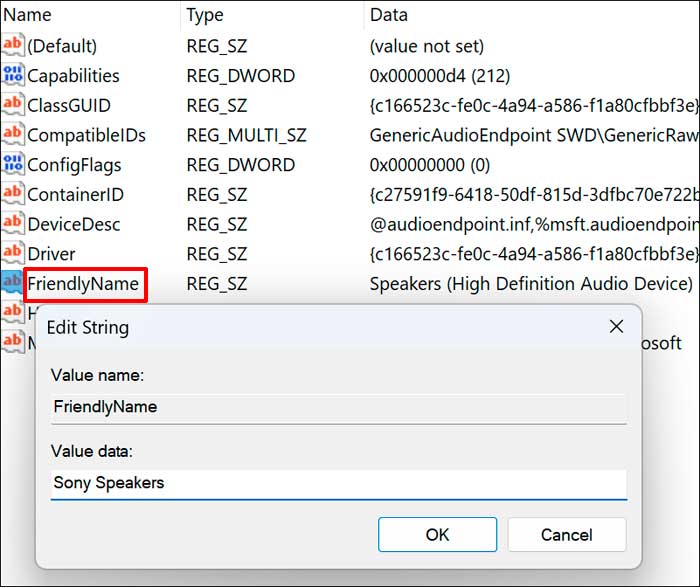
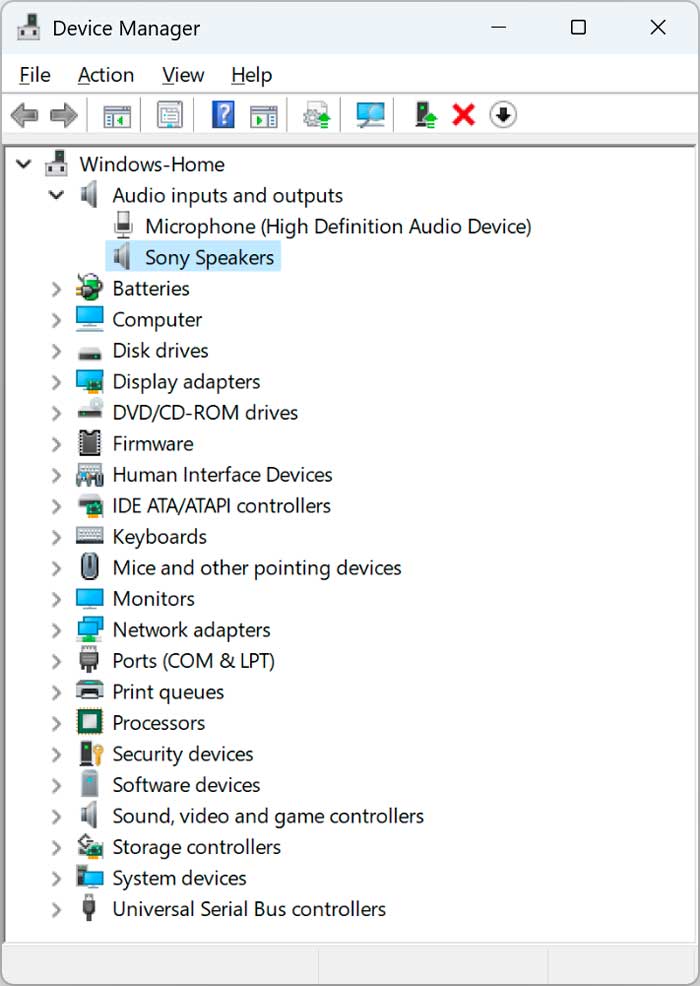
Now you will need to find the value that says FriendlyName and double-click it to open it. In the box that is labeled Value data, change the text to whatever you would like the hardware to be named in Device Manager (like Sony Speakers) and then click OK.
8. Scan for Hardware Changes
Back in Device Manager, click on the Action menu at the very top and then choose Scan for hardware changes to refresh the list. Now you should see your hardware device successfully renamed to match the exact value you changed in the registry.
Note: If you don’t have a value called FriendlyName inside the registry editor, we will show you exactly how to create one manually in the next section).
Understanding DeviceDesc vs. FriendlyName
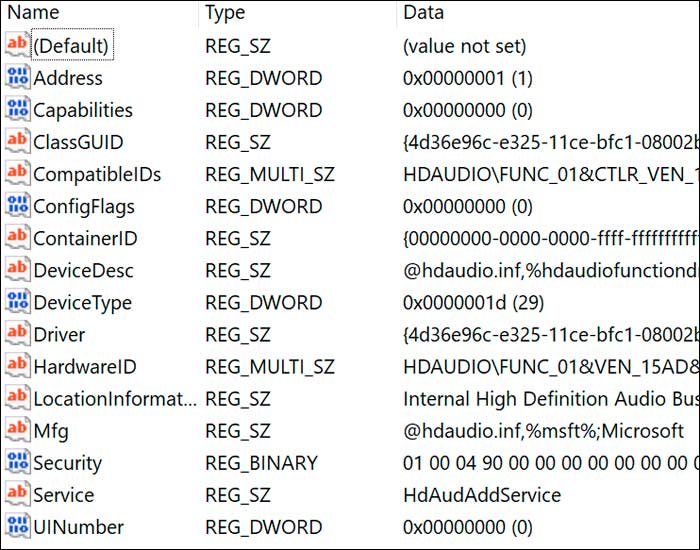
As you look through the Registry, you may notice another string value called DeviceDesc (Device Description) sitting right next to the FriendlyName value. It is important to know the difference between the two.
The DeviceDesc String
This is the hard-coded hardware description provided directly by the manufacturer. Windows uses this specific string for underlying system tasks and driver identification. You should generally avoid changing this value to prevent system instability.
The FriendlyName String
This is the cosmetic “Alias” that Windows presents to you, the user, in the Device Manager UI and the taskbar. By modifying or adding the FriendlyName string, we safely change the cosmetic label of the hardware without breaking the underlying plug-and-play driver connection.
Creating the Missing FriendlyName String Value
If you did not have a value called FriendlyName when you found your hardware key in the registry, you can easily create one so you can change the name for that particular device.
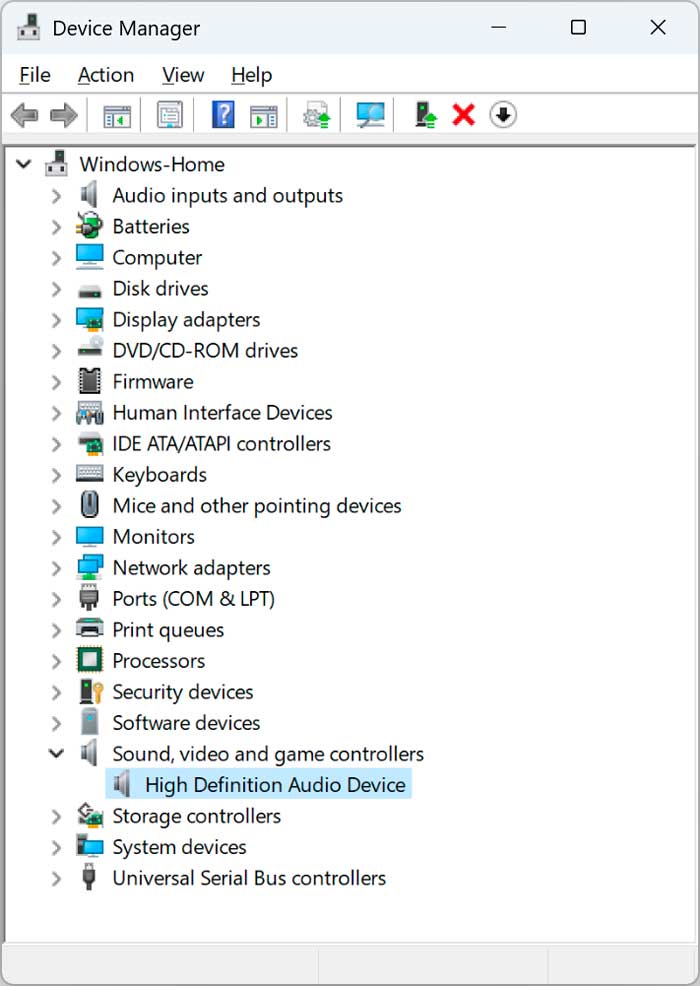
In the next example, we will change the generic “High Definition Audio Device” in Device Manager to say “SoundBlaster” to perfectly match the name of the actual sound card that is installed in the computer.
9. Repeat the Search Process
To do so, we will repeat the exact same process where we go to its properties, find the Driver key value, and copy it. We then paste it into the search box in the registry at the Enum folder location to find the device data.
10. Create the New String Value
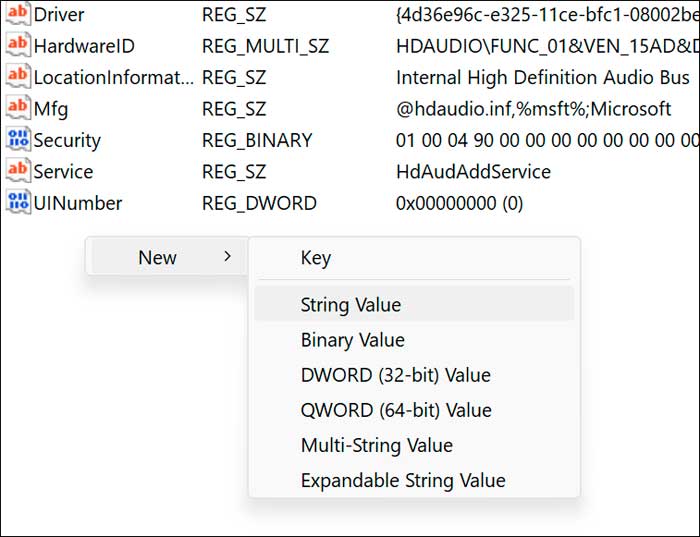
Now we see that there is no FriendlyName option here, so we need to actively create one. Right-click in a blank area under the existing registry items, choose New, and then select String Value.
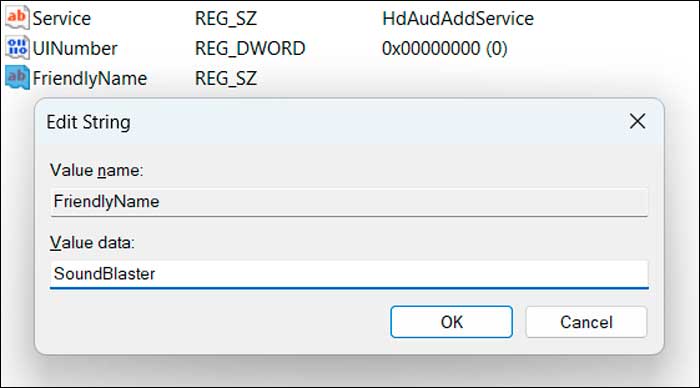
11. Name and Edit the String
Name the new string value FriendlyName, using capital letters for the F and N with no spaces in between. Now we can double-click the new FriendlyName string value and change the Value data to say SoundBlaster.
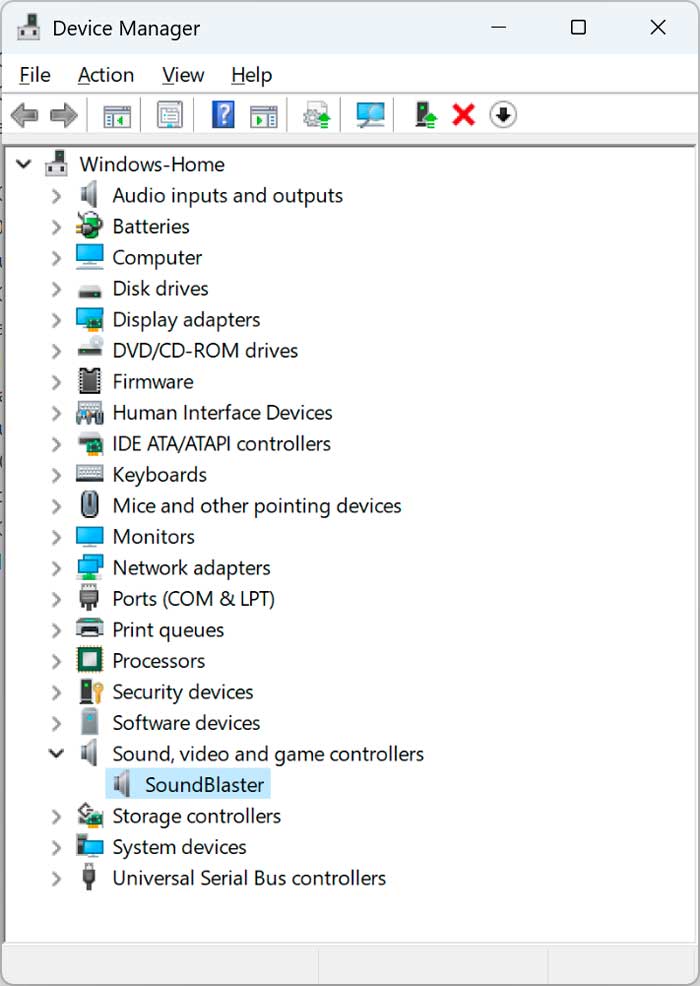
12. Perform the Final Rescan
When we go back to Device Manager and perform another rescan from the Action menu, the system will update. We will now see that the hardware name has been successfully updated to SoundBlaster.
Now you can see how easy it is to rename hardware items in Device Manager.
Device Manager Renaming FAQ
Will my custom name disappear if I update the driver?
Yes, it frequently will. When you perform a major Windows Update or install a fresh driver package from the manufacturer, Windows often re-enumerates the device and overwrites the existing Registry keys. You may simply need to repeat this process after a major driver update.
Does this change the name of my Bluetooth or Wi-Fi devices for other people?
No, it does not. The FriendlyName registry edit is strictly local. It only changes how the device appears on your specific computer. It does not change your network SSID or your public Bluetooth broadcasting name that other devices see.
I get an “Access Denied” error when saving the registry key. How do I fix it?
The Enum registry key is heavily protected by the core “System” account. If you cannot edit it, right-click the specific hardware folder in the left pane and select Permissions. Click Advanced, and temporarily change the “Owner” at the top from System to your current Administrator account.
For additional training resources, check out our online IT training courses.
Check out our extensive IT book series.