Data redundancy the cheap and easy way!
RAID (Redundant Array of Independent Disks) has been around for many years and offers a way for us to have data redundancy by using multiple disks for one volume (drive). One of the simplest RAID methods or levels is RAID1 which is known as a mirrored volume. This means that we have two disks, and one is a mirror of the other meaning that when data is written or removed from one disk, its written or removed from the other as well.
The downside to this is that we only get the storage capacity of one of the disks since they are both used to store identical information. So if we are using two 1TB disks for our mirrored volume, we end up with only 1TB of storage space rather than 2TB. But if one of these disks fails, we will still be able to access all of our data from the other one and then can add a new disk and rebuild our mirror and carry on as if nothing happened.


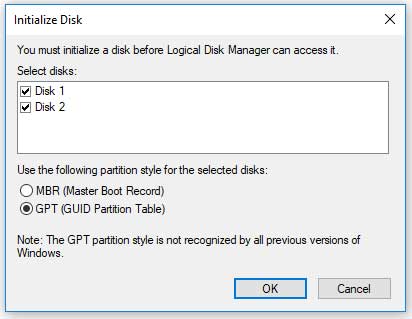
The first step in the process is to install the two hard drives within your computer that you will be using for the mirrored volume. Then once you start the computer you will need to open Disk Management and when you do, you will be asked if you would like to initialize your new disks so they can be accessed within Disk Management.
You will have two choices for the partition style for you disks and they are MBR and GPT. If this is a modern version of Windows and if you are using disks over 2TB in size then you should choose GPT.
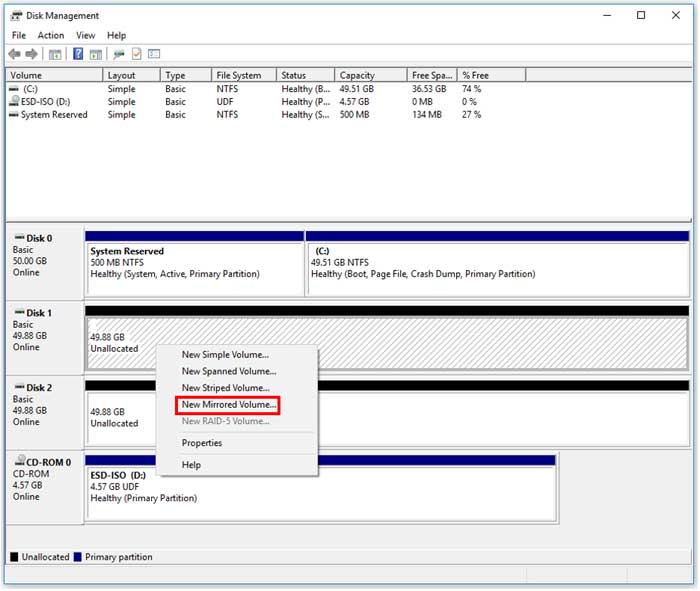
Once the disks are initialized you will see them listed in Disk Management as Online but Unallocated. Now you will just need to right click on one of them and choose New Mirrored Volume.
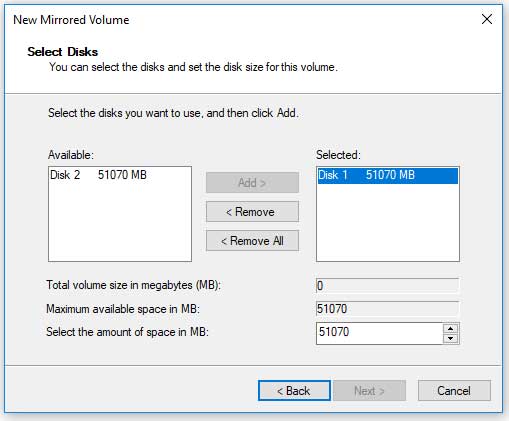
Then the New Mirrored Volume Wizard will appear, and you should click on Next to get started. Next you will need to select the disks that you want to use for your mirrored volume. The disk that you right clicked on in the previous step will already be in the Selected box. Then you just need to highlight the other disk in the Available box and then click the Add button. You will also notice that the maximum amount of space available will only be the size of one of the hard drives and not both. If you don’t want to use all of the space on the drives then you can change the Select the amount of space in MB to a smaller number.
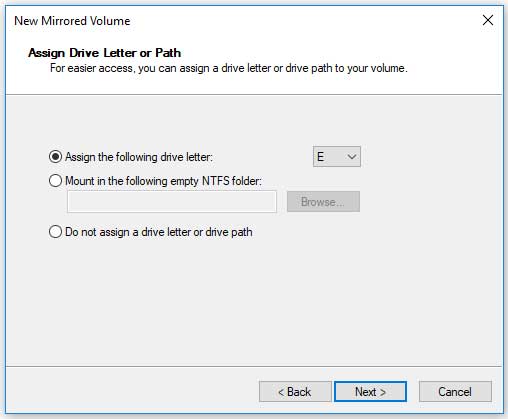
Once you click Next you can assign the mirrored volume a drive letter. You can leave the default which is usually the next available drive letter, or you can choose any other drive letter that is not in use.
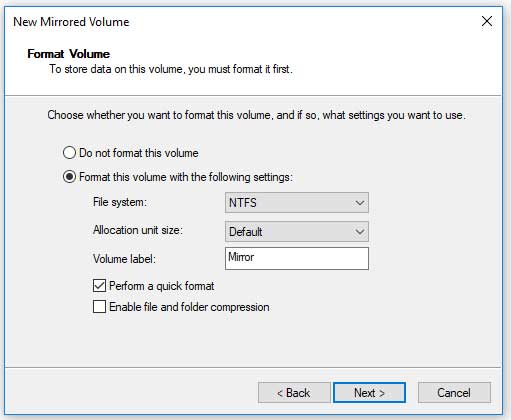
Then you can give your new mirrored volume a name (volume label) and then perform a quick or regular format of the new volume.
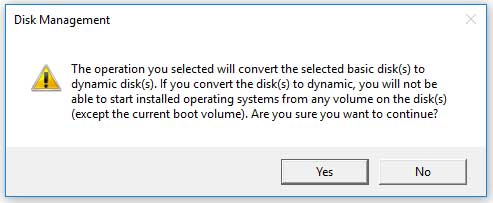
Then you will be shown a summary of the changes you have made and can click Finish to have the mirrored volume created. Before the process completes you will get a warning saying that your basic disks will need to be converted to dynamic disks and you should then click on the Yes button to continue.
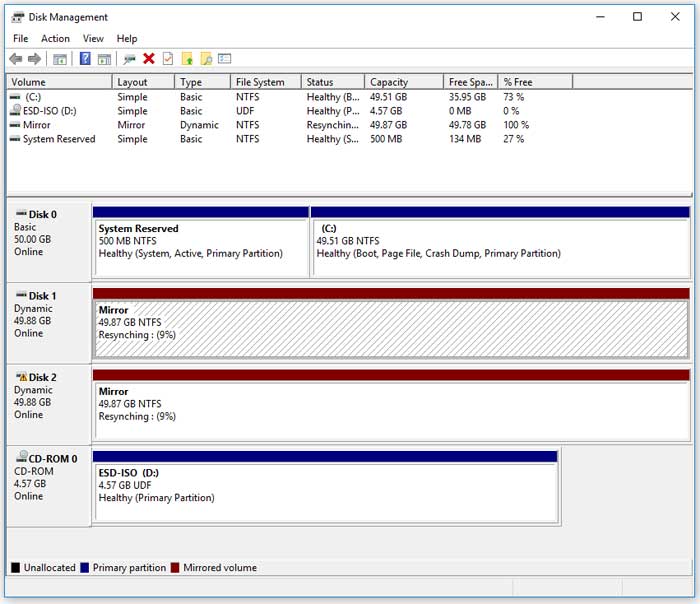
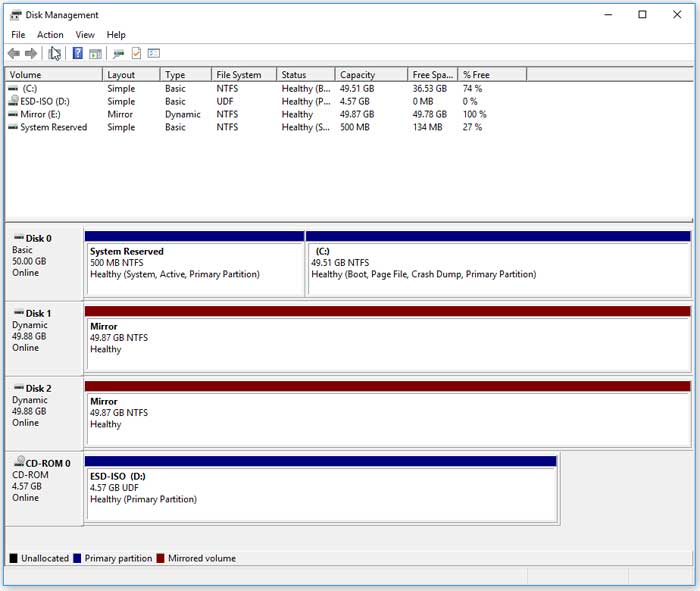
Now back in Disk Management you will see your new mirrored volume that is made from two hard drives shown in red. Now you can open FileWindows Explorer and access your new mirrored drive by the drive letter you previously assigned to it.
Restoring a broken mirror
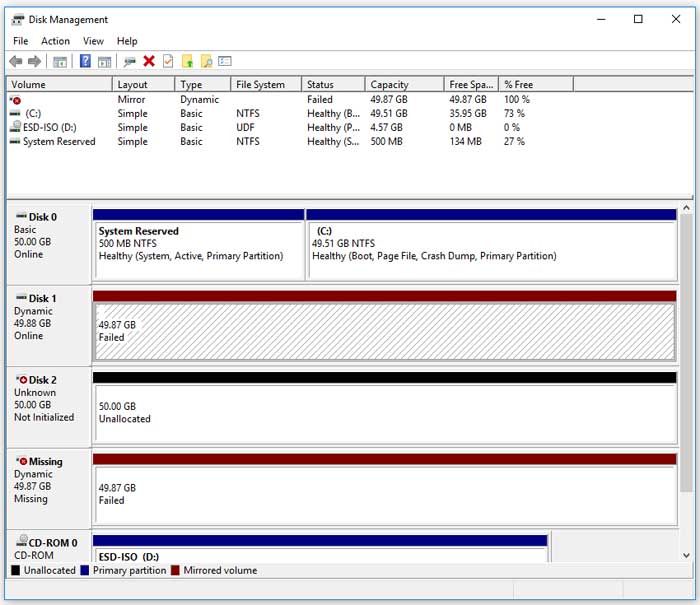
If for some reason one of the hard drives that make up your mirrored volume goes bad, you will see a status of Failed for that mirror back in Disk Management. And just because one of the drives in your mirror has failed doesn’t mean you have lost any data. But you should backup your data before installing your new disk and rebuilding your mirrored volume.
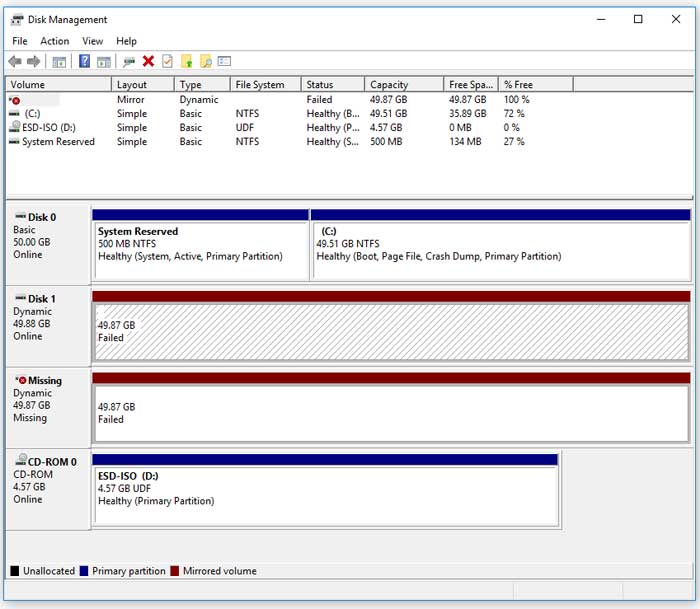
Fortunately, this is an easy fix and all you need to do is replace the failed drive with a new one and then go back into Disk Management and you will see your new drive along with the failed mirror. Even after you remove the bad disk, it will still show up there with a status of Missing.
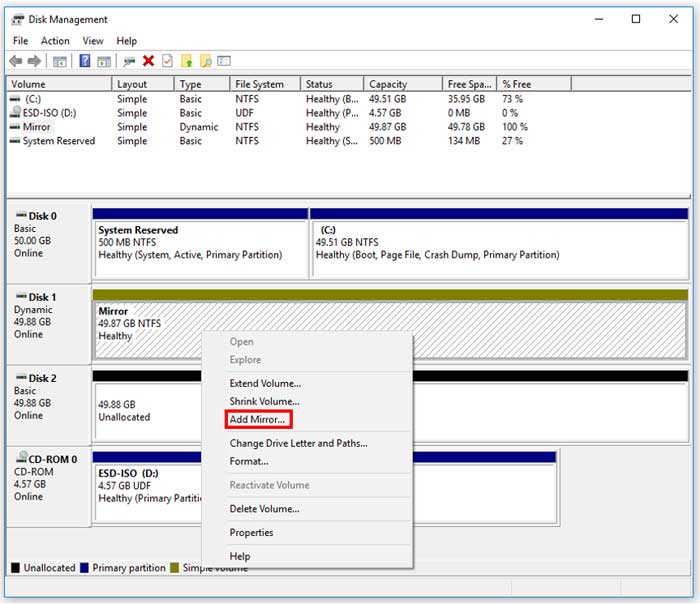
To restore your mirror using the new disk, you will need to initialize the new disk (Disk 2) so it can then be used for our mirror. Just make sure you choose GPT if that’s what you used before. Then you will right click anywhere on the mirrored volume and choose Remove Mirror.

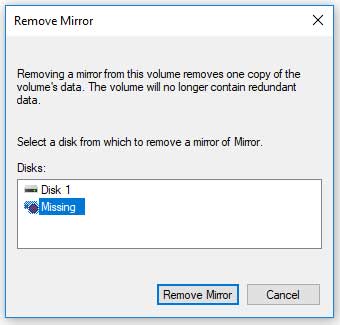
Next you will select the missing disk and click on the Remove Mirror button.
Now you will need to click on the good drive that was previously part of your mirror and choose Add Mirror and follow the same steps as you did before to reconfigure your mirror.
Finally the new drive will be added to your mirror and Windows will resynch the drives and your mirror will be intact once again.