Last Updated on July 19, 2026
Make those VirtualBox virtual disks larger without loosing data
If you have ever used virtualization software to make virtual machines (VMs) then you know how easy it is to add and remove hardware resources to modify the VM to be configured the way you want it to be. Even though you can do far more things hardware wise to a VM than you can to a physical computer (without actually adding more physical hardware) there are still some limitations and things to look out for.
VirtualBox is a virtualization platform designed by Oracle and is free alterative to VMware’s vSphere and Microsoft’s Hyper-V software. It allows you to create virtual machines that run on your local computer and use your computer’s hardware resources as its own. One catch is that you have to share things like your hard disk space and RAM with all the VMs you make so if you are running 3 VMs with 6GB of RAM each then that’s 18GB out of your total RAM that will be used by them assuming you have that much in your computer to begin with.
So let’s say you have your VM created and exactly the way you want it except for you realized you didn’t make the hard drive big enough. You already used all the available space to make a volume in Windows. So what do you do? Unfortunately it’s not as easy as going into the settings for the VM and simply making it bigger with a slider. But that doesn’t mean it’s not possible but rather that you have to put a little more work into resizing the drive using the command line.
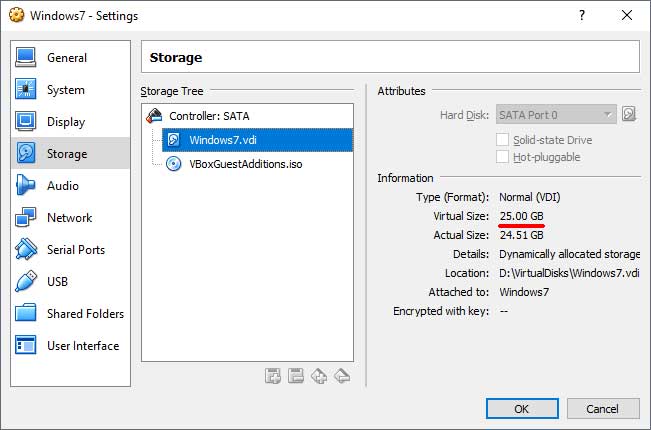
As you can see for the settings of a VM named Windows7 there is a virtual disk called Windows7.vdi and its 25GB in size. It is set to dynamically allocate storage which means it will grow the disk file as needed. Now we are going to expand the size of the disk to 30GB. You should always backup your data before doing something like this in case something goes wrong.
Expanding the Virtual Disk via Command Prompt
1. Shut Down the Virtual Machine
Before you can modify any core storage parameters, you must completely power off the guest operating system. Close out of the virtual machine window entirely so the status reads as powered off in the main VirtualBox dashboard. Attempting to resize an active disk will result in severe file corruption and immediate data loss.
2. Open the Command Prompt
To do this we need to open a command prompt and go to the VirtualBox installation directory. Open your Windows start menu, type “cmd”, and hit enter to launch the terminal window. You do not necessarily need to run this as an administrator unless your specific user profile lacks basic read and write permissions on the host computer.
3. Navigate to the Installation Directory
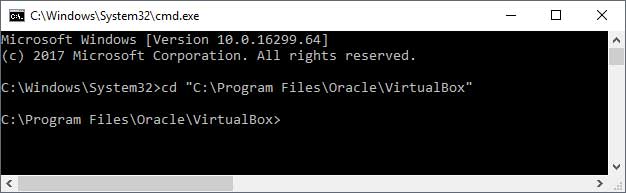
You must change your active directory to the folder where the Oracle software is currently installed. Type cd followed by the exact path to the installation folder. This path should be C:\Program Files\Oracle\VirtualBox on a standard Windows installation. Press enter to lock in the new directory path.
4. Format the Resize Command
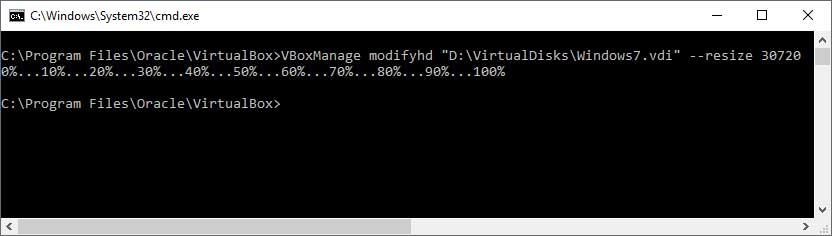
Next we need to use the VBoxManage modifyhd command to resize a disk named Windows7.vdi located on our D drive under D:\VirtualDisks. By default your virtual disks will be located at C:\Users\username\VirtualBox VMs but not in our specific case. You must locate the exact file path of your specific VDI file before typing the execution string.
5. Execute the VBoxManage Command
So the command we need to run will be VBoxManage modifyhd “D:\VirtualDisks\Windows7.vdi” –resize 30720. Notice the quotes around the path and the 2 dashes before the word resize. The number 30720 is exactly 30GB converted into MB. Press enter to execute the command and wait for the progress percentage to reach 100 percent.
Allocating the New Space in Windows
1. Verify the New Disk Size
Now when we go to the properties of the VM and look at the size of the Windows7.vdi disk it’s now 30GB. The graphical interface confirms that the command line execution worked perfectly. Boot up the virtual machine so we can claim this newly generated raw space inside the guest operating system.
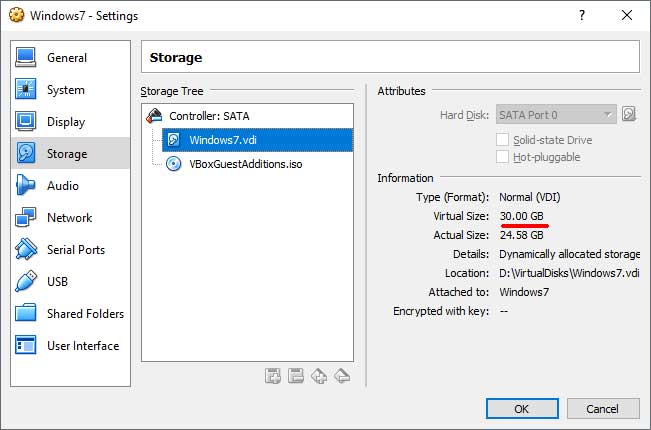
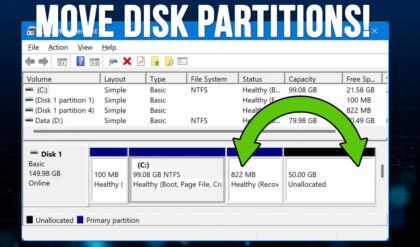
Then we can go into Windows and extend the volume and that can be done with Disk Management. Simply select the original volume and right click on it and choose Extend Volume. Then allocate the rest of the space to the volume.
2. Open Windows Disk Management
Then we can go into Windows and extend the volume to utilize the new capacity. This can be done directly with the built-in Disk Management utility. Right-click on your Start button and select Disk Management from the context menu to view your active storage partitions.
3. Extend the Primary Volume
Simply select the original volume and right click on it to open the advanced options menu. Choose Extend Volume to launch the expansion wizard. Then allocate the rest of the unallocated space to the volume by clicking next through the default wizard prompts.
For additional training resources, check out our online IT training courses.
Check out our extensive IT book series.