Microsoft Word is the most popular word processing program in use today. It has been around since 1983, which is two years before Microsoft Windows was released and has gone through some major changes and improvements since then. But at the same time, some of the annoyances have stayed with the app throughout the various versions. Of course, there are alternatives to Word with many of them being free such as the basic Docs+ application.
One thing that confuses people is the process of trying to create chapter headers that match the name of the chapter so that every page in that chapter has a matching header at the top. Even though this is an easy process, you need to perform some particular steps in a certain order to get it to work. And you should also be aware that when you take the right steps that you still might run into issues so be ready for that! So, in this article, we will be showing you how to add individual book chapter headers to a Word document.

If you are planning on creating a table of contents for your book, then you can configure the chapter levels first to make things easier to configure when it comes to creating your book chapter headers.
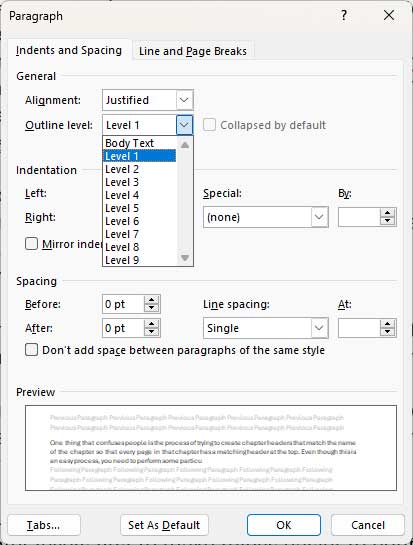
To do so, simply highlight the chapter title text, right click it and select Paragraph. You can use Level 1 for the main chapter title text and then level 2 and so on for subcategories or sections within that chapter. You can use Level 2 for subcategories or sub chapters for your book or document.
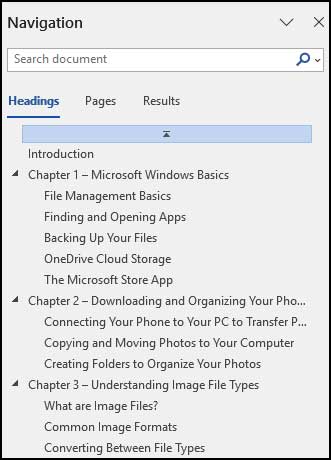
Once you have this complete, you will see your chapters laid out on the left in the Navigation section of Word under Headings.
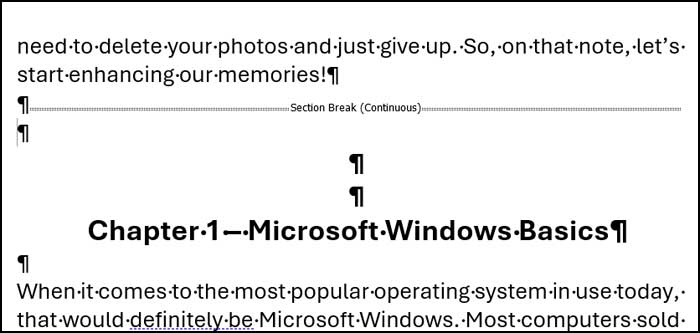
Before you begin the process of adding individual book chapter headers to your Word document, you may want to check for any extra or unneeded section breaks in your document since this can affect how well the process works.
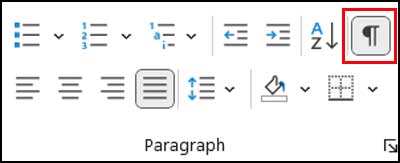
You can see these by going to the Home tab and then the Paragraph group and clicking on the show paragraph markers icon.
Then you can go through your document and remove any breaks that are not needed.
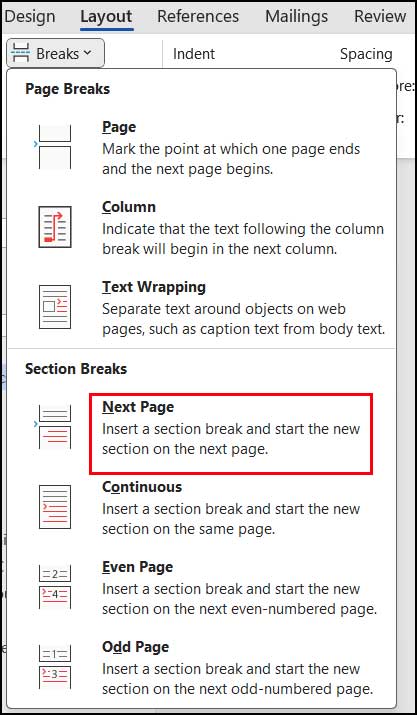
To add our book chapter headers, we will begin by placing the mouse cursor at the beginning of the text for each chapter. Then we will go to the Layout tab and choose Breaks and then Next Page. We will then repeat this process for every chapter.
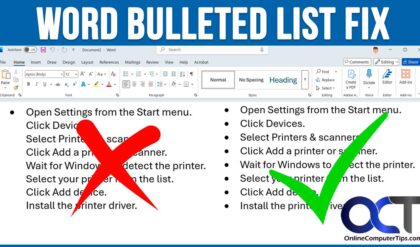
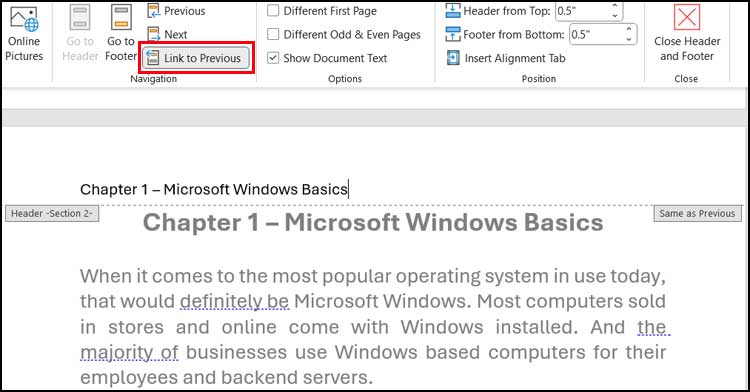
Now we can add our header text at the beginning of each chapter by double clicking in the header section and adding the text that we want to have displayed. We will use the title of each chapter, but you can use whatever text you like.
After adding the text, we will deselect Link to Previous for each chapter so the header text will not carry over from the previous section. This is essential for keeping each chapter header specific to its corresponding chapter.
Once this process is complete, you should have individual chapter headers for each chapter in your document. You should scroll through your document to make sure that the headers are accurate because there is still a chance that a header from one chapter got placed in a different chapter. Microsoft Word is known for having this issue and sometimes you will need to make corrections by changing the header text on a page or pages to get things right.
For additional training resources, check out our online IT training courses.
Check out our extensive IT book series.