
Last Updated on June 6, 2026
In order to use a computer that is running the Microsoft Windows 11 operating system, you will need to have a user account that consists of a username and a password. When you install Windows or turn on a new computer that is running Windows, you will be asked to add your Microsoft account username and password.
If you already have a Microsoft account, you can enter the information when you start Windows for the first time. If you don’t have a Microsoft account, you can either create on a different computer first or create one during the sign in process on your new computer. In this article, we are going to create a new Microsoft account during the sign in process.

Creating a New Microsoft User Account
1. Open the Windows Accounts Menu
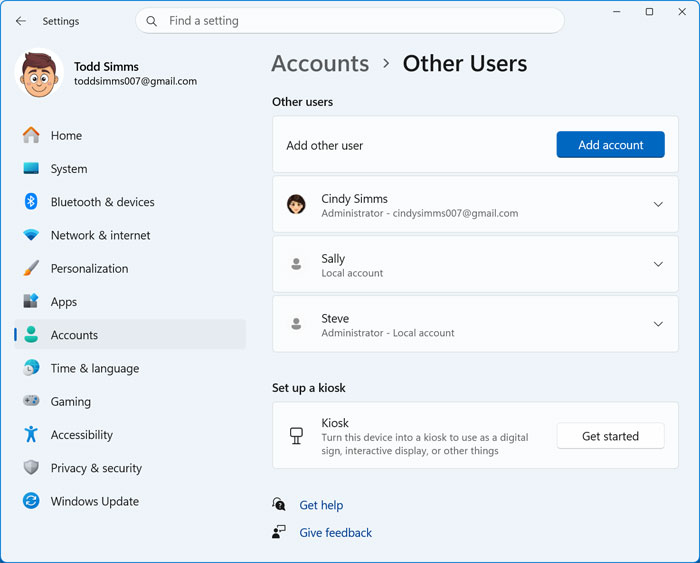
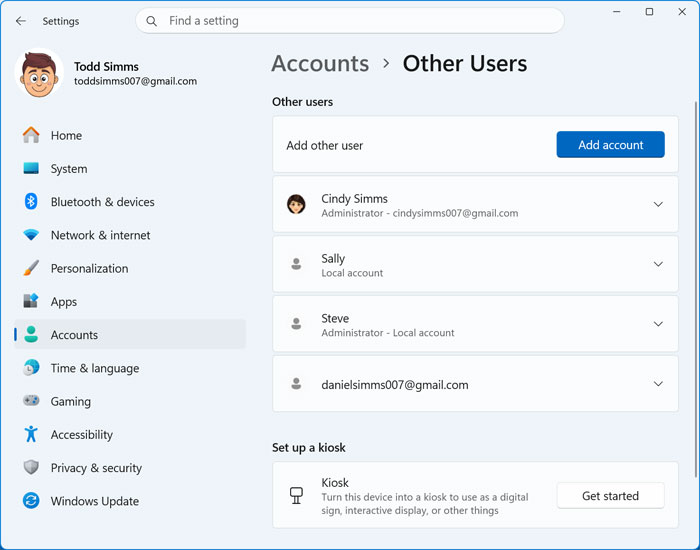
To begin this entire setup sequence, you will need to be successfully logged into your computer. The active user account must already be configured as a Microsoft account or act as a local user that has complete administrator privileges. Open the primary Windows settings app and navigate directly into the Accounts section. Click on the Other users section to explicitly reveal the Add account button. If you have any other users already configured on this computer, you will clearly see them listed here along with their specific account type.
2. Enter Your Preferred Email Address
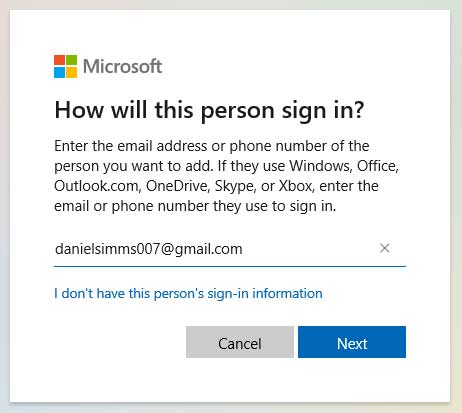
You will then be explicitly prompted to type in the exact email address or phone number associated with your Microsoft account. Since we are creating a brand new Microsoft account right now, we will use an existing Google Gmail account. We do not want to create a whole new email address just to use for logging into our local computer. This specific Gmail account has not been configured to work with Microsoft yet.
3. Sign Up for a Fresh Account
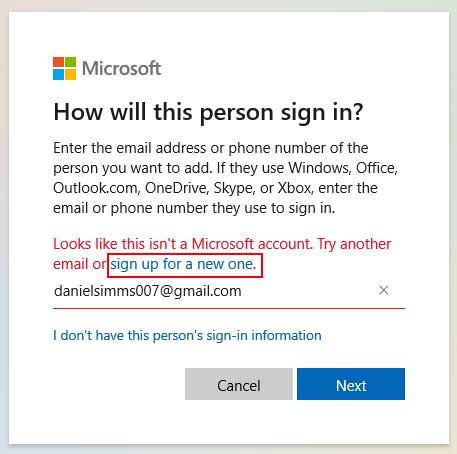
The visual setup wizard will instantly scan the Microsoft database. As you can clearly see in the image below, it explicitly says the email address that we typed in is not currently used for a Microsoft account. You must click the blue link that specifically says sign up for a new one. You can then safely configure this external email to act as your primary Microsoft account.
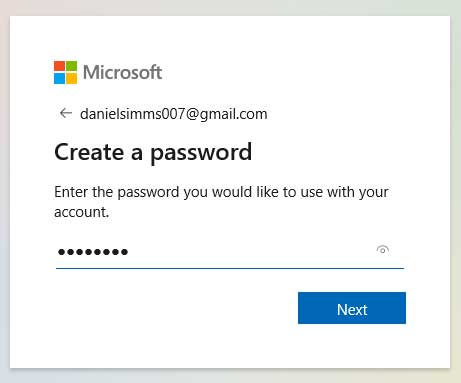
4. Configure Your Account Password
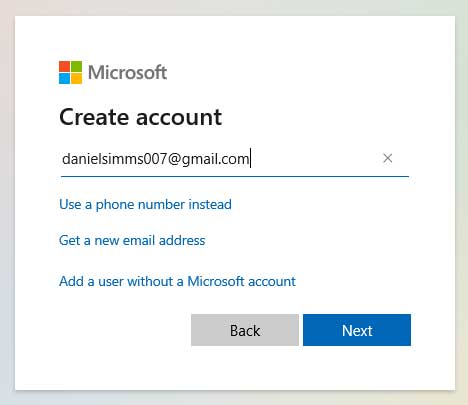
Now we will type in that exact same Gmail address once again to force the system to create an account. You must also deliberately choose a highly secure password that we want completely associated with our new account. This specific string of characters will also be the exact password you use to log into your computer moving forward. Write this critical password down immediately.
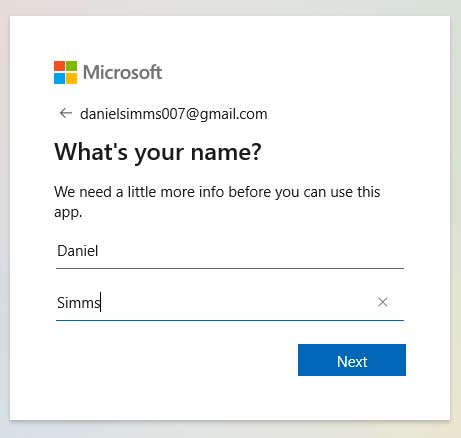
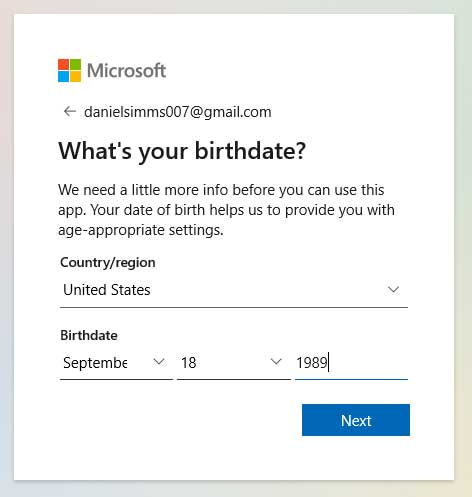
5. Provide Personal Identification Details
Then you will be prompted to type in your actual first and last name as well as your precise birthdate. You can technically type in any random information you want right here if you strongly refuse to give out your real name or birthdate. Just keep in absolute mind that you might desperately need to use this specific information if you ever get perma
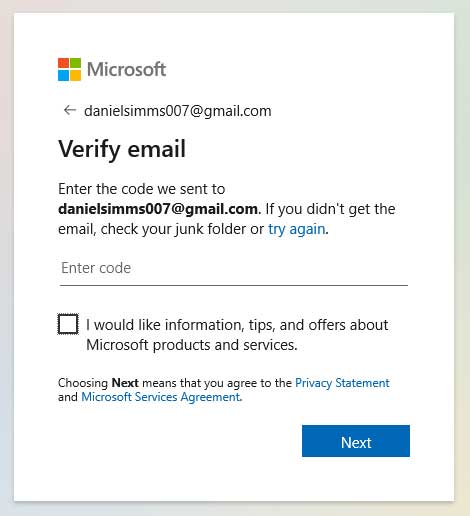
6. Verify Your Registered Email
Next you will be sent an automated numerical verification code. This hidden code goes straight to the exact external email address you are actively using to create this Microsoft account with. Check your inbox right now. You will then need to enter that specific code directly into the Windows security box to continue the setup process.

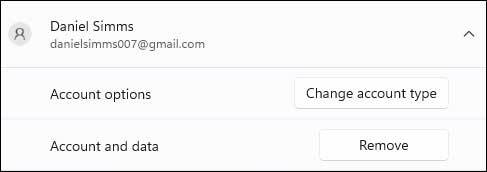
7. Confirm the New Profile Creation
Once the account is fully created in the backend database, it will automatically appear in your system settings menu. The operating system will prominently display it right along with any other user accounts you might have previously configured on this computer. You can clearly see its default account type labeled as a standard restricted user.
8. Login to Your New Account
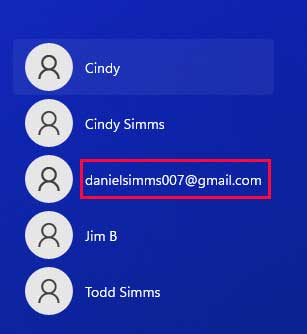
Now you can safely log off the current user you just used to create the new account. Look directly at the lower left corner of the Windows lock screen. Click on the brand new account name to officially login for the very first time with this new user profile.
9. Complete the Initial Boot Process
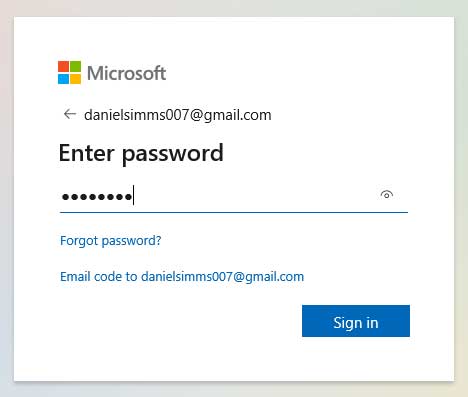
You will then need to type in the exact password you carefully created in the earlier setup steps. Since this is the absolute first time you are logging into this computer with this new account, Windows will need time to generate your profile. The system will forcefully prepare your account and other background settings. You will see several blue screens explicitly telling you that it is getting your account completely ready.
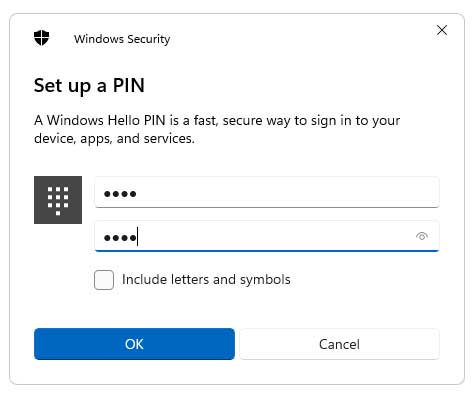
10. Establish a Windows Hello PIN
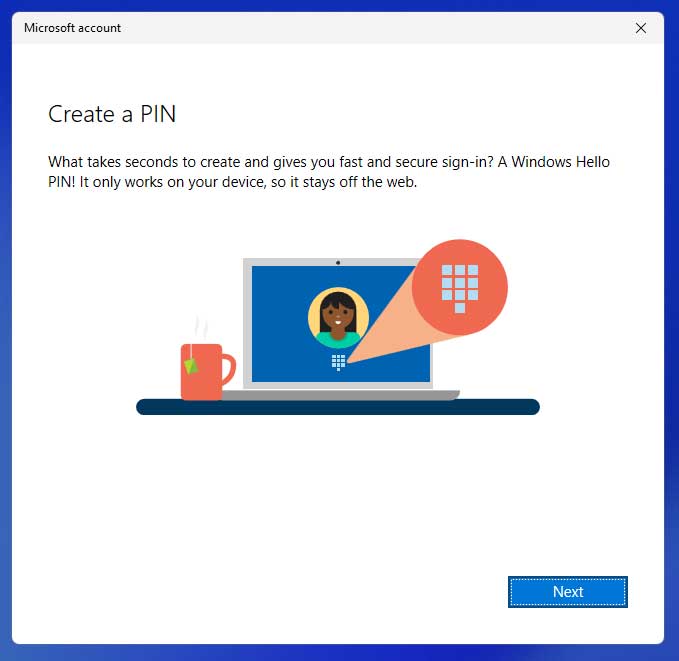
You might then be explicitly prompted to create a localized PIN code. This fast login method can easily be used to unlock your account if you would much rather use that than typing an actual complex password every single day. You can always go right back to the traditional password requirement if you quickly find out you do not like the PIN method at all. Here is a video showing you how to do so.
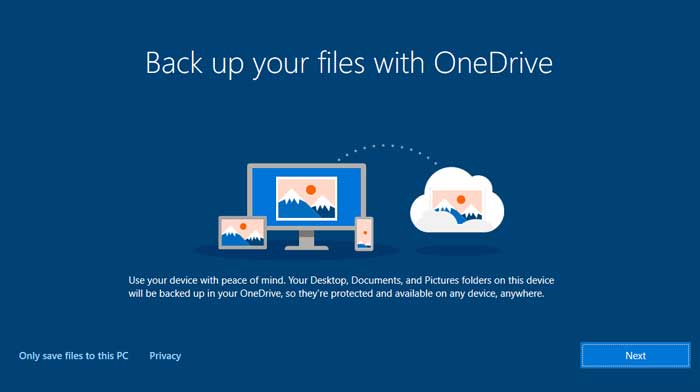
11. Manage Cloud Storage Options
You might also be actively prompted to fully connect your account to your free OneDrive online cloud storage. This connected feature operates specifically to backup and safely sync your personal files to Microsoft servers. You can easily click on the text link that explicitly says Only save files to this PC to completely skip it if you do not want to use cloud storage at all.
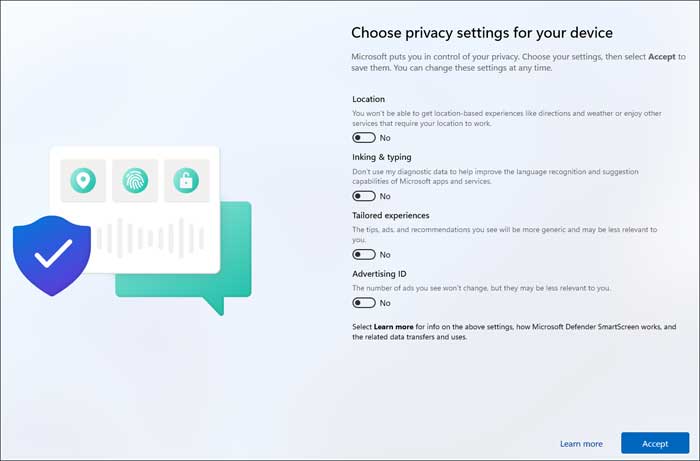
12. Adjust System Privacy Settings
Next you may be forcefully asked to explicitly choose precise privacy settings for your new user account. You might want to completely change all of these toggle switches to No. Turn them entirely off unless you strongly think invasive tracking features are something you will actually need to use. Click accept to finalize the choices and land safely on your brand new Windows desktop.
Changing the Windows Account Type
1. Navigate Back to the Accounts Menu
You might quickly realize you need advanced local permissions. To change this new user account from a restricted standard user to a full administrator account, you must temporarily switch profiles. You will absolutely need to login with a different account that already has strict administrator rights. Go straight back to the Windows settings app. Click into the Accounts section and find the specific user account you desperately wish to alter.
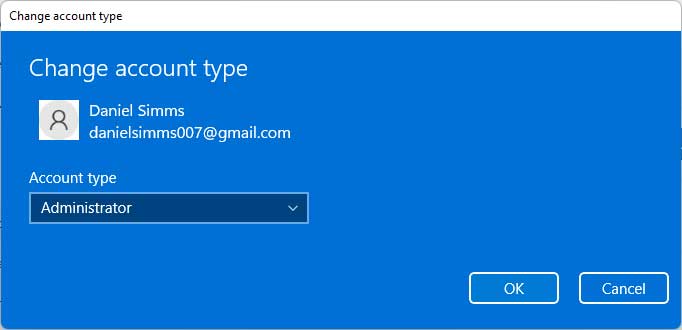
2. Elevate the User to Administrator
From there you will click directly on the Change account type button. This action opens a tiny drop down box containing your available system permission levels. Change the internal setting completely from standard user to an administrator role and click the OK button. This vital step can actually be done immediately after creating the user account and before even logging on the new user for the first time.
For additional training resources, check out our online IT training courses.
Check out our extensive IT book series.


