
Last Updated on May 21, 2026
When you start your computer, Windows will boot up and take you to the login prompt screen where you can then enter your password, PIN or use another login method such as fingerprint recognition. But if you don’t log in within a certain amount of time, Windows will go to the lock screen which is sort of like a screensaver with a background image that will display on your screen until you press a key on your keyboard or move your mouse. Then you will be taken back to the login screen.
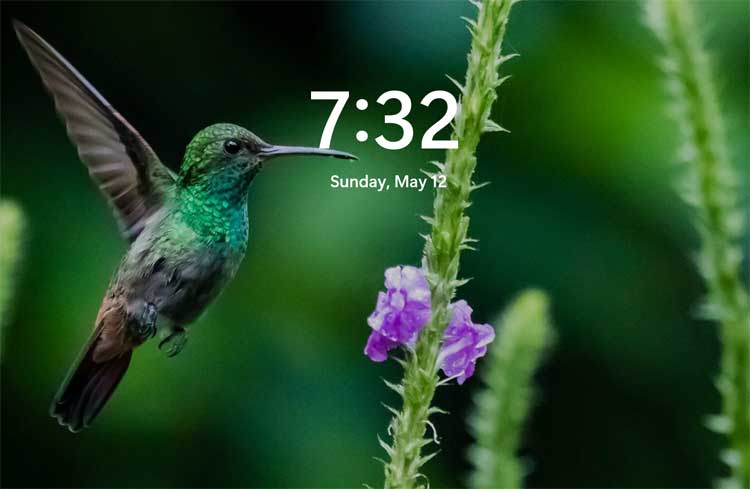
If you lock your computer by pressing Ctrl-Alt-Del, Windows will also go to this lock screen until you are ready to log back in. The image below shows a typical Windows lock screen with the date and time displayed on the screen.

Why Disable the Lock Screen?
For tablet or touch-screen users, the lock screen makes sense as it prevents accidental touches in a bag. However, for traditional desktop and laptop users, it represents an unnecessary “extra click” (or keystroke) that slows down the authentication process.
In Enterprise environments, IT administrators often disable the lock screen globally to streamline user logins, or when setting up “Kiosk” machines that need to boot directly to a specific application prompt. By bypassing this splash screen, you eliminate the friction between waking your PC and entering your credentials.
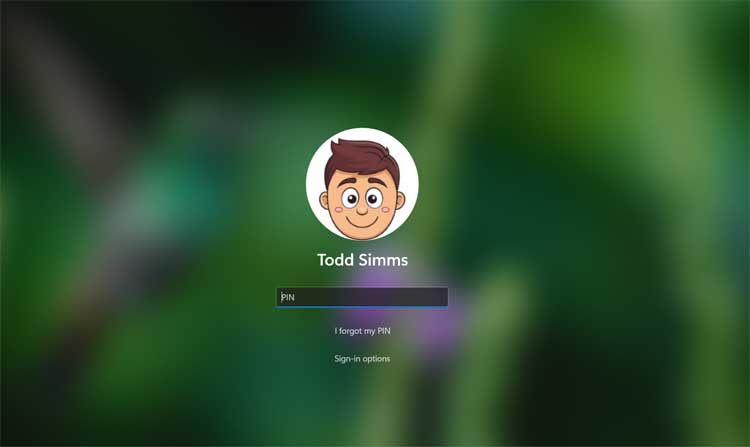
Then when you press a key on your keyboard or move your mouse, you will be taken to the login screen as seen here.
Method 1: Using the Group Policy Editor (Windows Pro & Enterprise)
If you are running Windows 10 or Windows 11 Pro, Education, or Enterprise, the safest and fastest way to disable the lock screen is by using the Local Group Policy Editor (GPO).
1. Open the Run Command Dialog
You need to launch the local policy editor directly from the Windows run command interface. Press the Windows Key + R on your keyboard simultaneously to open this dialog box. Type gpedit.msc into the text field and press Enter.
2. Navigate to the Personalization Policies
The Group Policy Editor contains hundreds of system rules organized in folders. In the left pane, navigate to Computer Configuration and expand the Administrative Templates folder. Click through to Control Panel and finally click on the Personalization folder to view its contents.
3. Edit the Lock Screen Display Policy
Look closely at the right pane inside the Personalization folder. Find the policy named “Do not display the lock screen” in the list. Double-click this specific policy rule to open its configuration window.
4. Enable the Policy Setting
The policy configuration window opens with the “Not Configured” radio button selected by default. Change the toggle from “Not Configured” to Enabled. Enabling this rule actively forces Windows to skip the cover image entirely.
5. Apply Your Changes
Click the Apply button at the bottom right corner of the window. Click OK to close the prompt entirely. The change takes effect immediately without requiring a system reboot. If you are using Windows Home edition, you will not have access to the Group Policy Editor. Instead, you must use the Registry Editor method outlined below.
Method 2: Modifying the Windows Registry (Windows Home)
If you want to disable the Windows lock screen so you can go right to the login prompt when starting your computer, you can do so with a simple registry edit. Just make sure you are comfortable editing the Windows registry before trying something like this because making changes to the registry incorrectly can result in your computer not working properly.
1. Back Up the Registry Hive
Because the method below involves modifying system-level policies in the HKEY_LOCAL_MACHINE hive, you should always create a backup before creating new keys. Open the Registry Editor, click File in the top menu, and select Export. Save the backup file to your desktop. If the NoLockScreen value causes any unintended visual glitches on your specific Windows build, you can simply double-click this backup file to restore the original policy structure.
2. Launch the Windows Registry Editor
To open the Windows Registry Editor, you can type in regedit in the Windows search box and then click on Registry Editor. You will need to have admin rights on your computer to open the Registry Editor or have access to an account that does. The User Account Control prompt will ask for confirmation before launching the tool.
3. Navigate to the Target Key Location
Once you are in the Registry Editor, you will need to navigate to the exact policy folder. Expand the folders in the left pane to follow this specific path. You can also copy and paste the location directly into the address bar at the top of the window.
HKEY_LOCAL_MACHINE\SOFTWARE\Policies\Microsoft\Windows
4. Create a New Personalization Key
Next, you will need to create a new key called Personalization under the Windows key if it is not already there. You can do this by right clicking on the Windows key folder in the left pane and choosing New > Key. Type the word Personalization exactly as shown and hit Enter.
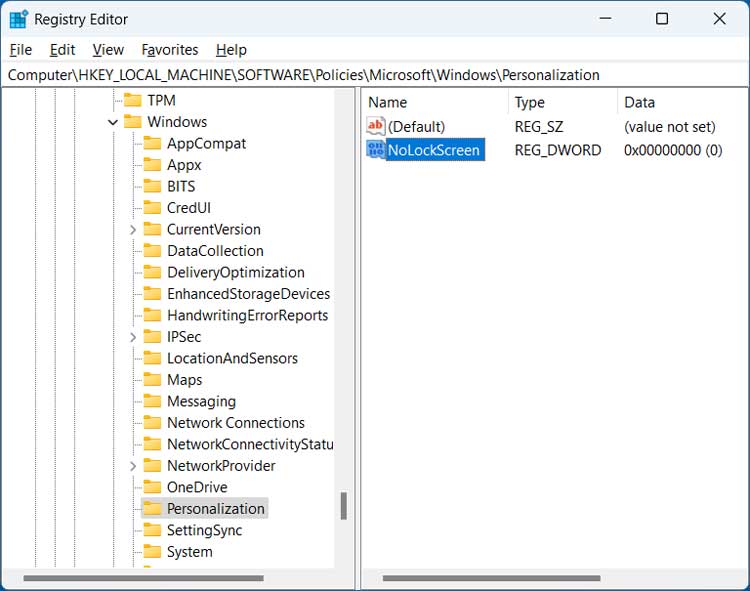
5. Generate the NoLockScreen DWORD
Then within the new Personalization key, create a specific DWORD value. Do this by right clicking anywhere in the empty white space of the right pane and choosing New > DWORD (32-bit) Value. Name this new entry NoLockScreen immediately. Make sure you choose the 32-bit option and not the 64-bit option. Also make sure you do not have any spaces and use the capital letters exactly as shown.
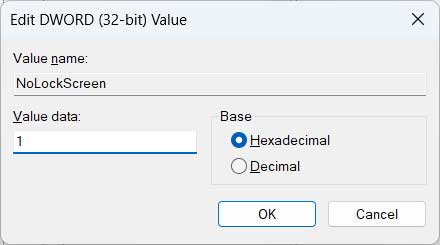
6. Change the DWORD Value Data to 1
Finally, you will need to double click on the newly created NoLockScreen item. This opens a small edit box where you can set the value data to 1. Click the OK button to save the change. Now every time you start your computer, log off or lock your screen, it will display the user login prompt rather than the Windows lock screen.
Now every time you start your computer, log off or lock your screen, it will display the user login prompt rather than the Windows lock screen.
Windows Lock Screen FAQ
1. Will this disable my requirement to enter a password?
No. Disabling the lock screen only removes the cover image acting as the splash screen with the clock. You will still be taken directly to the secure login prompt. You must enter your PIN, Password, or Windows Hello biometrics to gain access to the desktop.
2. Can I just set the lock screen timeout to “Never”?
Windows does allow you to change your screen timeout and sleep settings under Settings > System > Power & Battery. But if you manually lock the PC using the Windows Key + L keyboard shortcut, the image will still appear. You must use the Registry or GPO fixes above to remove it permanently.
3. How do I undo the Registry edit?
To restore the lock screen, simply open the Registry Editor and navigate back to the Personalization folder. Right-click the NoLockScreen DWORD you created and select Delete. Restart your computer and the default system behavior will return immediately.
For additional training resources, check out our online IT training courses.
Check out our extensive IT book series.


