
Last Updated on February 22, 2026
If you ever have the need to take a screenshot or screen grab from any program you have open in Windows, you can use the Snip & Sketch tool to do so. It is incredibly easy to use for everyday tasks. You can do things like crop and mark up your screen captures and then save them as image files or paste them into other programs like Word or an email.
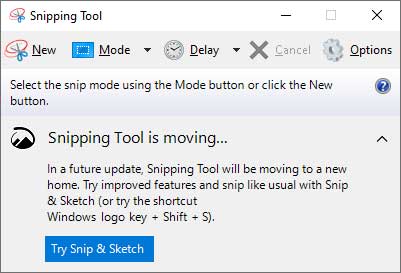
You might have been used to using the legacy Windows Snipping Tool or even a third-party app like Hypersnap to take your screenshots. If you have used the older app recently, you probably noticed the message saying it is moving and you should try the newer tool. Microsoft modernized this entire screen capture experience for modern Windows operating systems.

Open and Use the Screen Capture Tool
1. Launch the Application
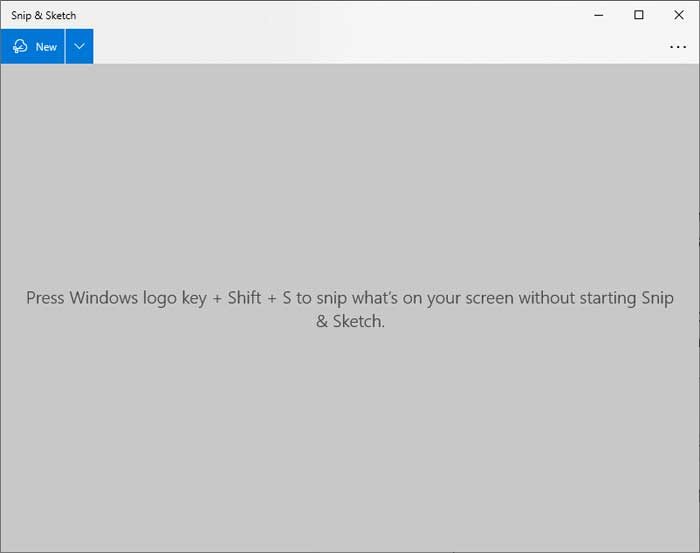
To open the Snip & Sketch tool, simply type Snip & Sketch into the Windows search box or the Cortana search area. The application icon should pop up immediately for you to click on. Once it opens up, you will notice that it gives you a blank screen with a helpful message. This message explains you can use the Windows key + Shift + S keyboard shortcut to take a screen capture without even opening the app first.
2. Start a New Capture
To take a new screen capture, you can click on the blue New button in the upper corner. You can also click on the drop-down arrow next to it to initiate a delayed screen capture. This works exactly like the timer on your digital camera. Once you click on New, the screen will dim and you will see a small toolbar appear at the top of your screen with several options.

3. Select Your Capture Mode
The first option allows you to draw a box or rectangle around the specific area of your screen that you wish to capture. The second option lets you draw a custom freehand shape around the target area. The third option will capture the entire active application window perfectly. The fourth option will capture your entire desktop screen with everything showing at that exact moment. The X button can be used to cancel the process entirely.
4. Draw Your Selection
Let’s say you wanted to capture just the dog in the middle of a group of dog pictures on a website. All you would need to do is select the rectangle option from the top toolbar. Draw a box around the center dog picture with your mouse and then release your mouse button. The tool instantly snaps that exact region.

Edit and Save Your Screenshot
1. View the Captured Image
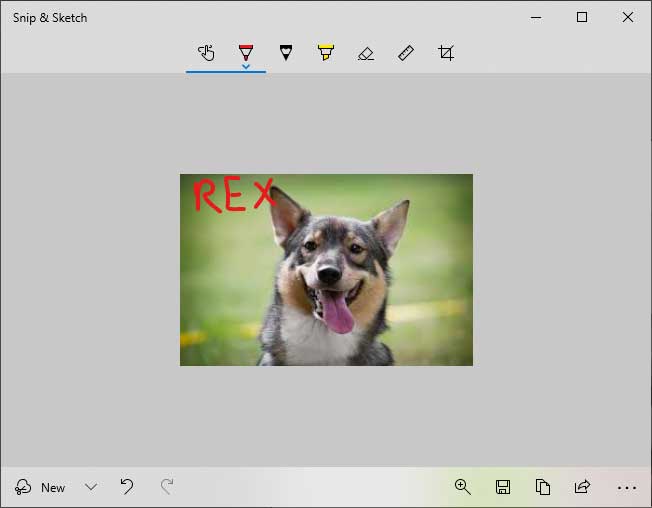
You will immediately see your captured image load inside the main Snip & Sketch box. From here you can save the image exactly as it is. You can also copy and paste it directly into another program like an email draft. If you would like to draw on it before saving or copying it, the software provides built-in markup tools.
2. Apply Digital Ink and Highlights
The tools on the top allow you to do things such as use your finger to write on the image if your computer has a touch screen. You can also use the digital pen, pencil, or highlighter to draw on your captured image. If you would like to have a precise ruler or protractor placed on your captured image, you can use those as well. The last button is the crop tool which will let you further crop your image in case you captured more than you originally intended.

3. Access Additional Menu Options
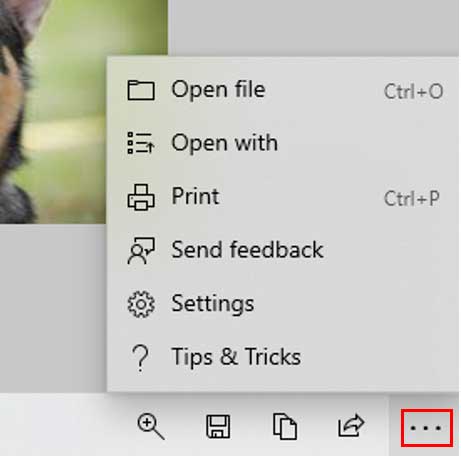
Clicking on the ellipsis at the bottom right or top right of the screen will give you some additional options. This drop-down menu allows opening an existing image file from your hard drive. You can also use this menu for printing your recent screen capture directly to a local printer.
For additional training resources, check out our online IT training courses.
Check out our extensive IT book series.






