SpyBot anti malware software has been out since the days before malware was as huge of a problem as it is today. Spybot was a widely used program that would scan and clean your computer of all kinds of spyware infections. There is a newer Spyware Search & Destroy 2 with more features to help you keep your computer clean from infections. It’s been around for some time but is still definitely worth checking out. It’s free and fairly easy to use but of course there is a pay for version with more advanced features.
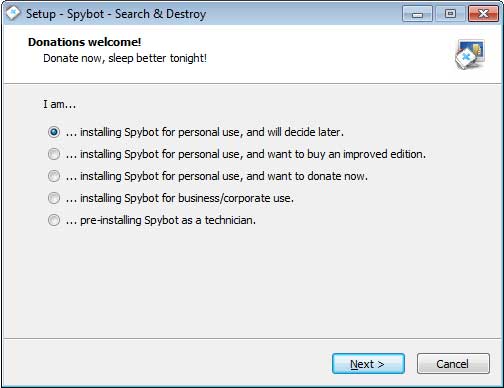
After downloading and installing Spybot there will be a few questions to answer depending on how you do the installation but the ones you really need to worry about are the first 2. For the screen shown below you should check the first option if you are simply installing it on your home computer.
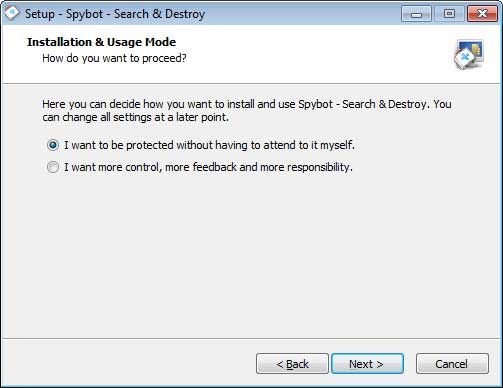
For this screen we recommend using the option that says I want to be protected without having to addend to it myself unless you are comfortable configuring custom options for the software.
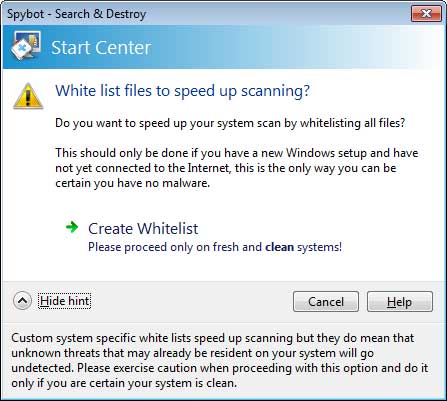
When you run Spybot the first time you will be asked to create a whitelist which will scan your computer and mark your files as safe to speed up future scanning. If you have had this computer for some time then don’t choose this option because you can’t be 100% sure all your files are clean.
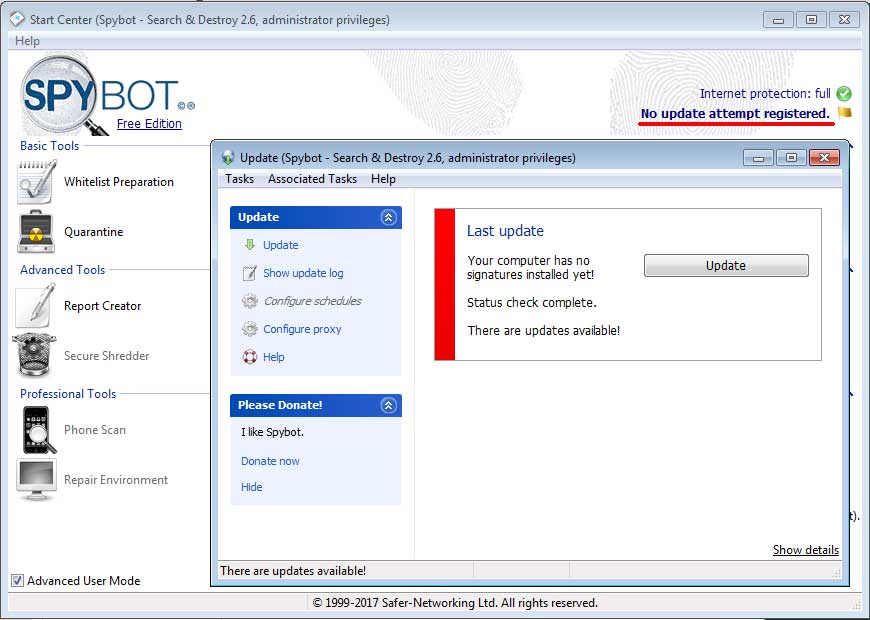
Before running any scans you should do an update so that SpyBot has the latest spyware signatures installed on your computer to make sure you are covered. Click on the Update button to have the updated files download to your computer.
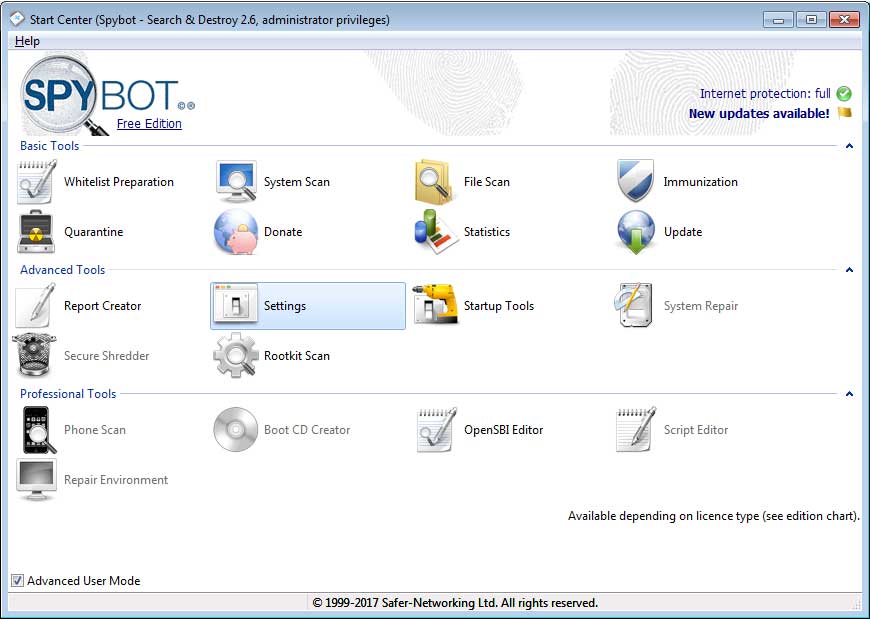
Once you are up to date you can start looking at the available tools and utilities you can run within the program. If you view the dashboard in Advanced User Mode you will see more tools than if you don’t but keep in mind that many of them will not be available to use unless you have the pay for version. This is usually the case with most free software.
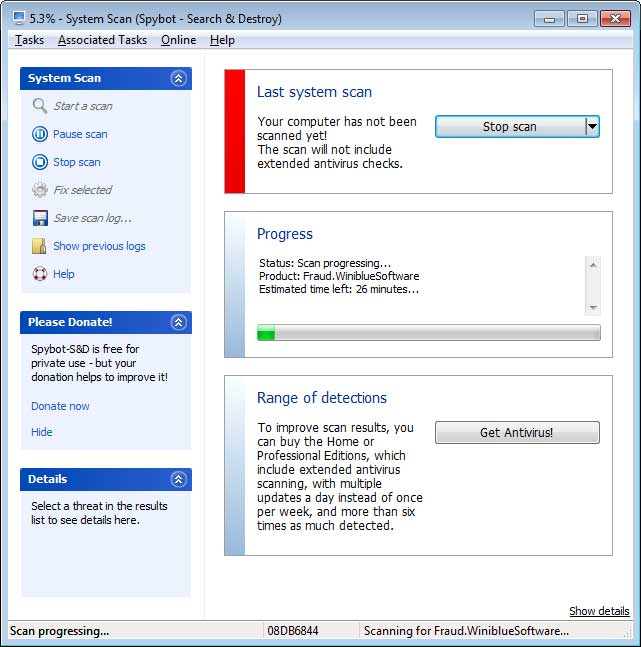
You will be most concerned about using the Scan option to run a scan on your computer. Simply click on System Scan to bring up the scan box. File Scan would be used to scan just files or a selection of files that you choose. As its scanning your computer you will see a status bar informing you of the approximate time left to complete the scan.
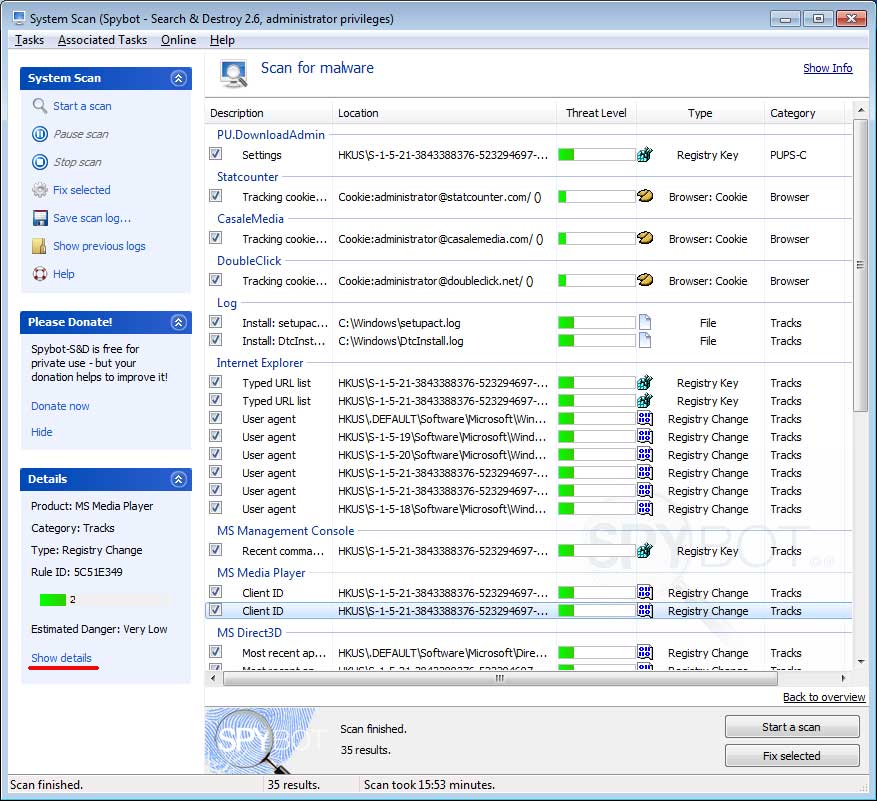
After the scan is complete you will see the results of the scan. You can click on Show Details for a particular item to take you to the Spybot website for more information about the threat. There will be items such as registry entries, cookies, temp file and so on in the list. After you look things over you will click on the Fix selected button to have the items cleaned from your computer.
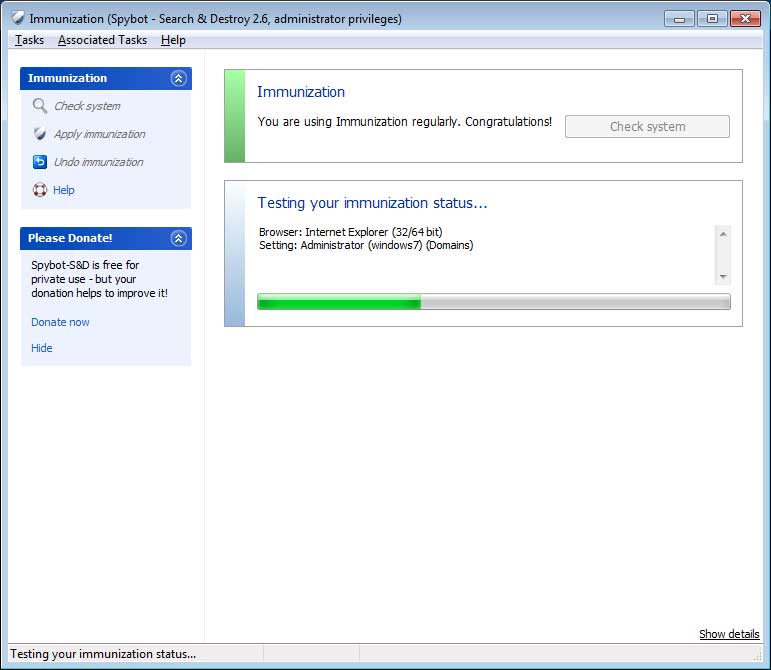
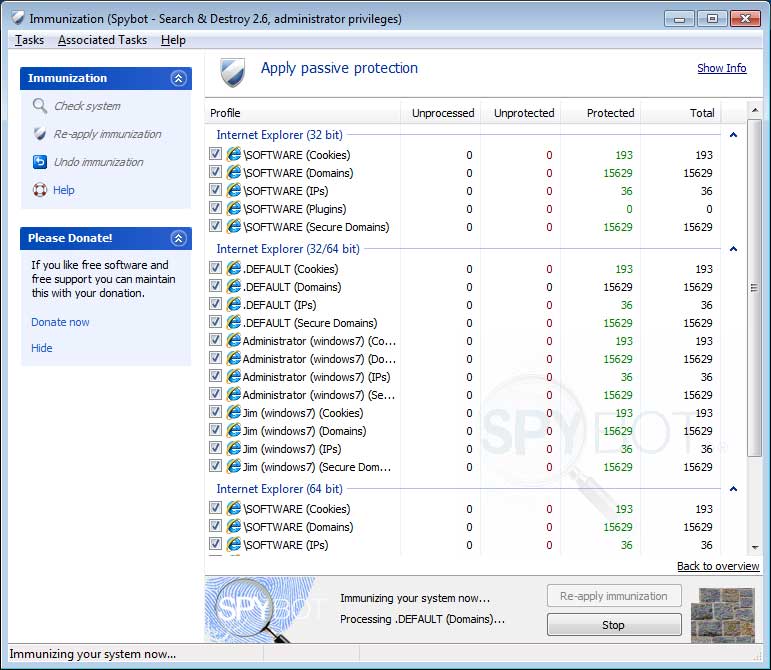
Back at the dashboard you will see that there is a button called Immunization. What this does is scan your computer and to see if it’s already immunized and if not it will perform the process which blocks malicious websites, cookies and software. It will also add entries to your Windows hosts file that will block your computer from going other places it shouldn’t.
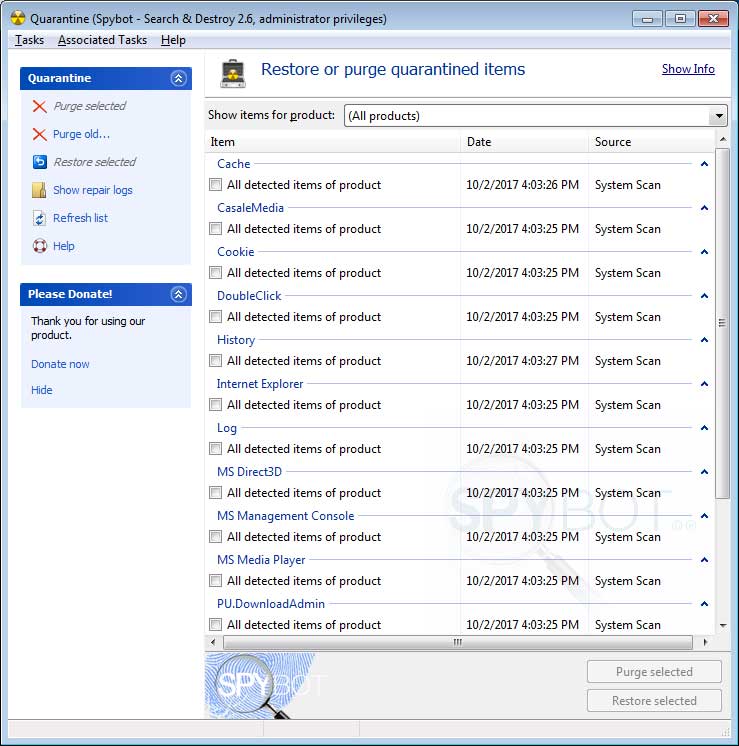
The Quarantine section is where you can go to see what items have been quarantined after being found in a scan. This puts them in a safe place where they can’t do any harm but gives you an option to restore items if it turns out that they are safe or something you don’t want removed. If you go through the list and find it’s all stuff that needs to go you can purge the items to remove them for good.
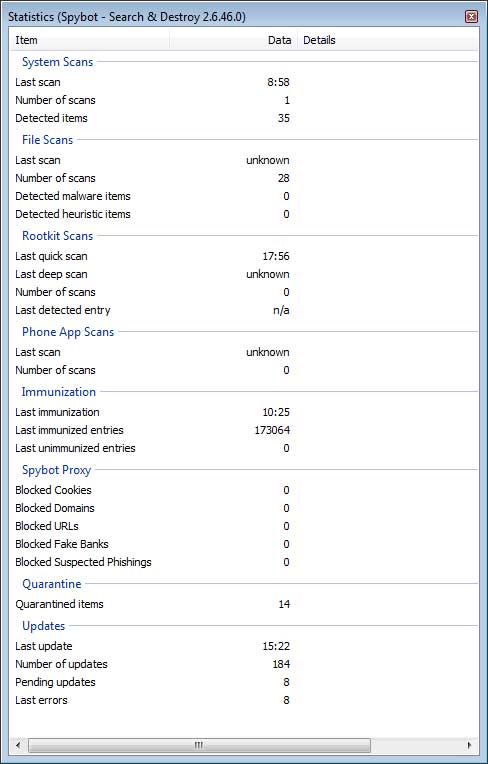
One other nice feature is the Statistics option which will tell you details about the scans you have run and how many malicious items were found. It will also tell you how many items you have in quarantine and when you last updated the Spybot software itself.
If you plan on using this software you should install it before you have a problem and not after so you can immunize your system to help protect you from future attacks. Spybot Search & Destroy 2 can be downloaded from their website.

