Last Updated on November 8, 2026
If you are running Windows on your computer yet are a fan of Linux and all the command line functionality that comes with the operating system, then you are in luck. In this article we will be showing you how to run Linux commands on a Windows PC. This way you can have the best of both worlds.
As you probably know, Linux is a free (for the most part) alternative to the Windows and macOS operating systems that you can download and install on your computer. There are many versions (or flavors) of Linux to choose from based on your needs. Developers constantly update these flavors to provide rock-solid stability.
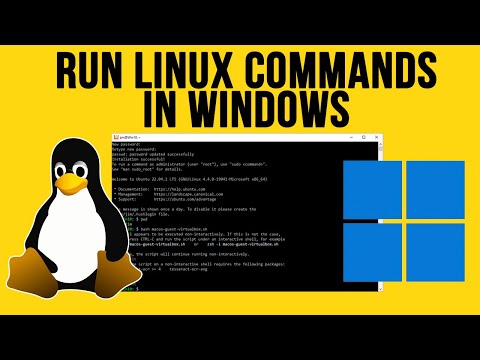
Linux is known for its ability to do almost anything with the operating system by using the command line via the Linux terminal. So if you want to have some of this command line functionality applied to your Windows PC then here is a relatively easy way to do so. You do not even need to set up a bulky virtual machine.
Windows Configuration
1. Enable Developer Mode in Windows Settings
The first thing you will need to do is enable the Developer Mode in the Windows settings. For Windows 10 you will find it under Update & Security > For Developers and for Windows 11 it will be under Privacy & Security > For Developers.


2. Open Programs and Features
Next, you will need to go to the Windows Control Panel and then open Programs and Features. From there you will click on Turn Windows features on or off. This opens a new window with a checklist of optional system components.

3. Turn on Virtualization and WSL
From here, you will need to check the box for Virtual Machine Platform and Windows Subsystem for Linux. Click the OK button to confirm your selections. You will then need to reboot your computer for the updates to be installed. Windows configures the backend services during this restart.

Installing the Linux Command Line App
1. Install Ubuntu LTS from the Microsoft Store
Next, you will need to install the Ubuntu LTS app from the Microsoft Store. To do so, simply open the Microsoft Store and search for Ubuntu LTS (They might have removed LTS from the title). The version number you see may vary depending on when the last time it was updated. Once you find it, click on the Install button. It is a fairly big download. It will take a bit of time to complete.

2. Run the Ubuntu App and Create a User
After the Ubuntu LTS app is installed, you can run it. You will be asked to create a username and password to be used with the app. This is also used to make your home directory where you can store files such as scripts. Keep these credentials safe.

3. Access Linux Files in Windows
Depending on what version of the app you are running you can use a specific path to see your folders. Open File Explorer. Type \wsl.localhost\Ubuntu-22.04 into the address bar. You can also just shorten it to \wsl if this path doesn’t work for you. This maps the Linux file system right inside Windows.

4. Start Using the Linux Command Line
Now anytime you need to run a Linux command or if you just want to keep your Linux CLI skills up to speed, you can open the Ubuntu LTS app and start typing! The terminal behaves exactly like a native Linux machine. You can run updates, install packages, and manage files seamlessly.
For additional training resources, check out our online IT training courses.
Check out our extensive IT book series.